

How to Read Crochet Charts: A Beginner’s Guide to Crochet Symbol Diagrams
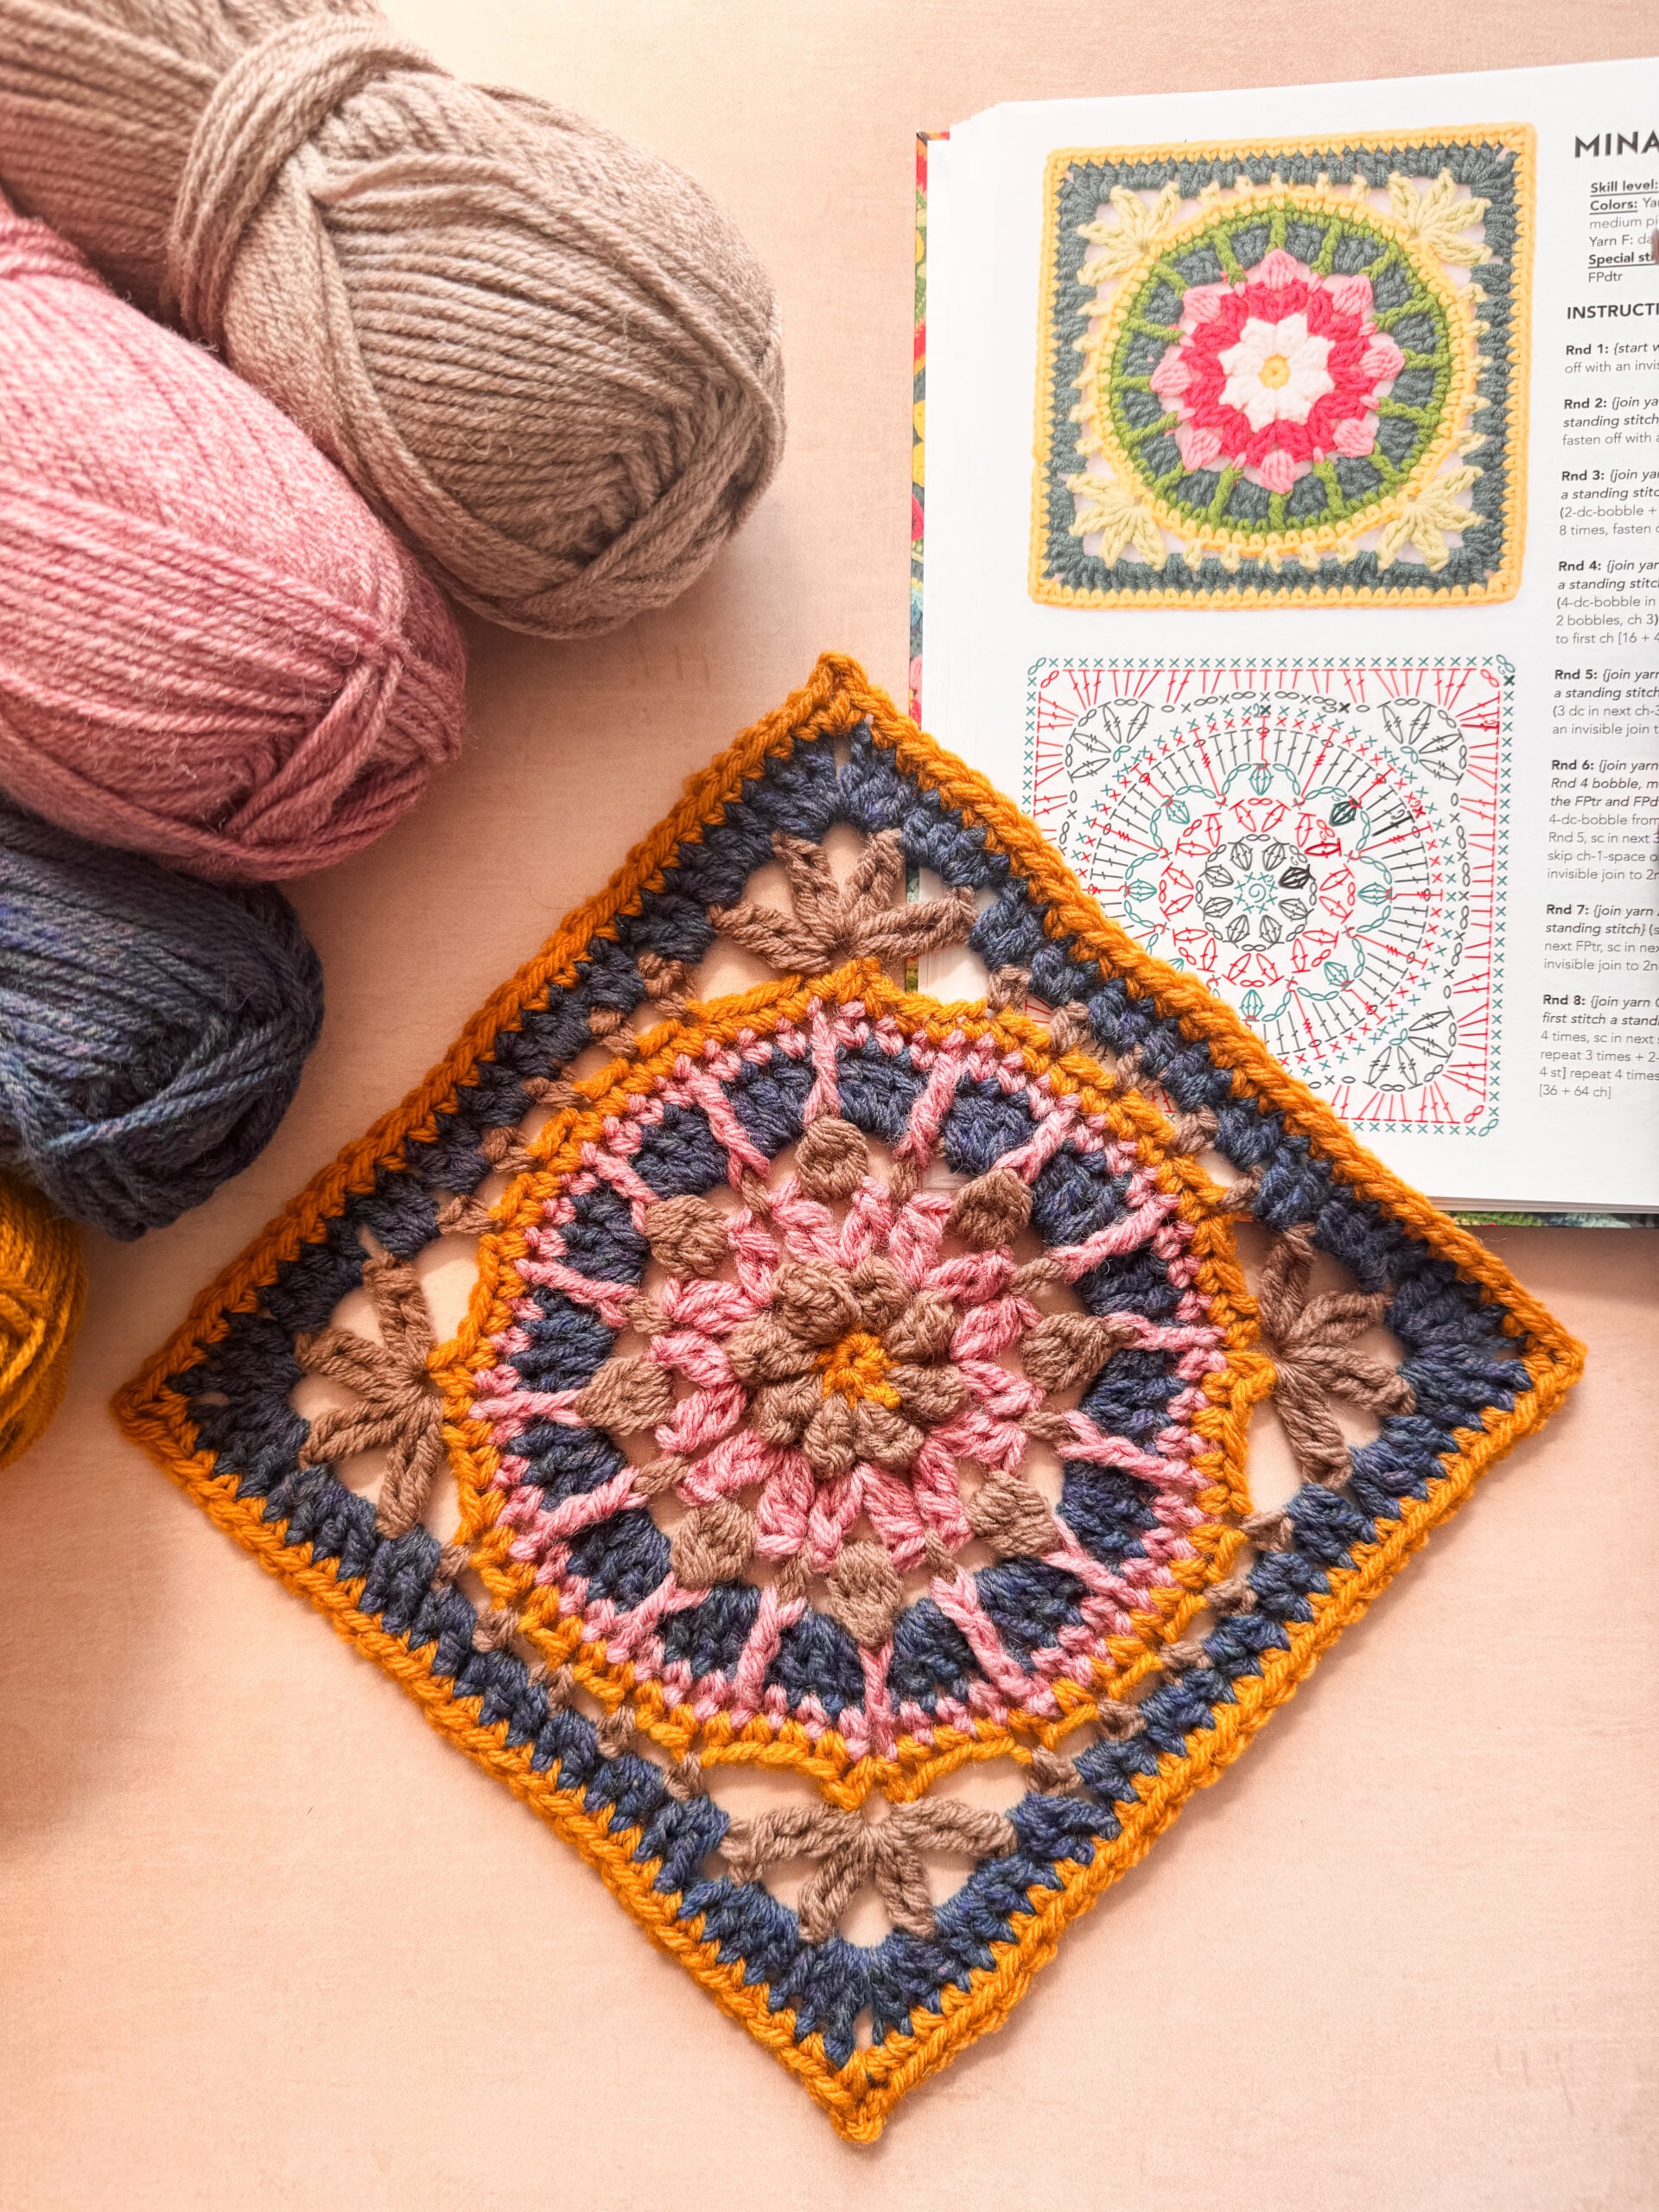
Crochet symbol charts can look like toddler scribbles at first. X’s, O’s and mysterious little markings fill the page, leaving you to wonder how any of it becomes crochet.
But once you crack the code, those symbols become a visual map showing you exactly where each stitch goes. Charts can make complicated patterns easier to understand and open up a whole new world of crochet. Let’s break it down together.

This post contains affiliate links that support TLYCBlog content. All opinions are my own. Read my full Privacy and Disclosures statement here.
PIN IT NOW, READ IT LATER
What Is a Crochet Symbol Chart?
A crochet symbol chart, sometimes called a crochet diagram, is a visual way of presenting crochet instructions. Each symbol represents a stitch or action, while the way those symbols are arranged shows you where the stitches go and how they connect.
Think of it this way: written instructions tell you what to do one step at a time, while a symbol chart shows you how those steps fit together.
Take a classic granny square. The written instructions explain how to begin, where to place each stitch, and how to work the corners. A symbol chart presents those same steps in a shape that more closely resembles the finished square.
Many patterns include both written instructions and a symbol chart. When one format feels confusing or wordy, the other can help you see what the designer wants you to do. For more help with written instructions, abbreviations, and repeats, visit my complete guide to reading crochet patterns for beginners.
Watch: How to Read Crochet Symbol Charts
Crochet charts make much more sense when you can see someone work through them step by step. In this video, I explain how symbol charts work, where to begin, and which direction to read, then walk you through three examples from simple to more advanced.
Parts of a Crochet Symbol Chart
Every designer formats their charts a little differently, but most include the same basic clues. Once you know what to look for, the whole chart becomes much easier to navigate.
// Symbol Key or Legend
The symbol key, sometimes called a legend, tells you what each symbol means. Think of it like the abbreviation list in a written pattern.
Many crochet symbols are widely recognized, but some may be unique to the designer or region. Always check the key included with your pattern first. If there isn’t one, the Craft Yarn Council’s crochet chart symbol guide is a helpful reference for common stitches.
You do not need to memorize every crochet symbol. Keep the key nearby and refer to it as often as you need.
// Starting Point
Before picking up your hook, find where the chart begins.
Charts worked in rows usually start along the bottom with a foundation chain. Charts worked in rounds typically begin in the center with a magic ring or chain loop.
Look for a row or round number, arrow, bold symbol, or other marker that identifies the first stitch. The chart key or pattern notes should explain any special markings.
// Row and Round Markers
Numbers and arrows help you follow the chart in the correct order. Some designers also use a different color for each row or round so you can easily see where one ends and the next begins.
Do not automatically assume those colors represent yarn changes. They may simply make the chart easier to read. Check the written instructions, photos, pattern notes, and symbol key before reaching for another skein.
// Repeats and Special Stitches
Stitch repeats may be enclosed by brackets, lines, boxes, highlighted areas, or not at all. Check the chart key to see where the repeat begins and ends, then work that section the required number of times.
A chart may also include a unique symbol for a cluster, decrease, or other special stitch. Read through the written special-stitch instructions before beginning so you know how to complete that symbol when you reach it.
How to Read Crochet Charts in Rows and Rounds
The direction you read a crochet chart depends on whether the project is worked flat in rows or outward in rounds. Before you begin, find the starting point and look for row numbers, round numbers, or arrows that show you which way to go.
// Charts Worked in Rows
A chart worked in rows will typically begin with the foundation chain along the bottom.
Some charts include a starting-chain formula, such as a multiple of 3 + 4. This means you can chain any number evenly divisible by 3, then add 4 more chains.
Once you find Row 1, follow the symbols in order:
- Row 1 is read from right to left, regardless of handedness.
- After turning the work, read Row 2 from left to right.
- Continue alternating directions as you move up the chart.
The turning chain usually appears along the edge of each row. Check the pattern notes to learn whether it counts as a stitch.
Work through the chart one row at a time. Use the row numbers or arrows to keep your place, and turn your work at the end of each row unless the pattern tells you otherwise.
// Charts Worked in Rounds
A chart worked in rounds typically begins at the center and moves outward. The center may represent a magic ring, a chain loop or another starting method explained in the pattern.
Right-handed crocheters will usually read each round counterclockwise. Lefties should read the chart clockwise. Find the first stitch, then follow the symbols around the center until you return to the beginning.
Look for round numbers, arrows, bold symbols, or different colors that help identify where each new round begins. Check the chart key to understand what those markings mean.
The written instructions should also tell you whether the rounds are joined with a slip stitch or worked continuously in a spiral. If the project includes color changes, check when each new color should be introduced.
At the end of each round, pause and compare your crochet with the chart. Check the number of corners, stitch groups, and spaces before continuing.
// Reading Crochet Charts Left-Handed
Most crochet charts assume right-handedness, because of course they do. Left-handed crocheters will generally follow row charts the same as right-handed crocheters, but rounds are worked in the opposite direction.
- Read Row 1 from right to left and Row 2 from left to right.
- Read charts worked in rounds clockwise.
- Continue using the same stitch symbols shown in the chart. Only the direction changes.
If the design includes directional stitches or an asymmetrical shape, look for a left-handed chart or mirror the original chart before beginning.
Tips for Learning to Read Crochet Charts
Like most crochet skills, reading charts gets easier with practice. Start with a simple chart that uses stitches you already know so you can focus on following the symbols instead of learning a new stitch at the same time.
Try these tips:
- Study the whole chart before you begin. Find the starting point, identify any repeats, and locate the final row or round.
- Keep the symbol key visible while you crochet.
- Use a ruler, sticky note, or your finger to follow one row or round at a time.
- Read through any special stitches and pattern notes before picking up your hook.
- Compare your fabric with the chart or photo as you work, paying attention to stitch groups, spaces, corners, and overall shape.
- Keep the written instructions nearby when the pattern provides both formats.
You do not have to understand the entire chart at once. You only need to understand the row or round directly in front of you.
Where to Find Crochet Symbol Charts
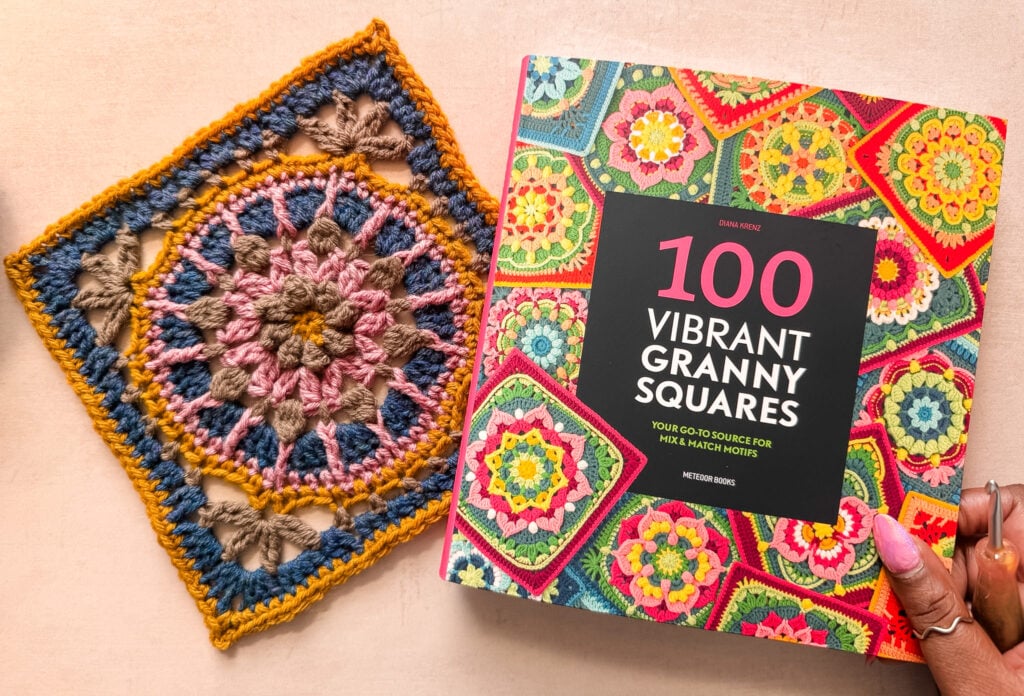
Some of my favorite crochet charts come from books and magazines. Keep your eyes open the next time you visit your library or local bookstore.
Here are a few resources worth exploring:
- The New Crochet Stitch Dictionary
- 100 Vibrant Granny Squares
- The Granny Square Card Deck
- Crochet Every Way Stitch Dictionary
Books in the crochet space are sorely underrated, but they hold a wealth of valuable information. Please support these amazing authors and give their resources a closer look.
Now that crochet charts make a little more sense, I hope you’ll give them a try. Each new chart gives you another opportunity to practice new stitches and techniques, making you a better crocheter along the way. Before long, those mysterious symbols will start looking less like a secret code and more like the helpful crochet map they were meant to be.


