

Woodstock Granny Blanket – a FREE crochet motif afghan tutorial + pattern
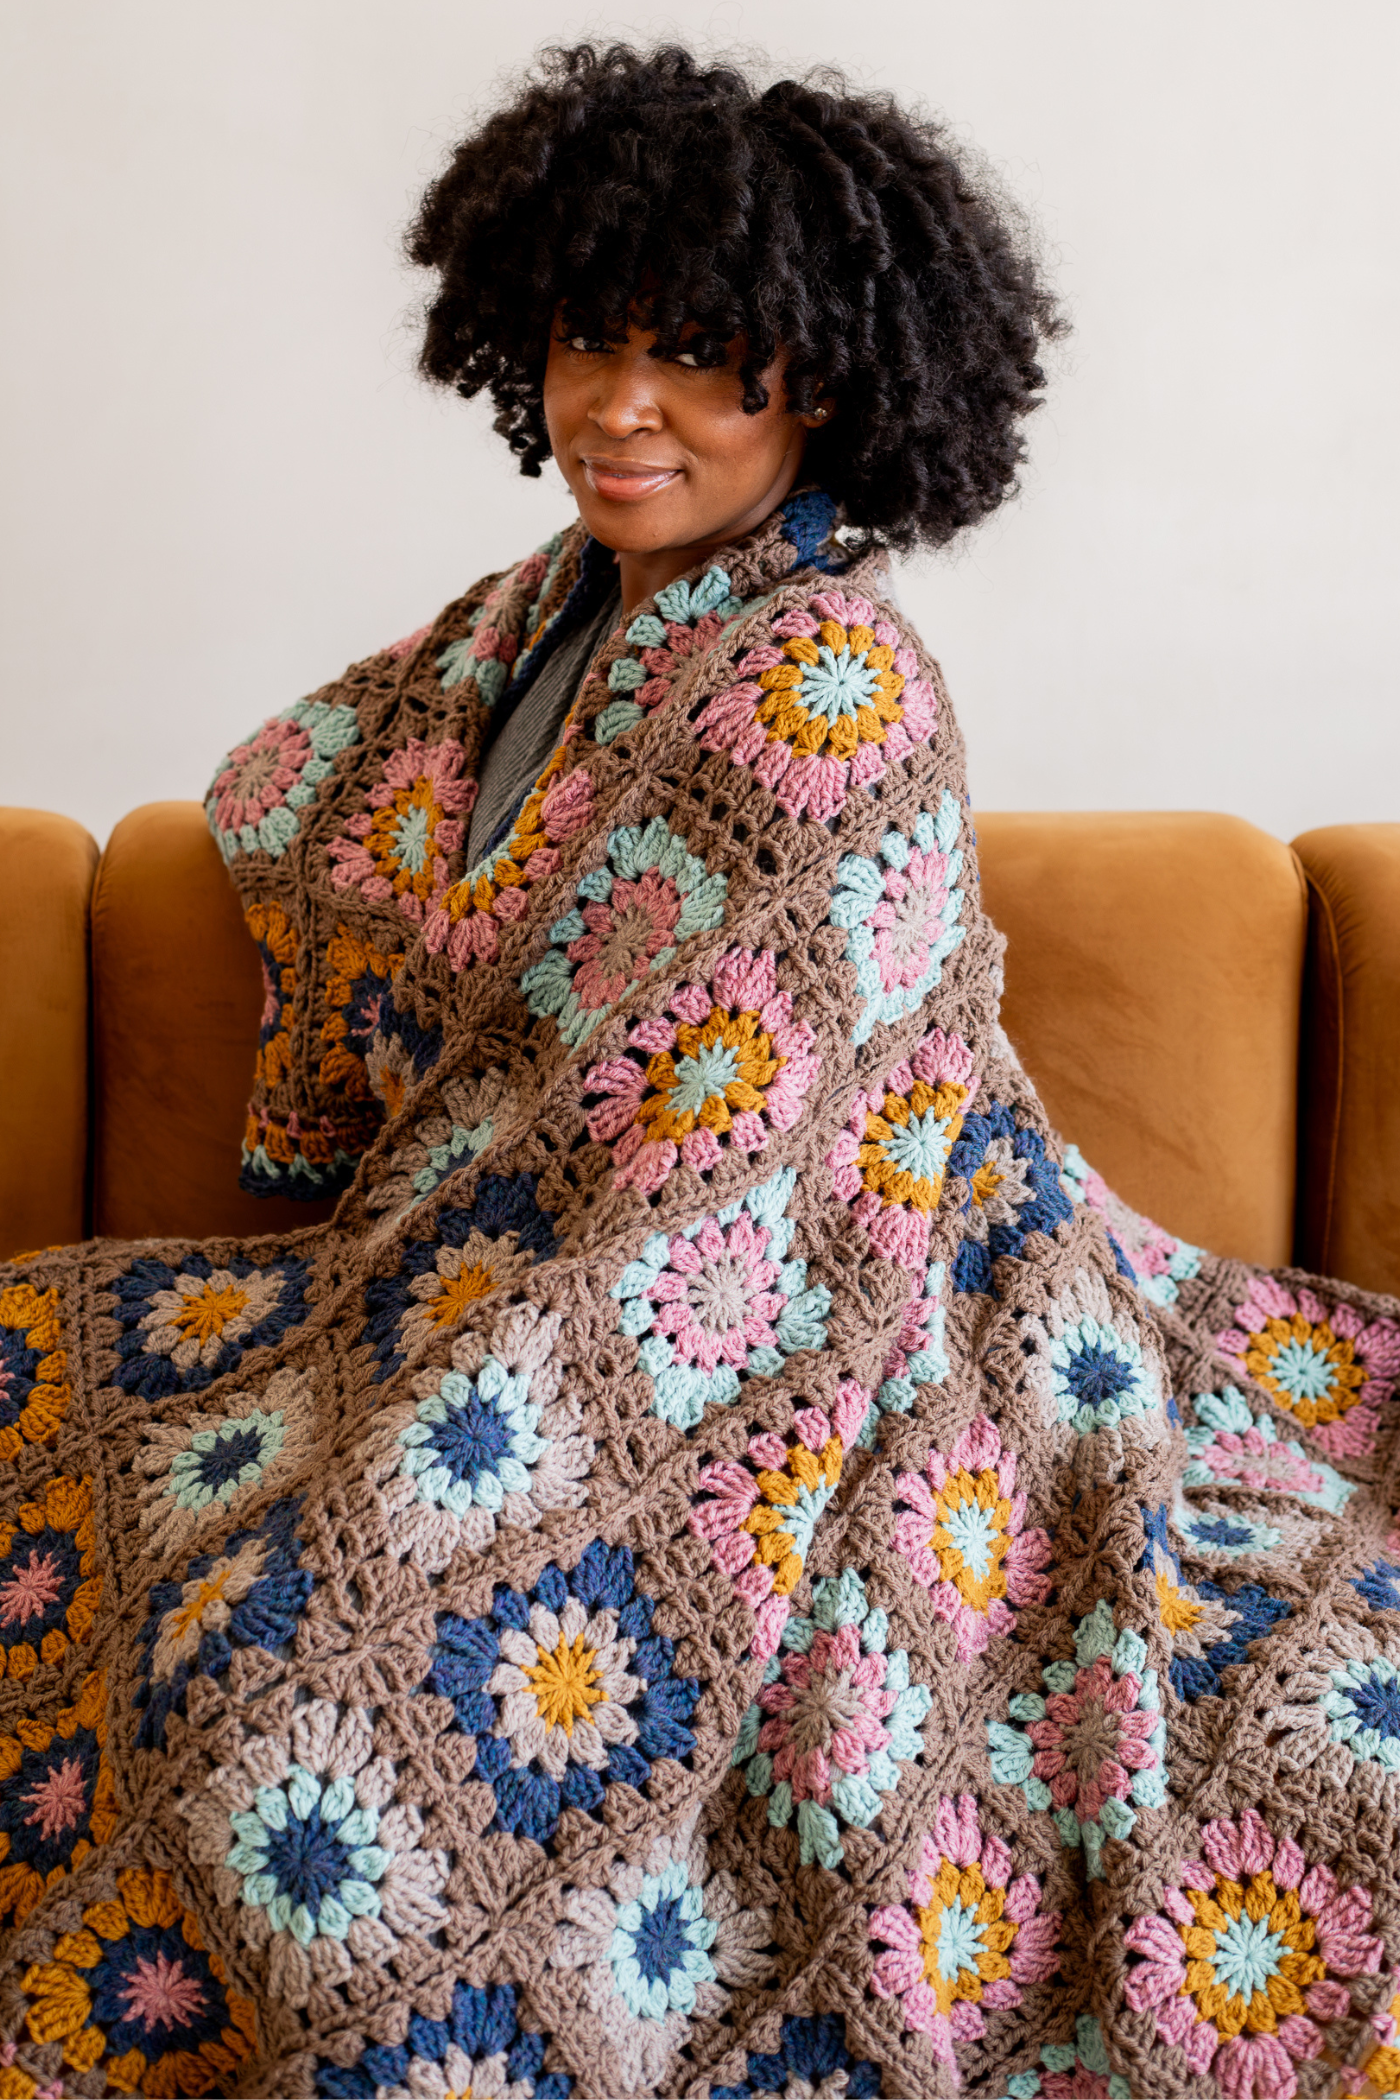
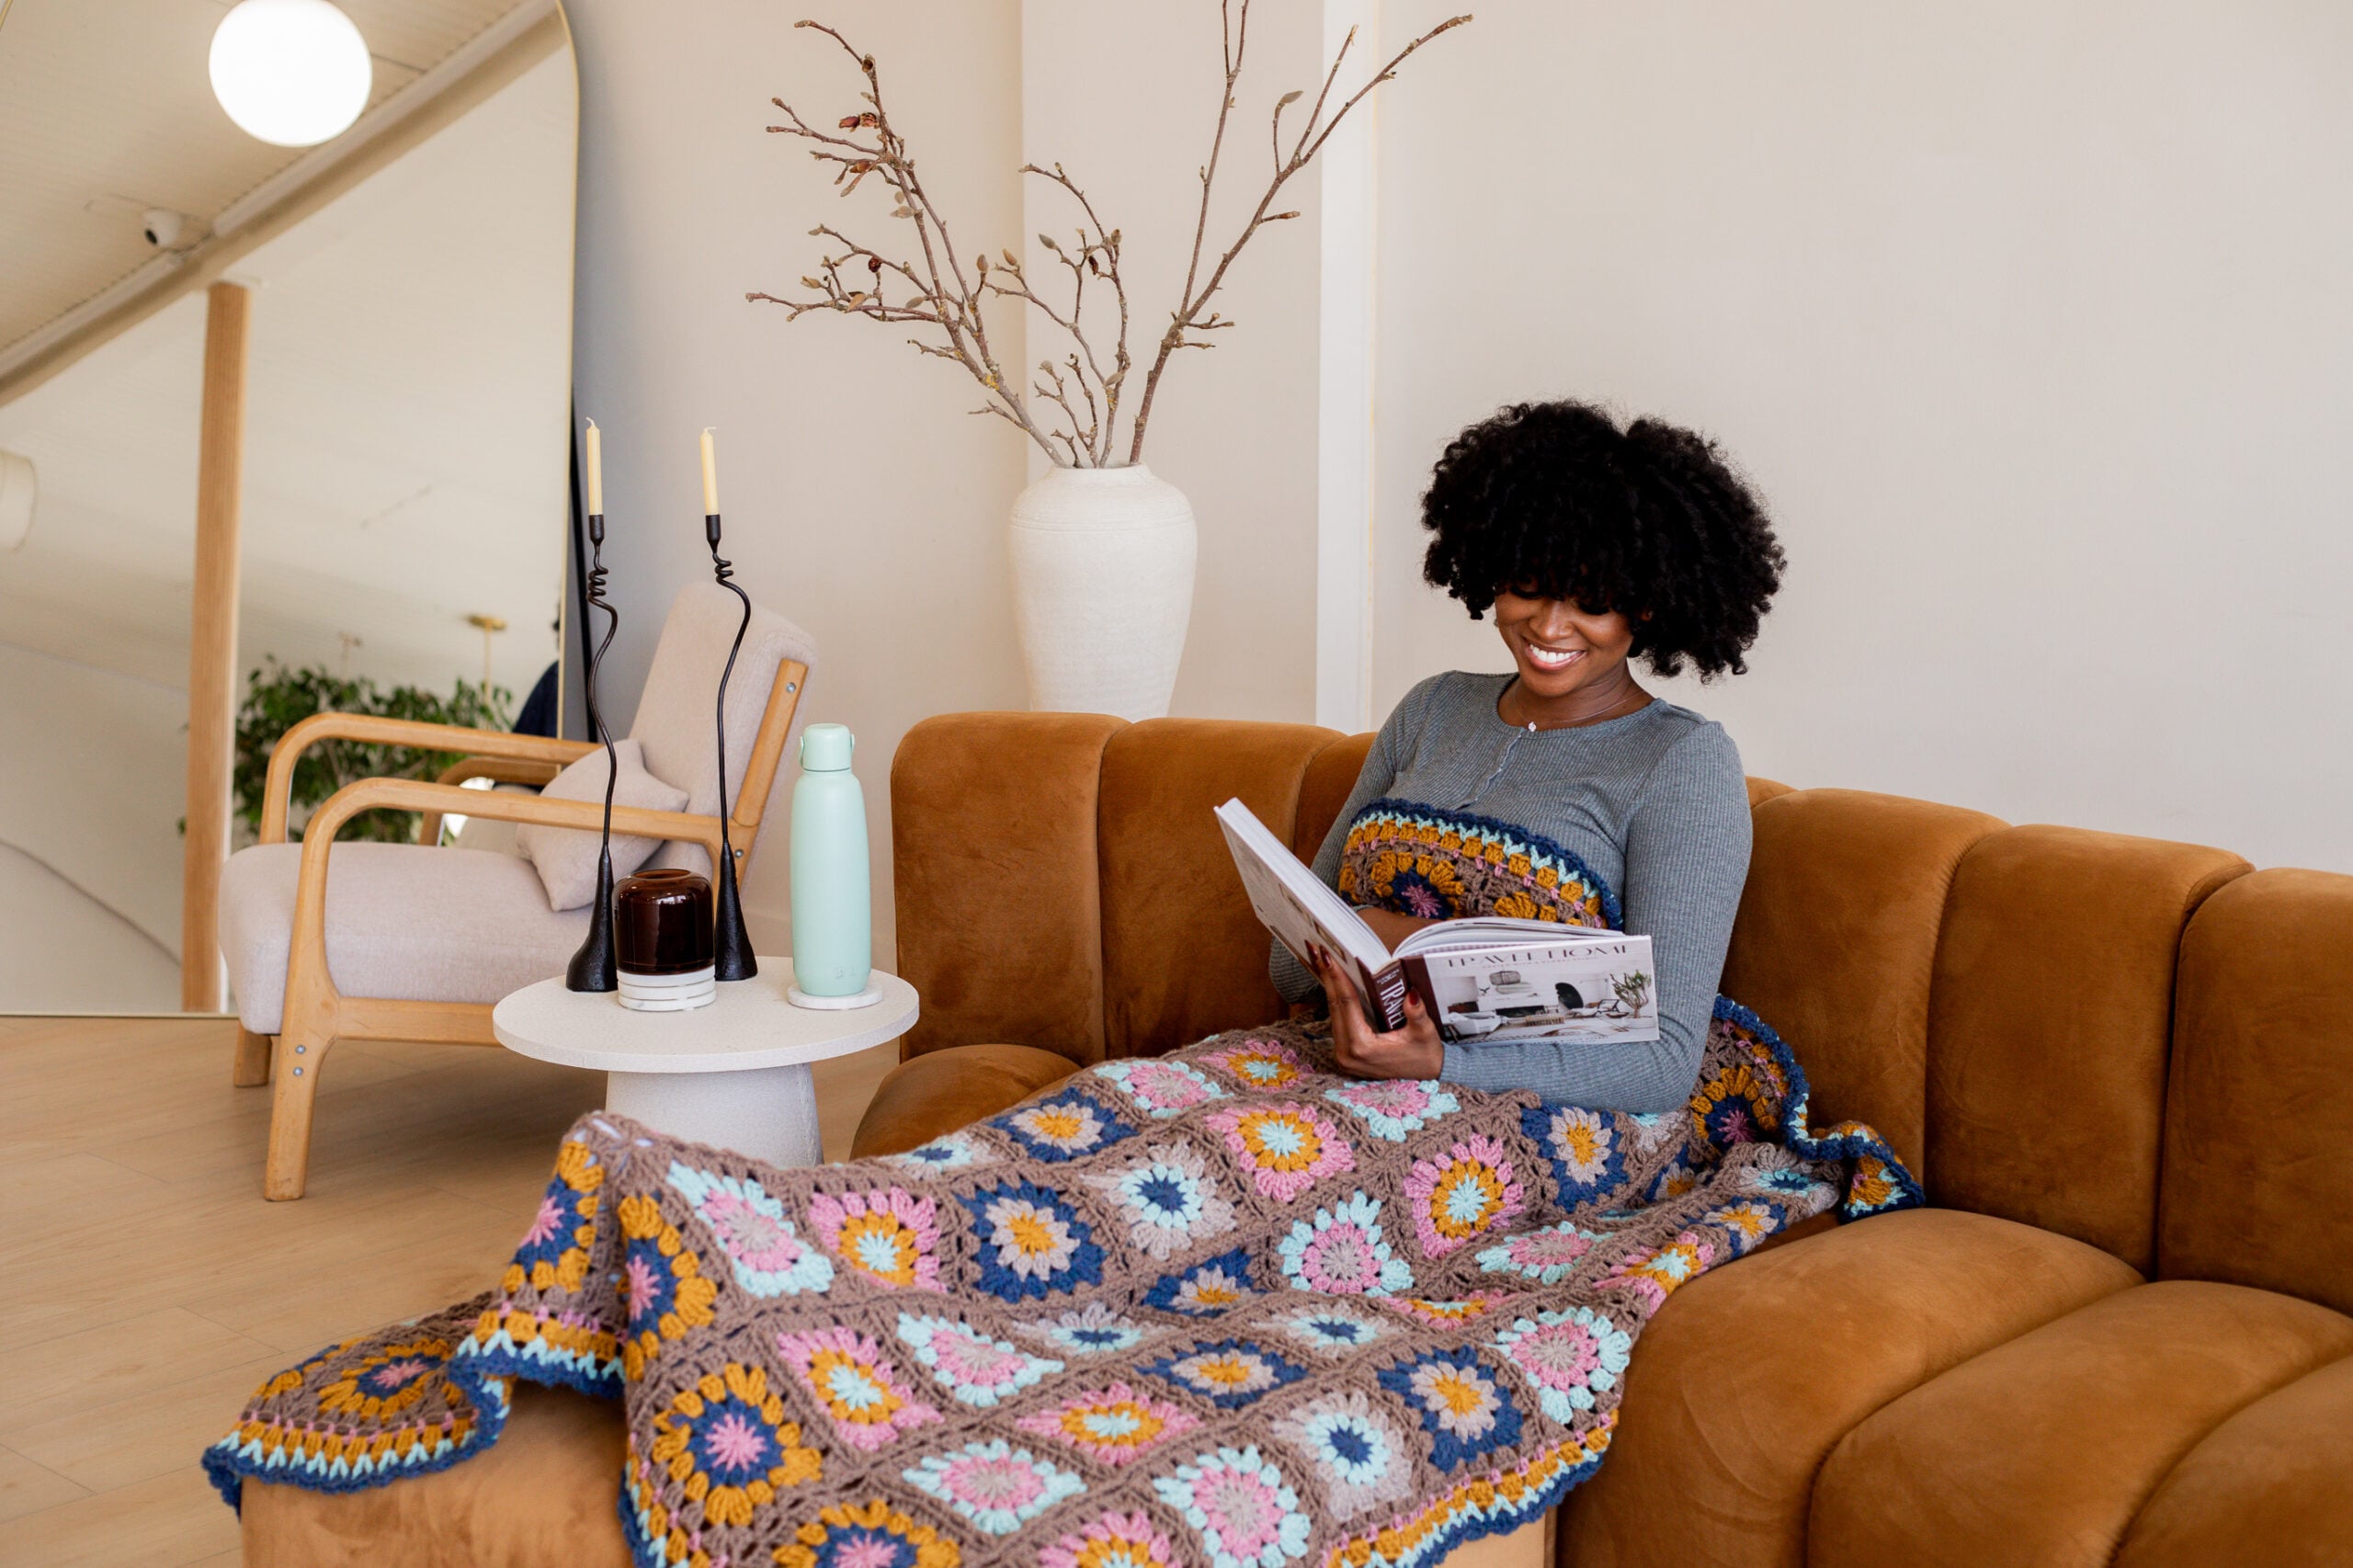
It’s about time you made an ICONIC granny square blanket. Look no further than the Woodstock Granny Blanket, a colorful crochet afghan featuring an eye-catching motif.
Granny squares are at the heart of crochet for a reason. They’re bite-sized bits of productivity that can become just about anything. I’ve turned granny squares into sweaters, scarves, and bags. But somehow I didn’t have a cuddly throw-sized granny square blanket, and that just won’t do. Enter the Woodstock Granny Blanket, a FREE beginner-friendly crochet motif blanket pattern with step-by-step tutorial video. It’s perfect for all skill levels, and you’ll get addicted to the unique granny square.
This post contains affiliate links that support the content on TLYCBlog.com. All opinions are my own. Find my Privacy & Disclosures Policy here.

PIN IT NOW, MAKE IT LATER!
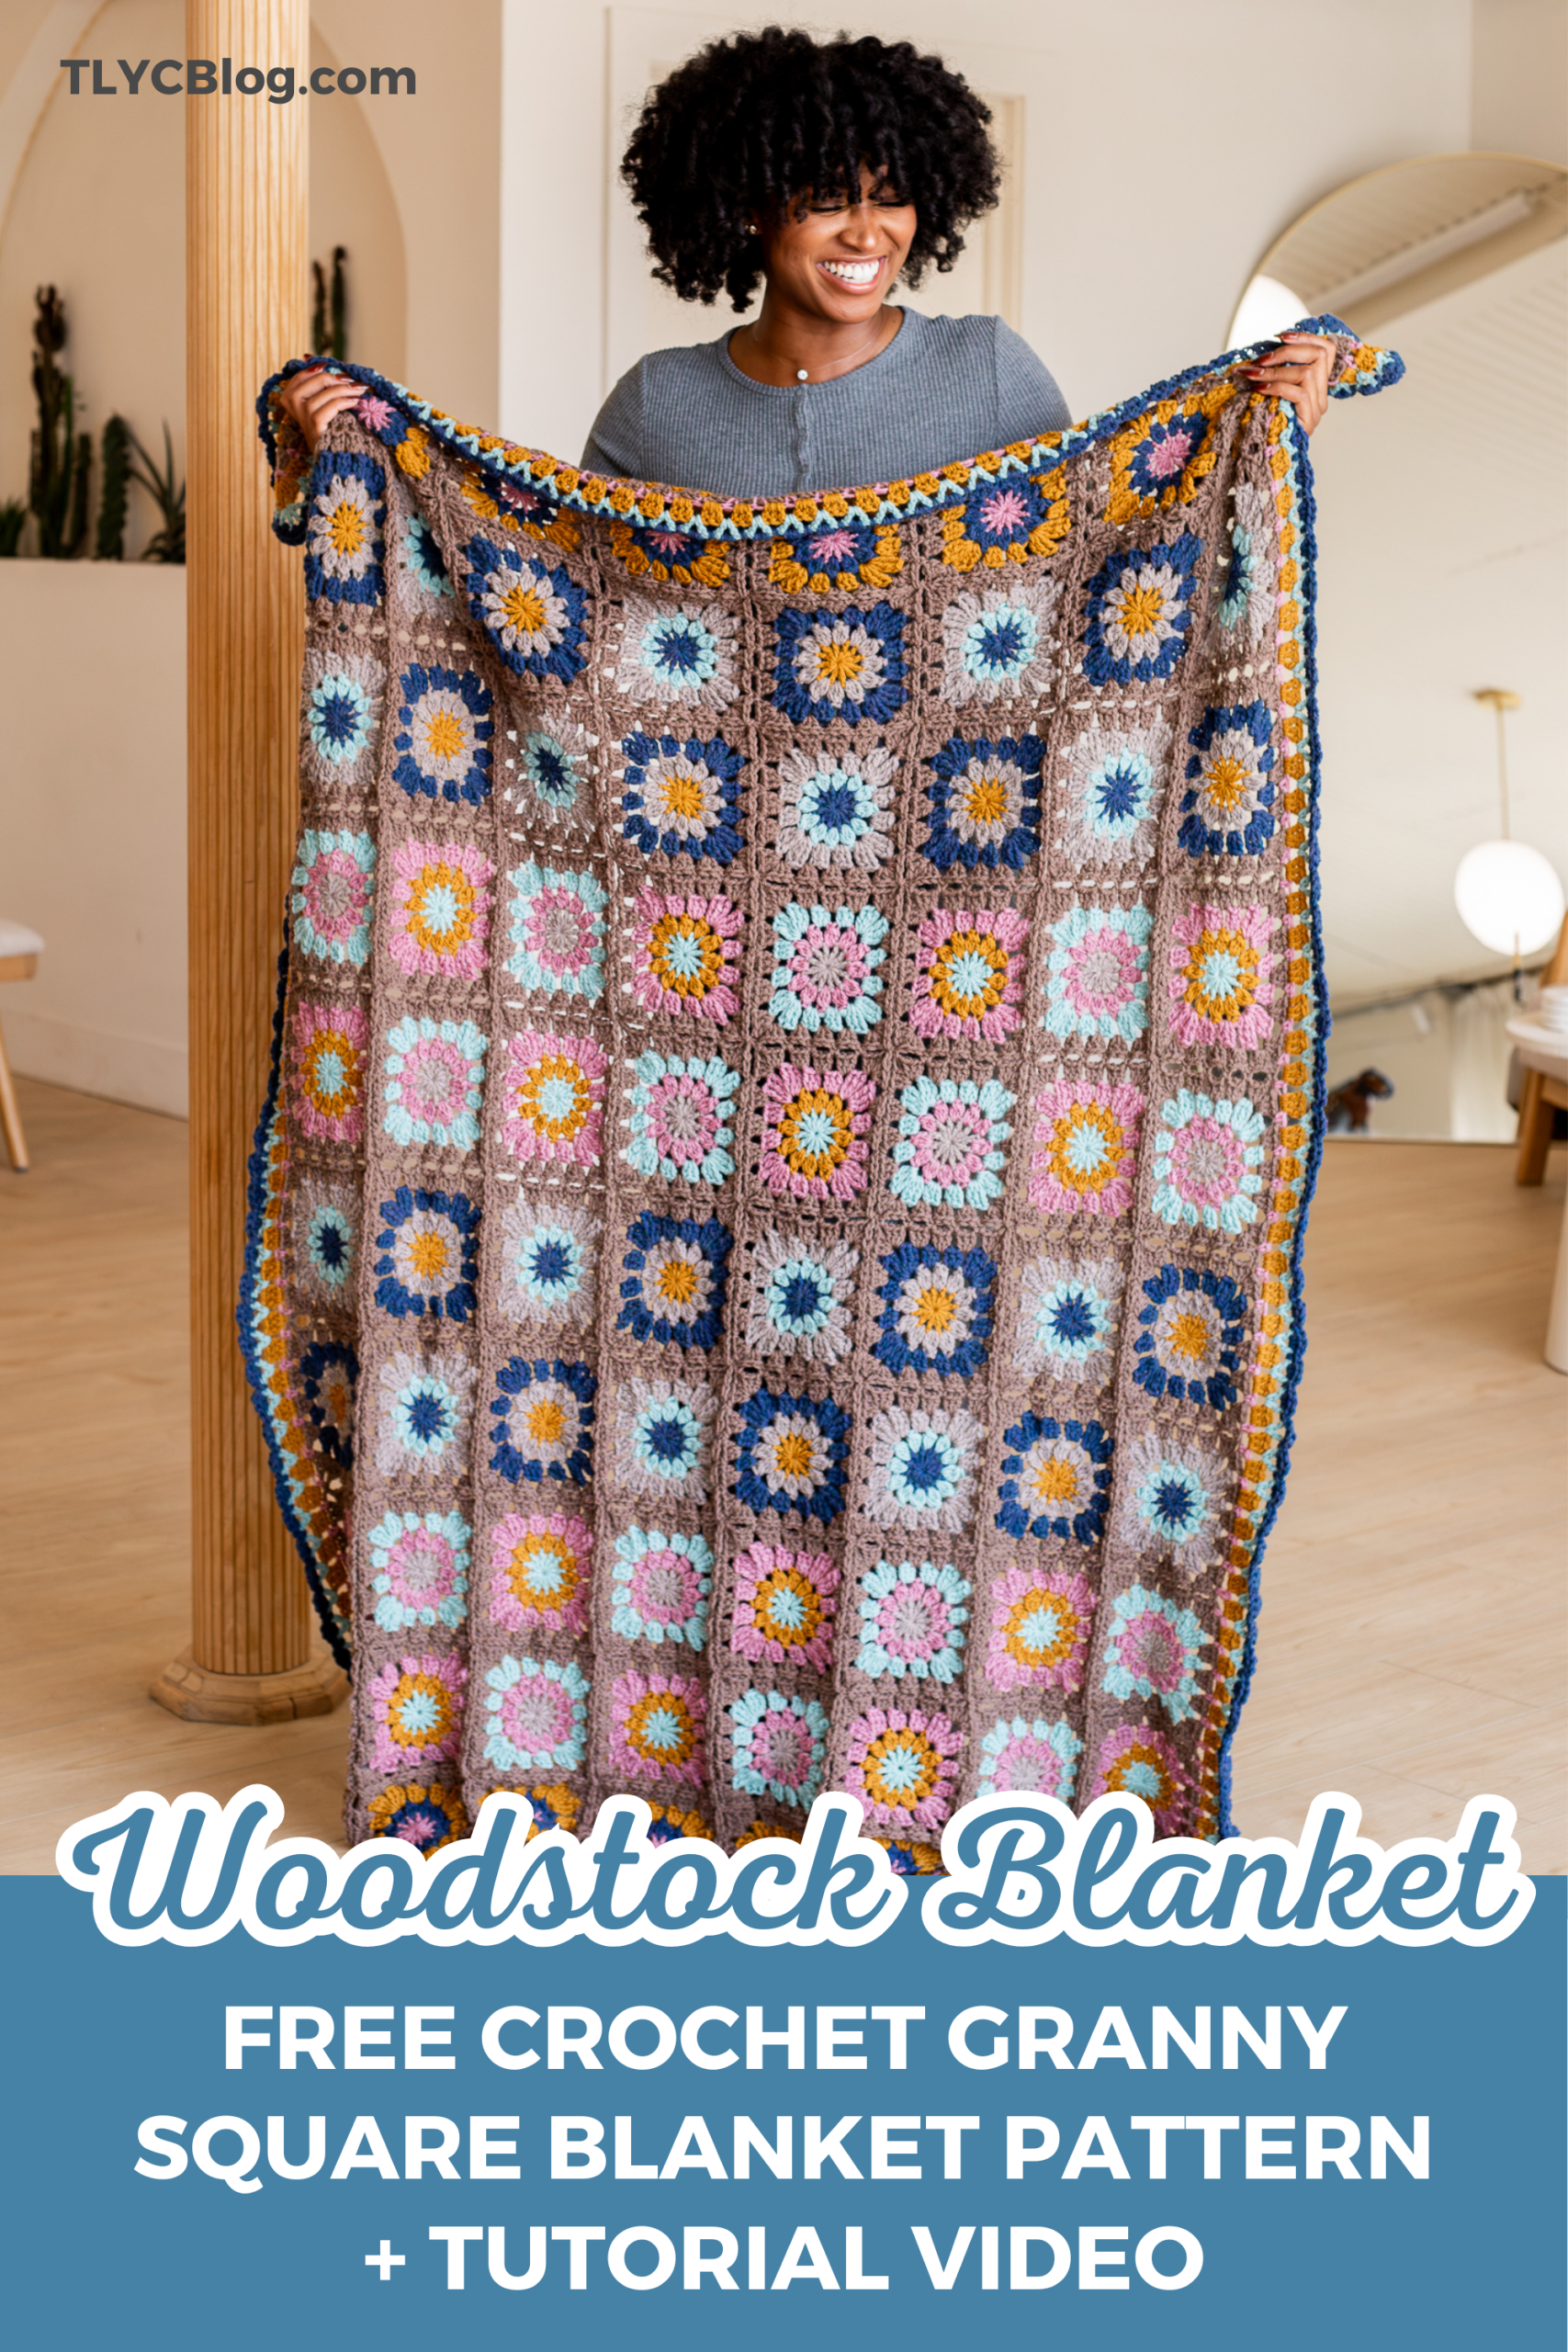
Make the Woodstock Granny Blanket!
- FREE PATTERN: Keep scrolling for the FREE version of the Woodstock Granny Blanket
- PRINTABLE PDF: Get a printer-friendly, ad-free PDF version of the Woodstock Granny Blanket from Ravelry and TLYarnCrafts.com
- PROJECT KIT: Customize your Woodstock Granny Blanket project kit from Lion Brand HERE
Crocheting a Granny Square Blanket
Many crocheters start their journey with a blanket — myself included. Mine was a truly hideous camo continuous granny square that my brother took off to college, and I was so proud of it. What I didn’t know was that, some time later, a motif blanket would humble me for the next two years. Magic rings, endless squares, seaming — there’s no shortage of roadblocks between you and the finish line of a granny square blanket. I’ve been there, and I never want to go back.
For the Woodstock Granny Blanket, I wanted to remove those pitfalls with smart design. I started with a granny square that is truly addictive to make. Then I picked a join method that feels just as satisfying. Finally, the four-round border uses up as much of the leftover yarn as we can. The result is a timeless blanket that’s at home on your couch, in your guestroom, or with a beloved friend.
The Best Yarn for Granny Square Blankets
There’s a lot to consider when picking the best yarn for your granny square blanket. Keep these things in mind when you go to the store:
- Fiber Content: The fiber you choose affects everything — how the blanket feels, how it washes, and how long it lasts. Different fibers bring different trade-offs, so think about your lifestyle before you commit. A blanket that lives on the couch gets a lot of use, and your yarn should be able to keep up.
- Yarn Weight: Worsted weight is the sweet spot, especially if this is your first granny square blanket. It works up at a satisfying pace, the stitch definition is clear, and the finished fabric has great body without being too stiff or too floppy.
- Color Availability: Granny squares live and die by the color story. You want a yarn line that comes in a wide enough range of shades to let you build your palette with intention — whether that’s a full rainbow or a curated set of neutrals.
- Price: A granny square blanket is not a one-skein project — you’re going to need a lot of yarn, possibly in multiple colors. That adds up fast. Before you fall in love with a yarn, do the math on how many skeins you’ll realistically need and what that total investment looks like.
With so much to consider, take your time and be thoughtful about which yarn you’ll go with. You’ll be spending a lot of time with this project, so be sure it’s a yarn you really love.
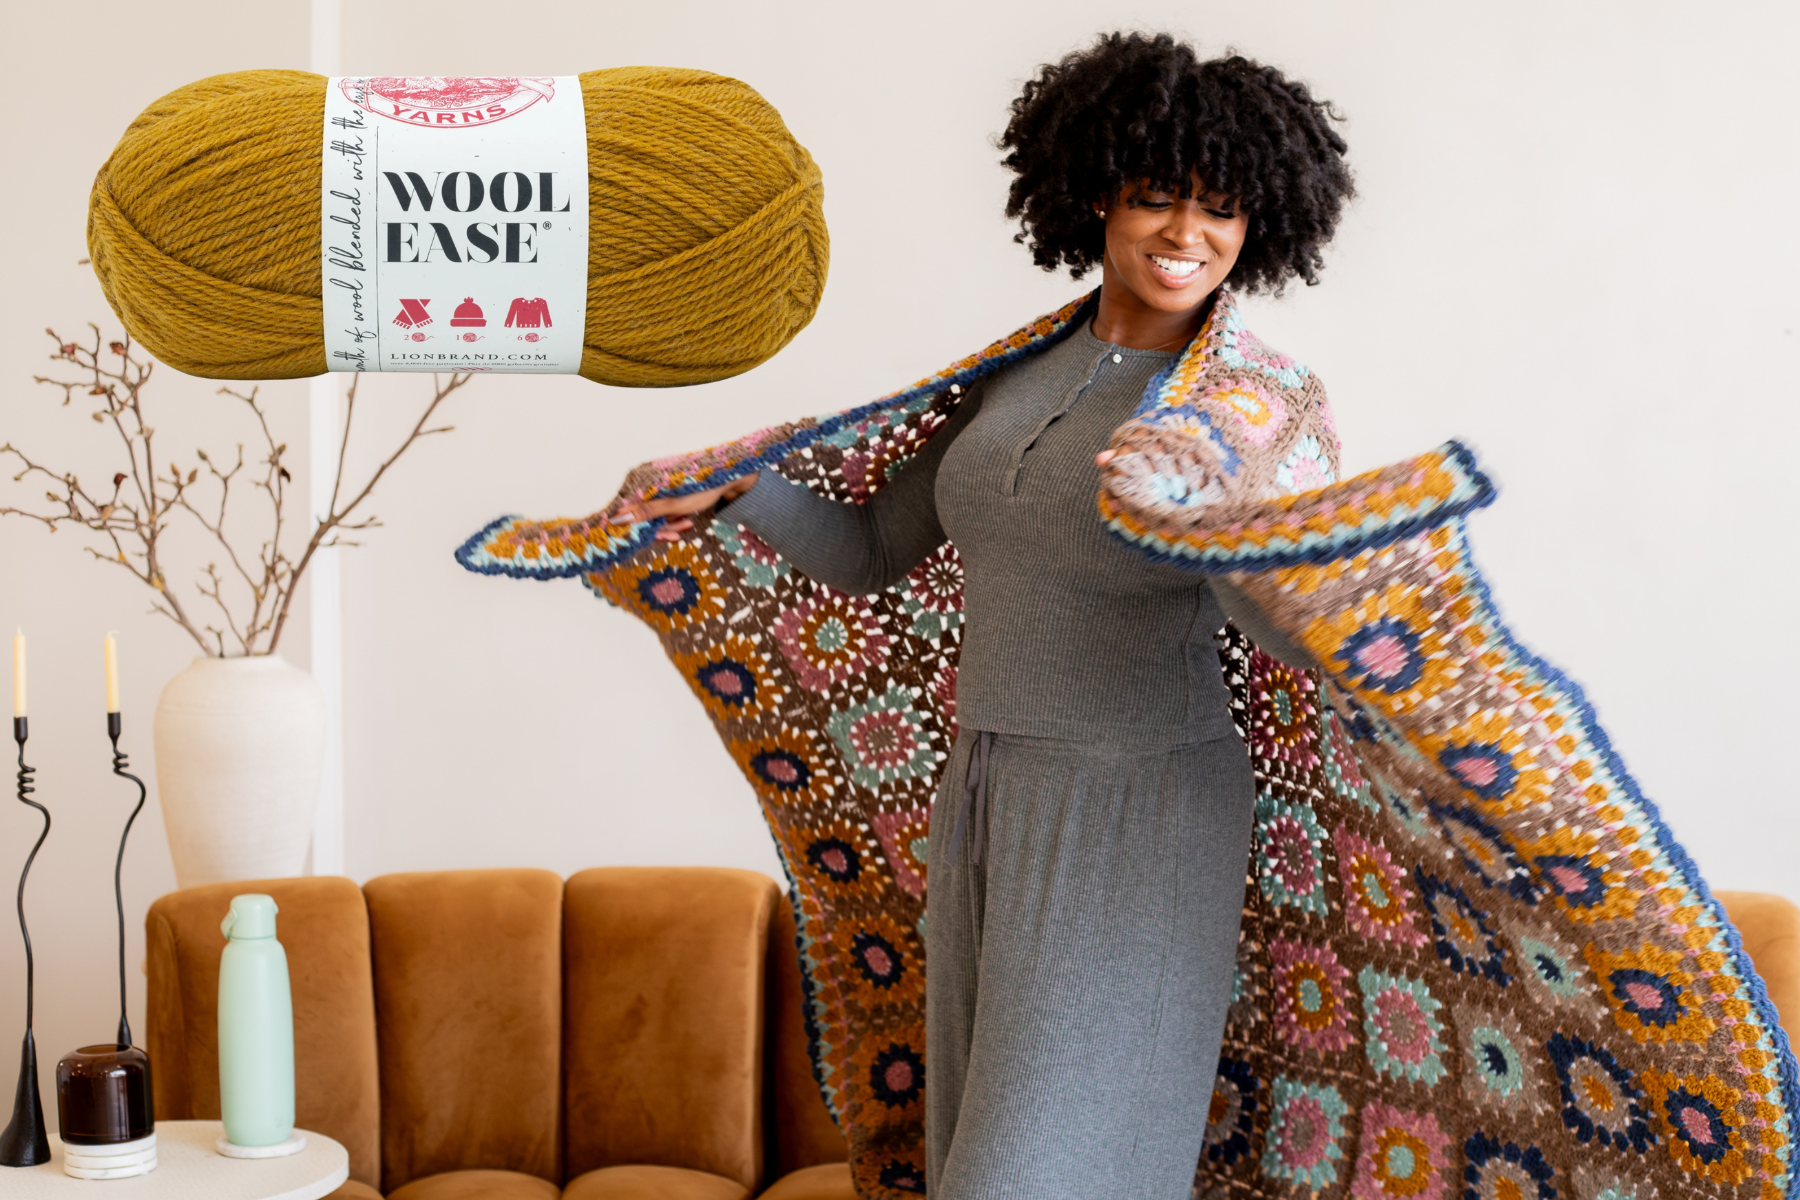
Luckily, I found a classic yarn that ticks all of these boxes for the Woodstock Granny Blanket – it’s Lion Brand’s Wool-Ease! This worsted weight blend of acrylic and wool comes in 30 cozy shades and is machine washable AND dryable. I put together an eye-catching color palette that blends neutrals with a few playful bright pastels. Wool-Ease is manageable, affordable, and gets softer with each wash – what’s not to love?!
Will Wool-Ease steal your heart, too? Only one way to find out – test it here!
Make the Woodstock Granny Blanket!
- FREE PATTERN: Keep scrolling for the FREE version of the Woodstock Granny Blanket
- PRINTABLE PDF: Get a printer-friendly, ad-free PDF version of the Woodstock Granny Blanket from Ravelry and TLYarnCrafts.com
- PROJECT KIT: Customize your Woodstock Granny Blanket project kit from Lion Brand HERE
Woodstock Granny Blanket Details
DESCRIPTION
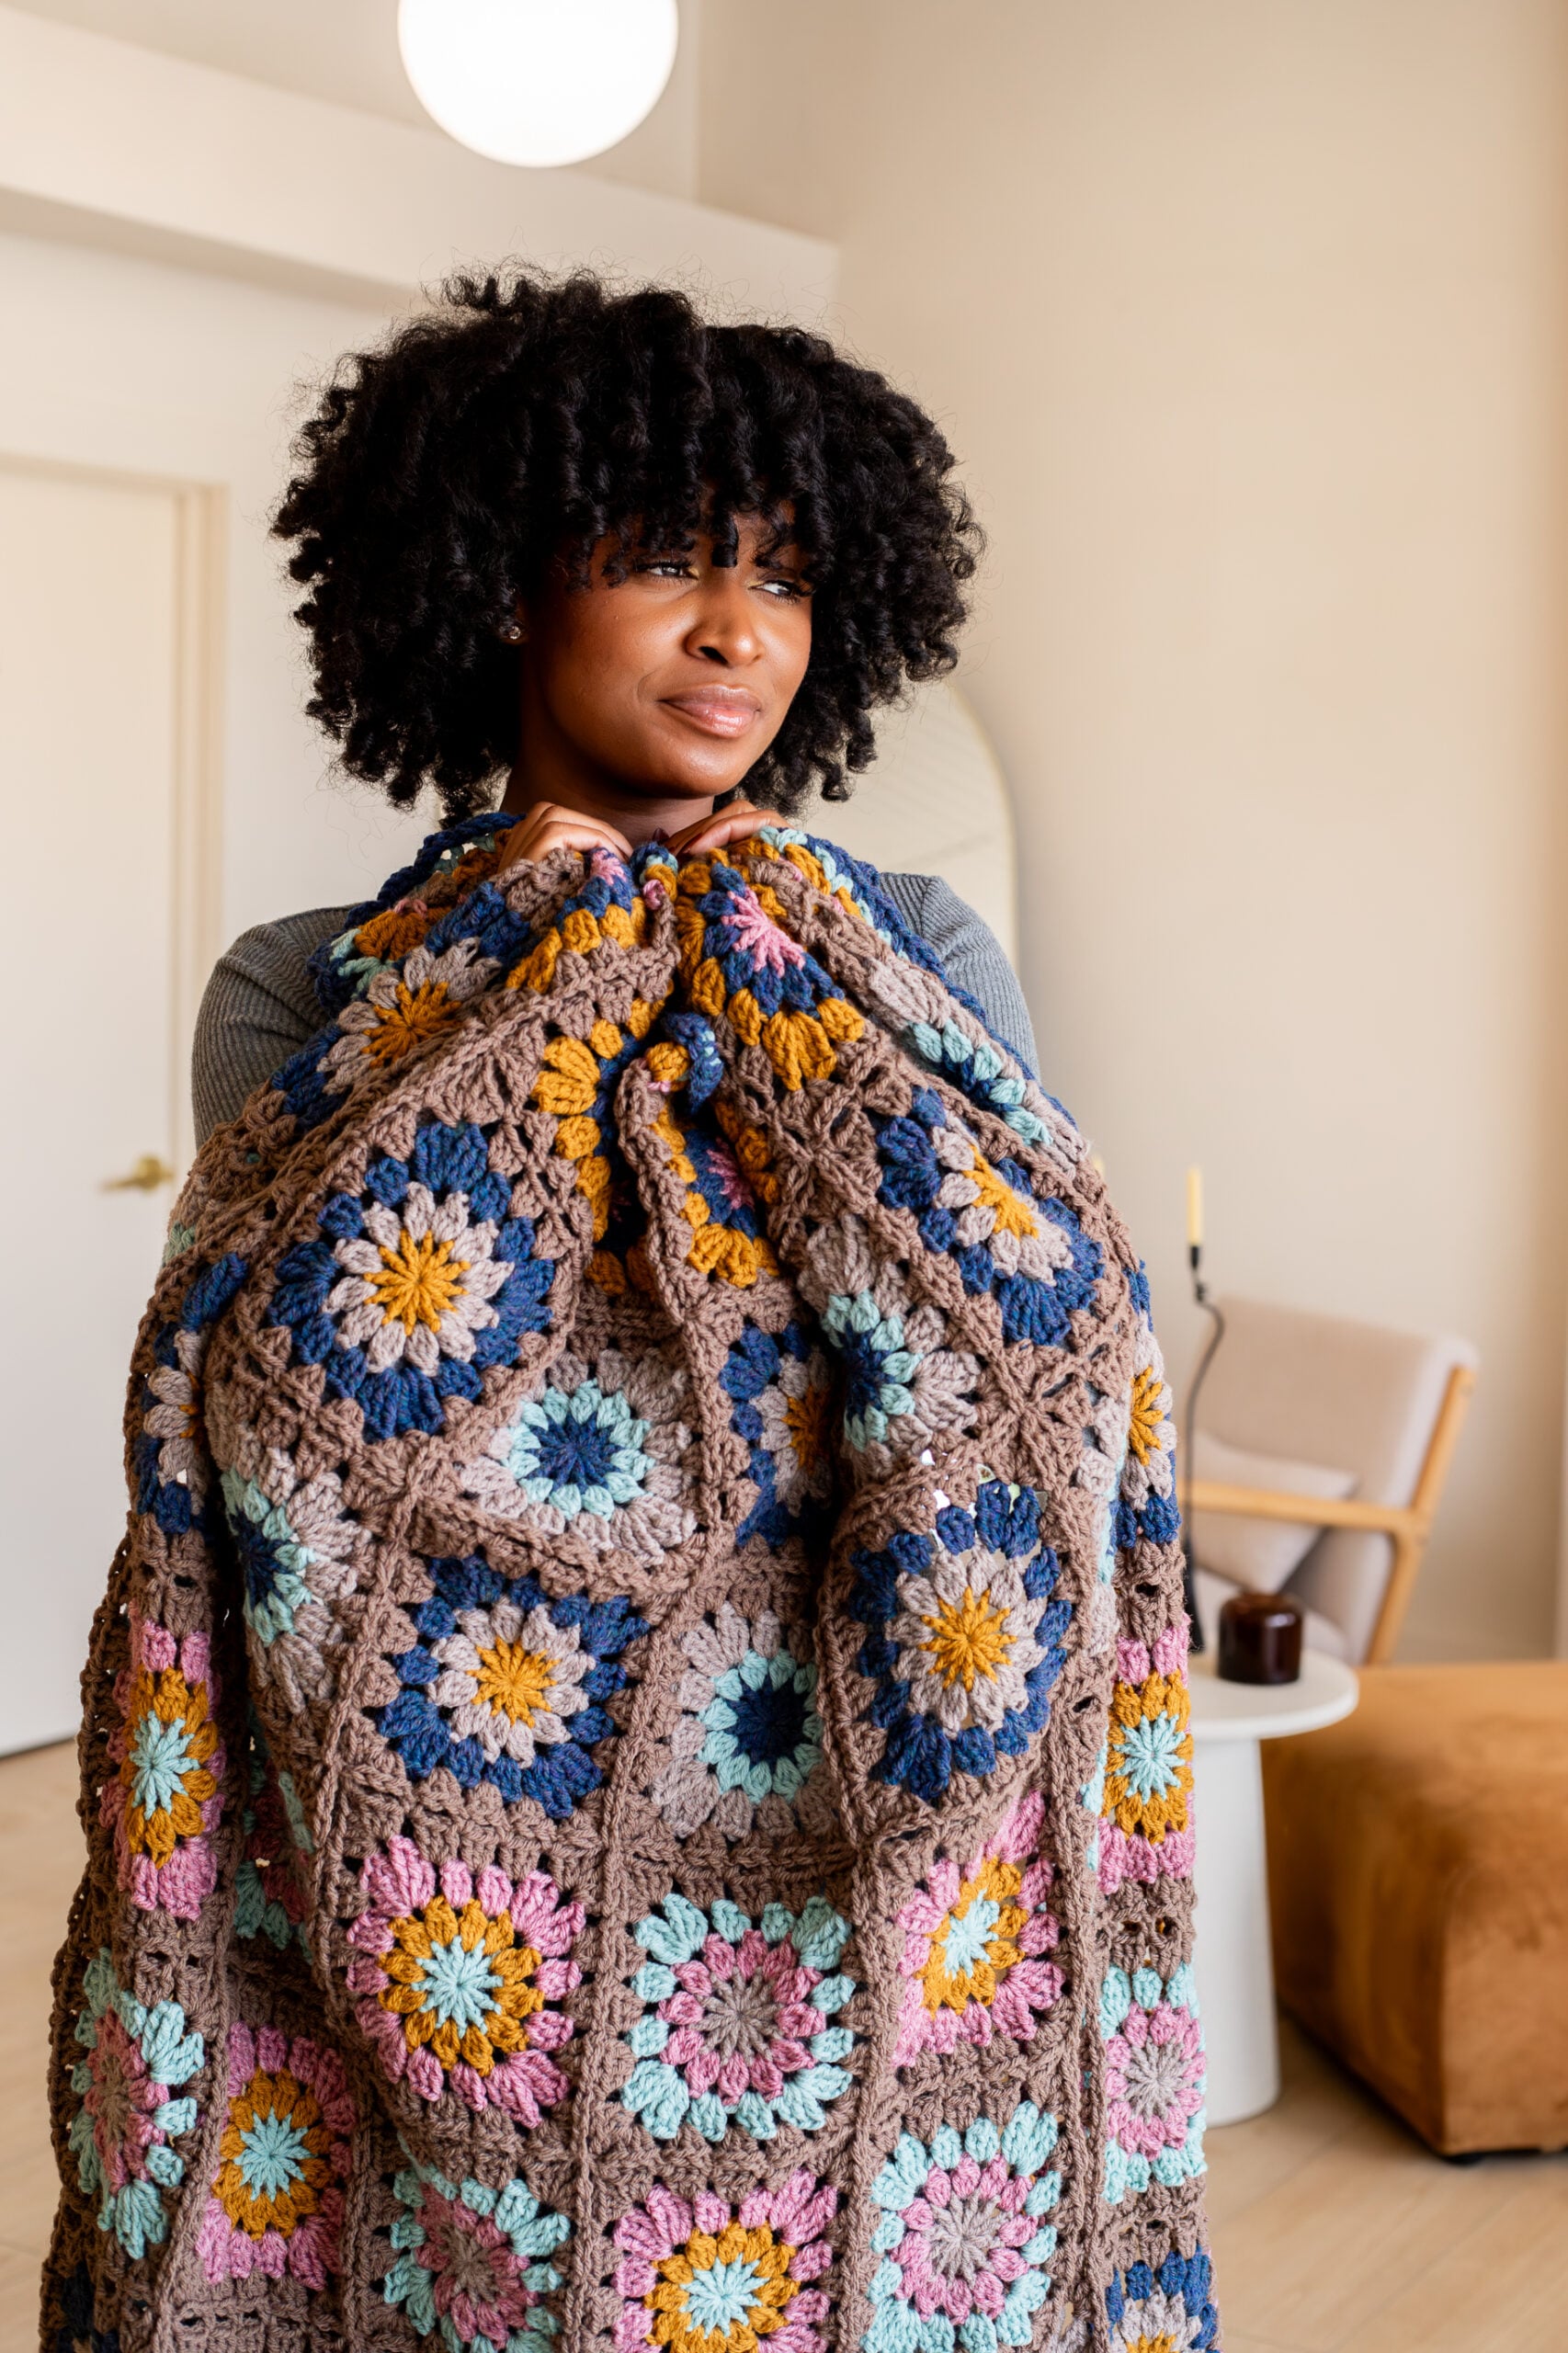
Wrap yourself in that fall feeling when you make the Woodstock Granny Blanket. This iconic granny square blanket is perfect to keep you warm on the couch while you binge the next viral series. Transform one motif using five different colorways, then choose from four unique layouts to watch your dream blanket appear before your eyes.
MATERIALS
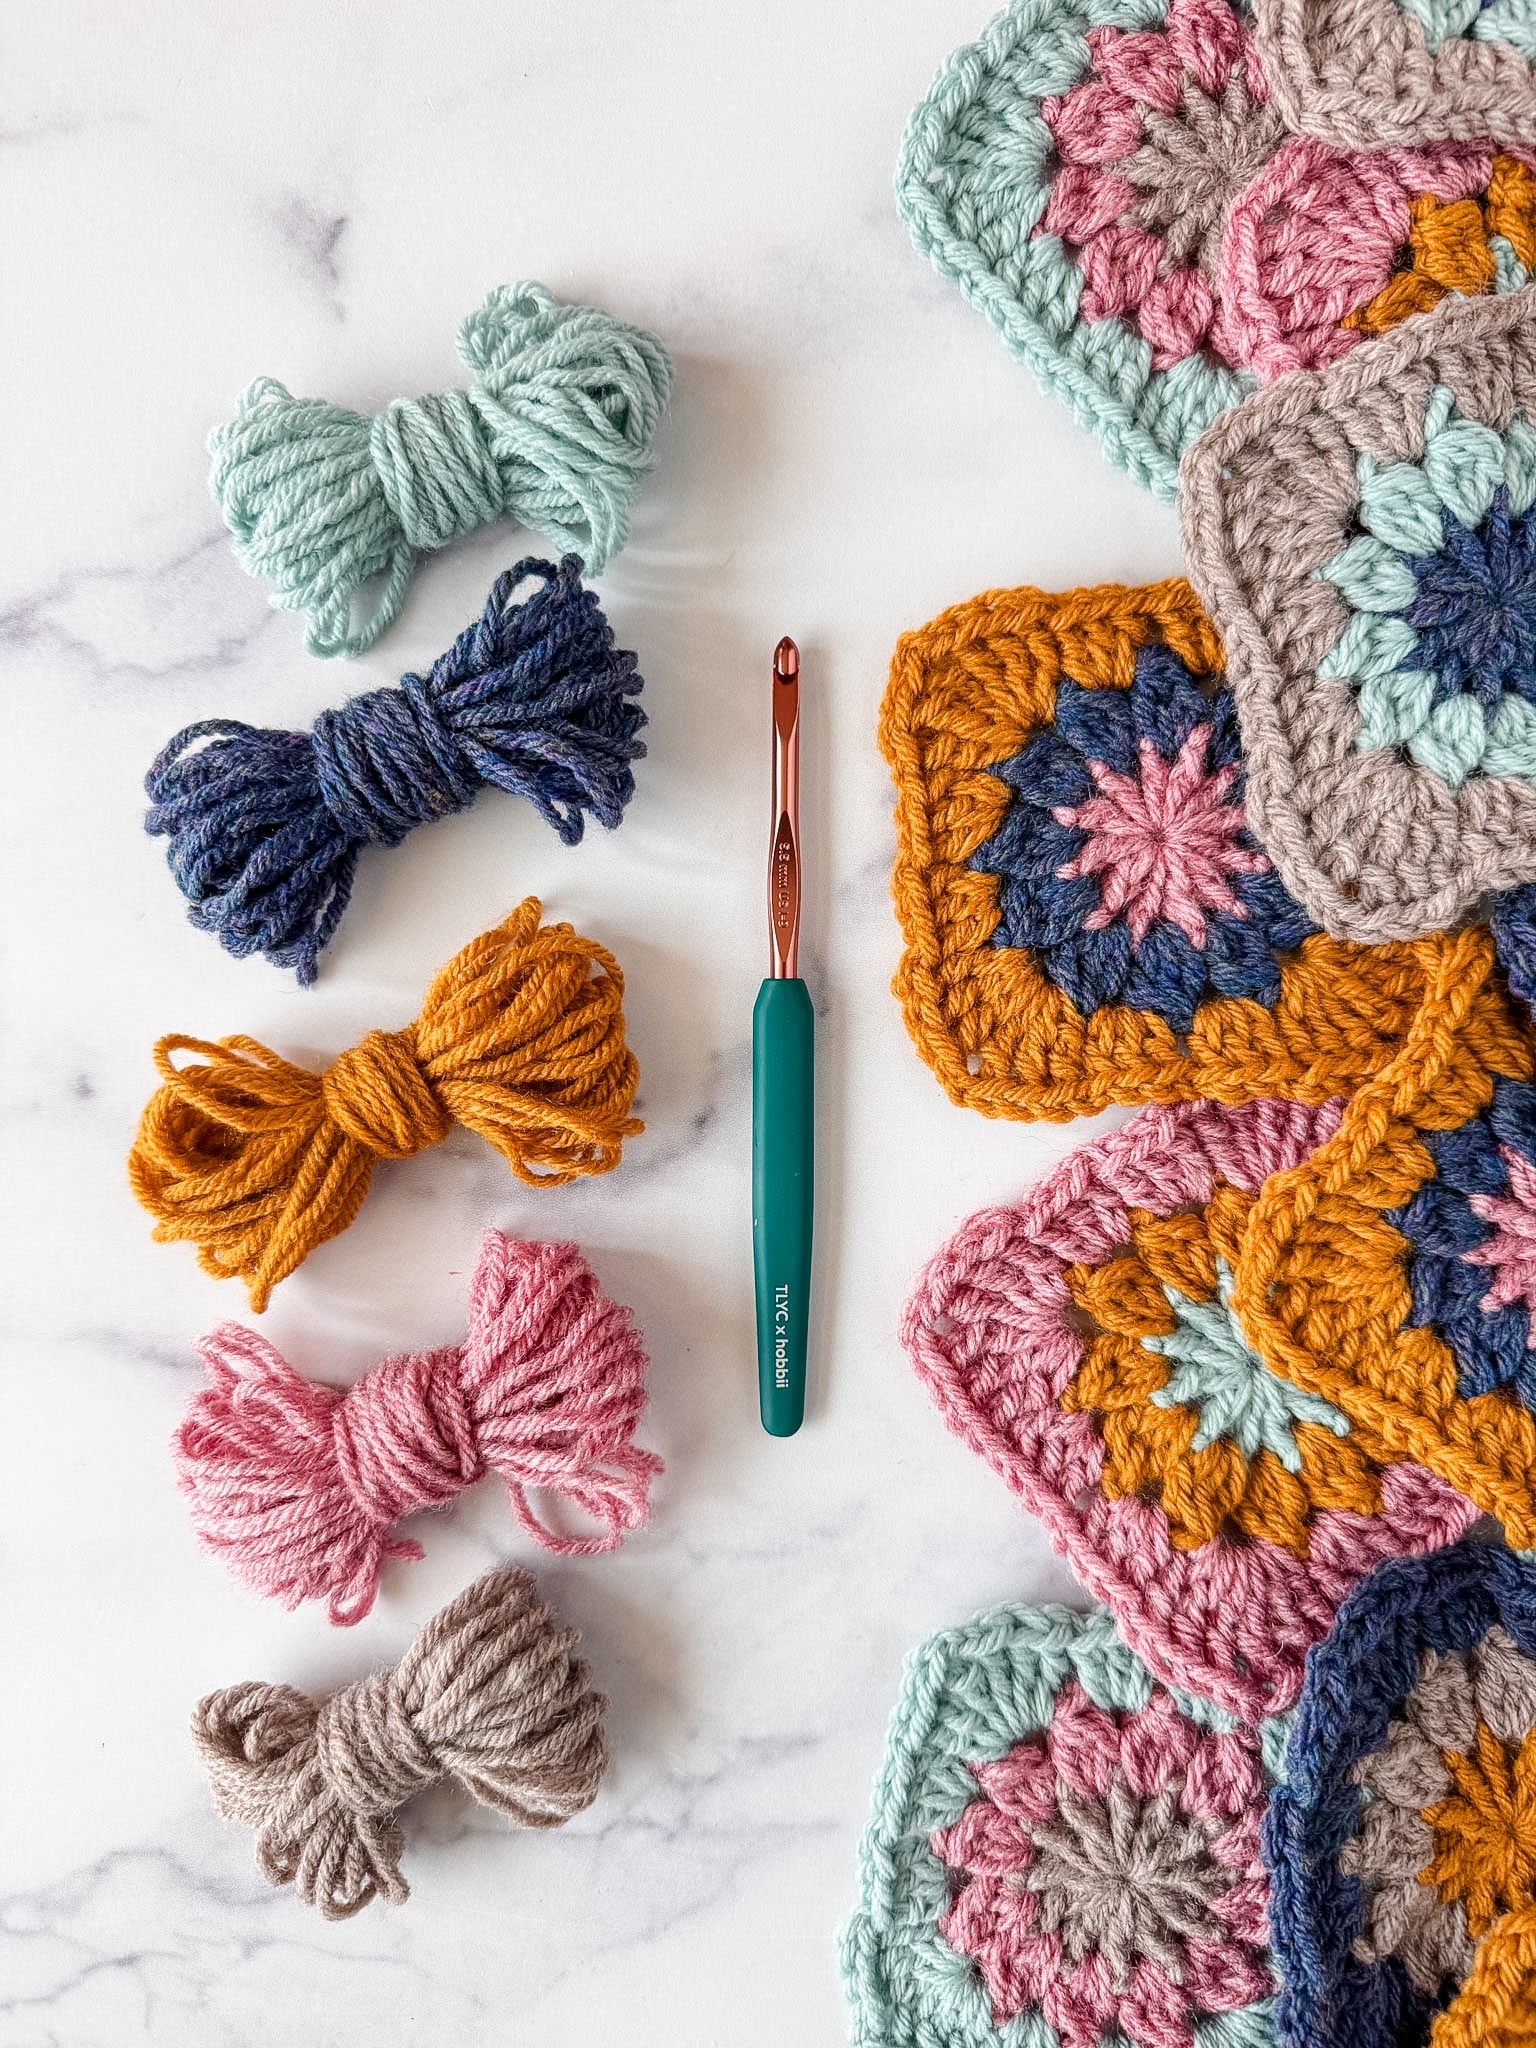
- Lion Brand Wool-Ease. Sample made in the colorways Thrush (MC – 4 skeins), Stillwater (A – 2 skeins), Blue Mist (B – 2 skeins), Arrowwood (C – 2 skeins), Rose Heather (D – 2 skeins), and Oatmeal (E – 2 skeins). Substitute worsted weight yarn of your choice, but be sure to check your gauge.
- 5.5mm crochet hook (try this set!)
- Scissors
- Tapestry needle
- Garment steamer
- Blocking boards
SIZE
60″ long x 50″ wide after steam blocking
GAUGE
One granny square, Rounds 1-3, measures 4.25” when measured across the center, unblocked
ABBREVIATIONS
Ch = chain
Clu = cluster
Dc = double crochet
MR = magic ring (learn it here!)
Rep = repeat
RS = right side
S-clu = standing cluster
S-dc = standing double crochet
S-sc = standing single crochet
Sc = single crochet
Sl St = slip stitch
Sp = space
Tr = treble crochet
V-st = v-stitch
SPECIAL STITCHES
- Standing Cluster (s-clu): Place a slipknot on the hook. Yarn over and hold both loops on hook, pull up a loop where directed, yarn over, pull through 2 loops, (yarn over, pull up a loop in the same space, yarn over, pull through 2 loops) 2 times, yarn over, pull through all 4 loops on hook.
- Cluster (clu): Yarn over, pull up a loop in the next space, yarn over, pull through 2 loops, (yarn over, pull up a loop in the same space, yarn over, pull through 2 loops) 2 times, yarn over, pull through all 4 loops on hook.
- Standing Double Crochet (s-dc): Place a slipknot on the hook. Yarn over and hold both loops on hook, pull up a loop where directed, (yarn over, pull through 2 loops) 2 times.
- Standing Single Crochet (s-sc): Place a slipknot on the hook. Pull up a loop where directed, yarn over, pull through 2 loops.
- V-Stitch (v-st): (Double crochet, chain 1, double crochet) in the same space.
NOTES
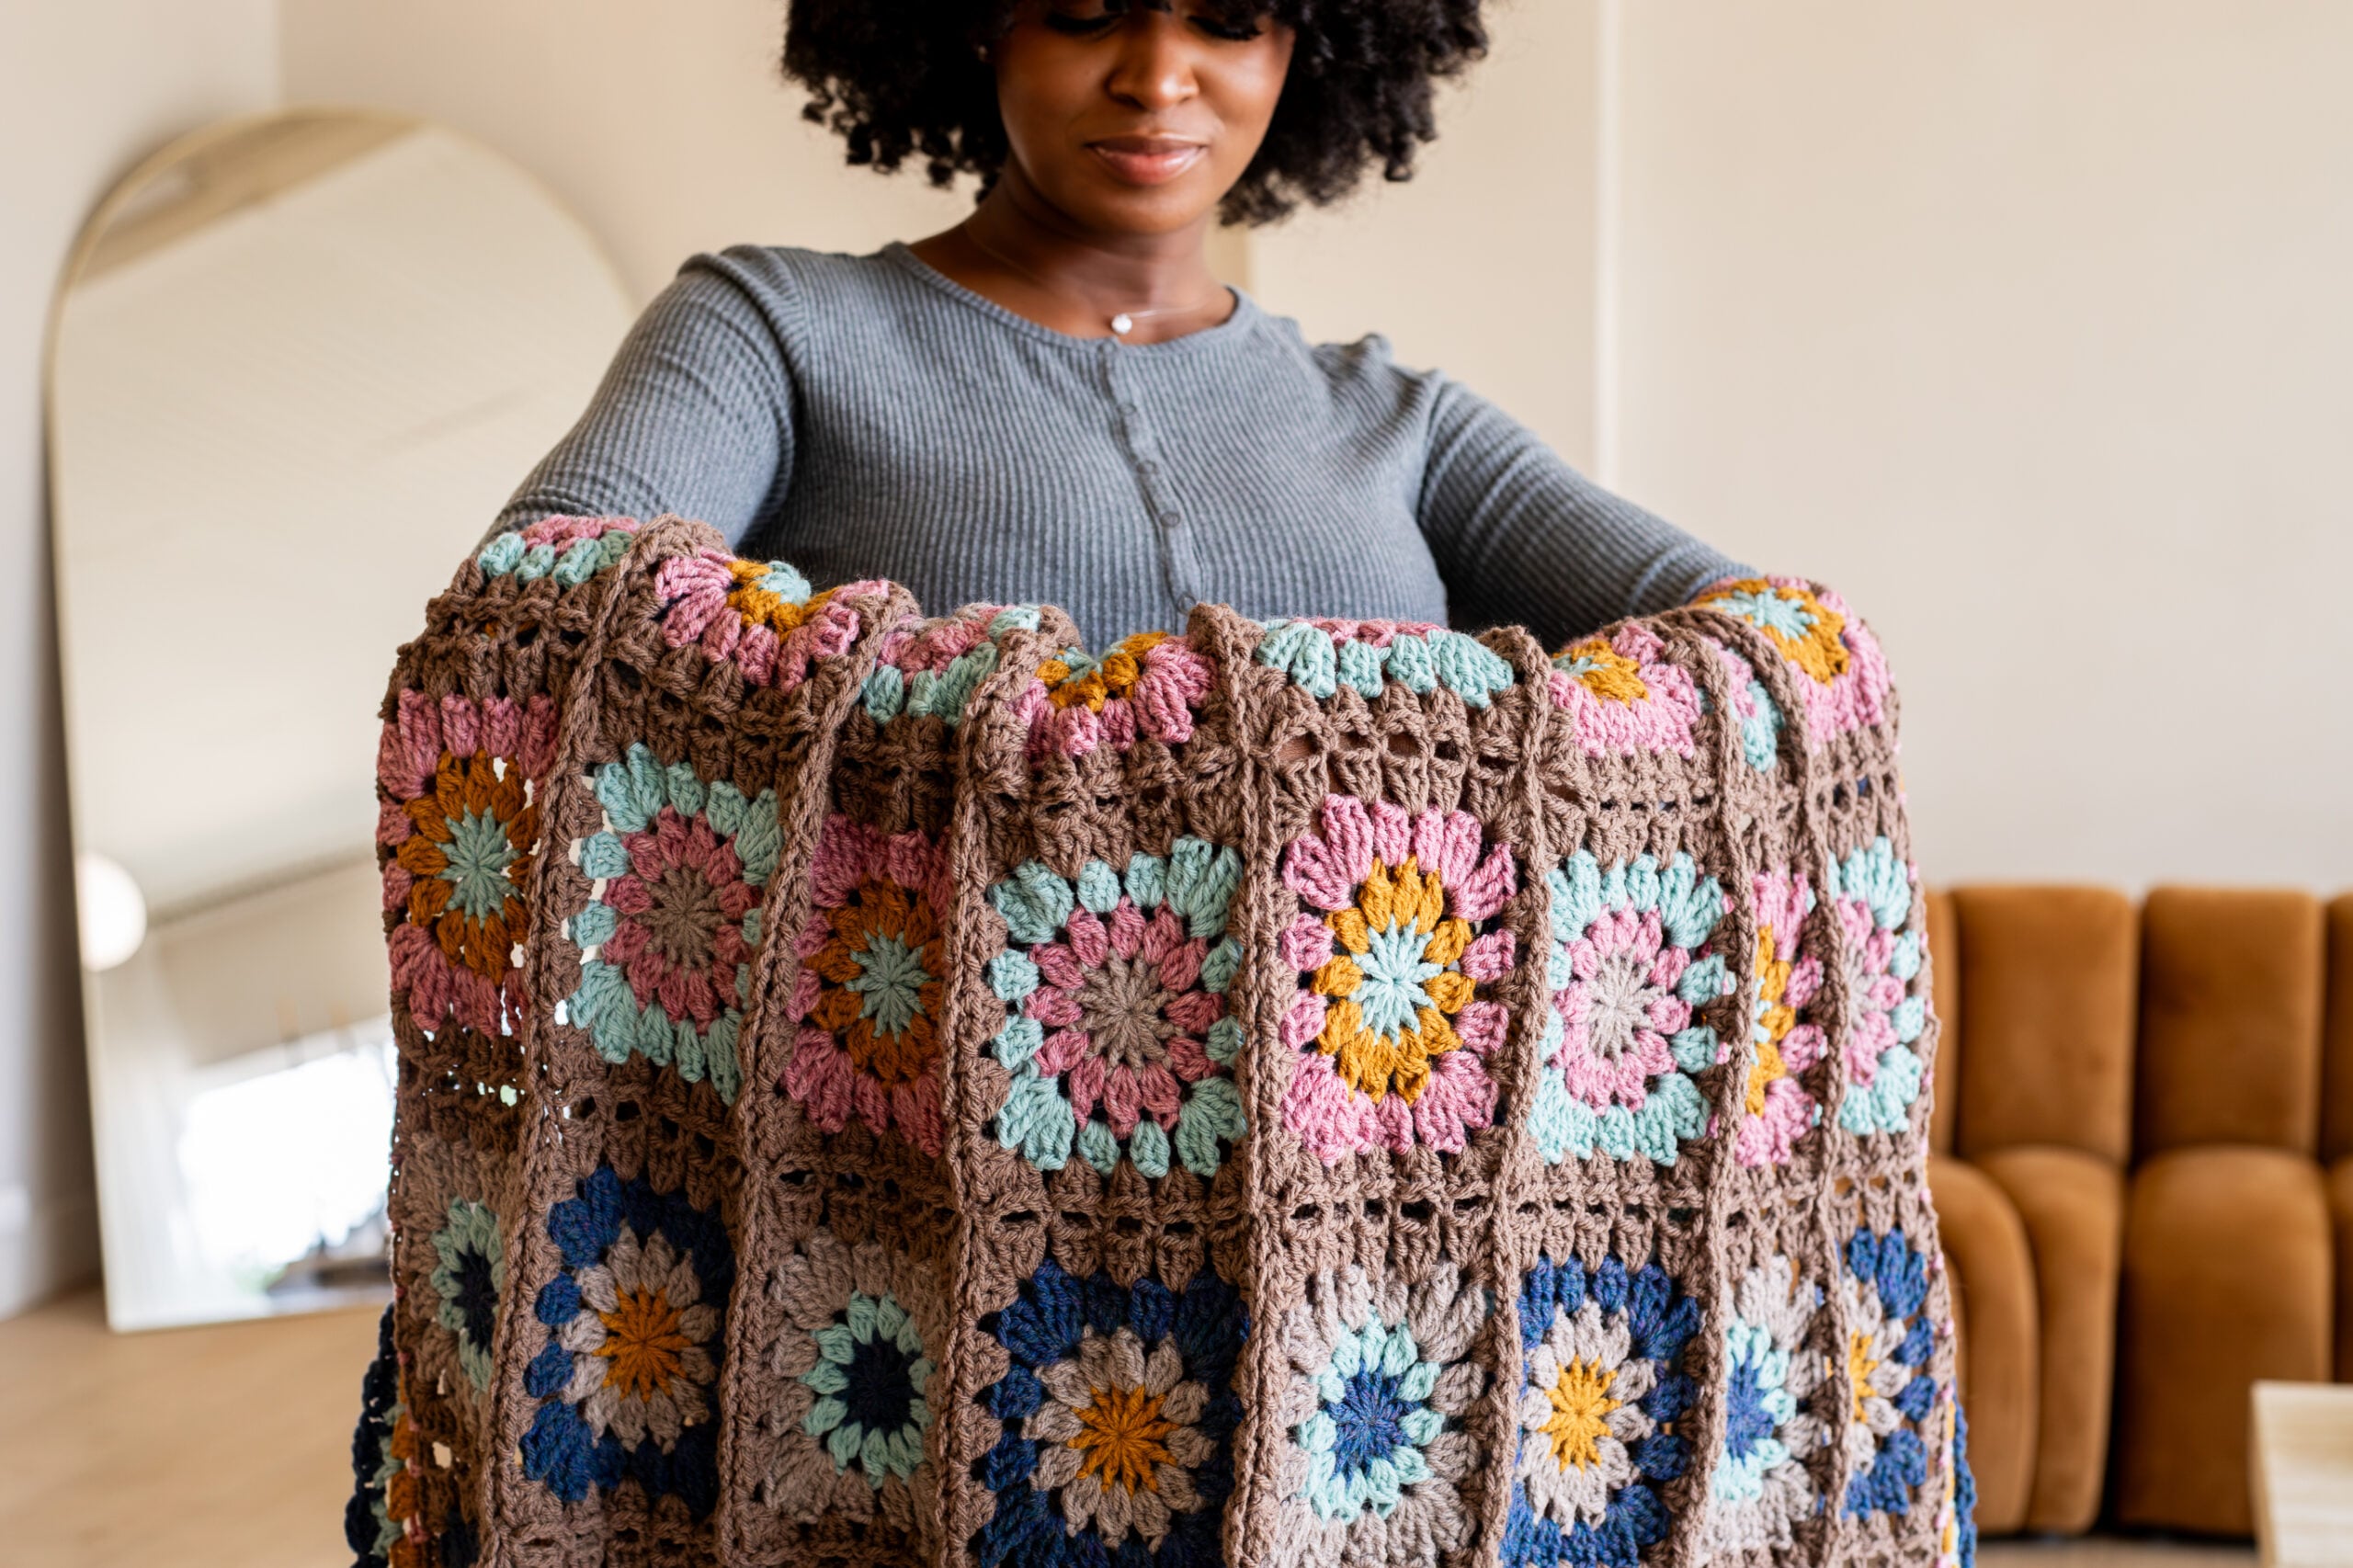
- Construction: This blanket starts by making 16 squares each in 5 different accent color sequences. Choose your preferred layout and connect the squares using the continuous join-as-you-go method in the Main Color (MC). Finally, add a 4-round border to finish your masterpiece.
- Starting Chains: Starting chain-4 = double crochet + chain 1. Starting chain-3 = double crochet.
- Crochet Shorthand: This pattern uses crochet shorthand, particularly in the granny square instructions. For example, “2dc” means to place two double crochet stitches in the same space.
- Managing Ends: Leave long tails when joining yarn and fastening off. Follow the instructions for making the granny square precisely and work over your long tails as you go. This limits the amount of time spent weaving in ends. These instructions leave you with only 2 ends to weave into each square – the starting magic ring tail, and the last fastened-off tail.
Woodstock Granny Blanket Pattern
Ready to make a truly timeless crochet granny square blanket? Let’s do it together!!
Woodstock Granny Square Pattern
SECTION NOTES:
- Change color each round.
- The Right Side is facing for all rounds of the granny square.
Make MR with first color.
ROUND 1 (RS): In MR, ch 4, (dc, ch 1) 11 times, pull tail to close MR, join with a sl st in the 3rd ch of the starting ch-4, fasten off. (12 dc)
ROUND 2 (RS): With second color, s-clu in any ch-1 sp on the opposite side of the round from the join, ch 2, begin working over the tail, (clu in the next ch-sp, ch 2) 11 times, working over the tail from the last round, join with a sl st in the top of the s-clu, fasten off. (12 clu)
ROUND 3 (RS): With third color, s-dc in any ch-2 sp on the opposite side of the round from the join, 2dc in same sp as join, ch 1, begin working over the tail, 3dc in next ch-sp, ch 1, (3tr, ch 2, 3tr) in next ch-sp, ch 1, [(3dc in next ch-sp, ch 1) 2 times, (3tr, ch 2, 3tr) in next ch-sp, ch 1] 3 times, working over the tail from the last round, join with a sl st in the top of the s-dc, fasten off. (24 dc + 24 tr)
Weave in the remaining ends and snip off tails.
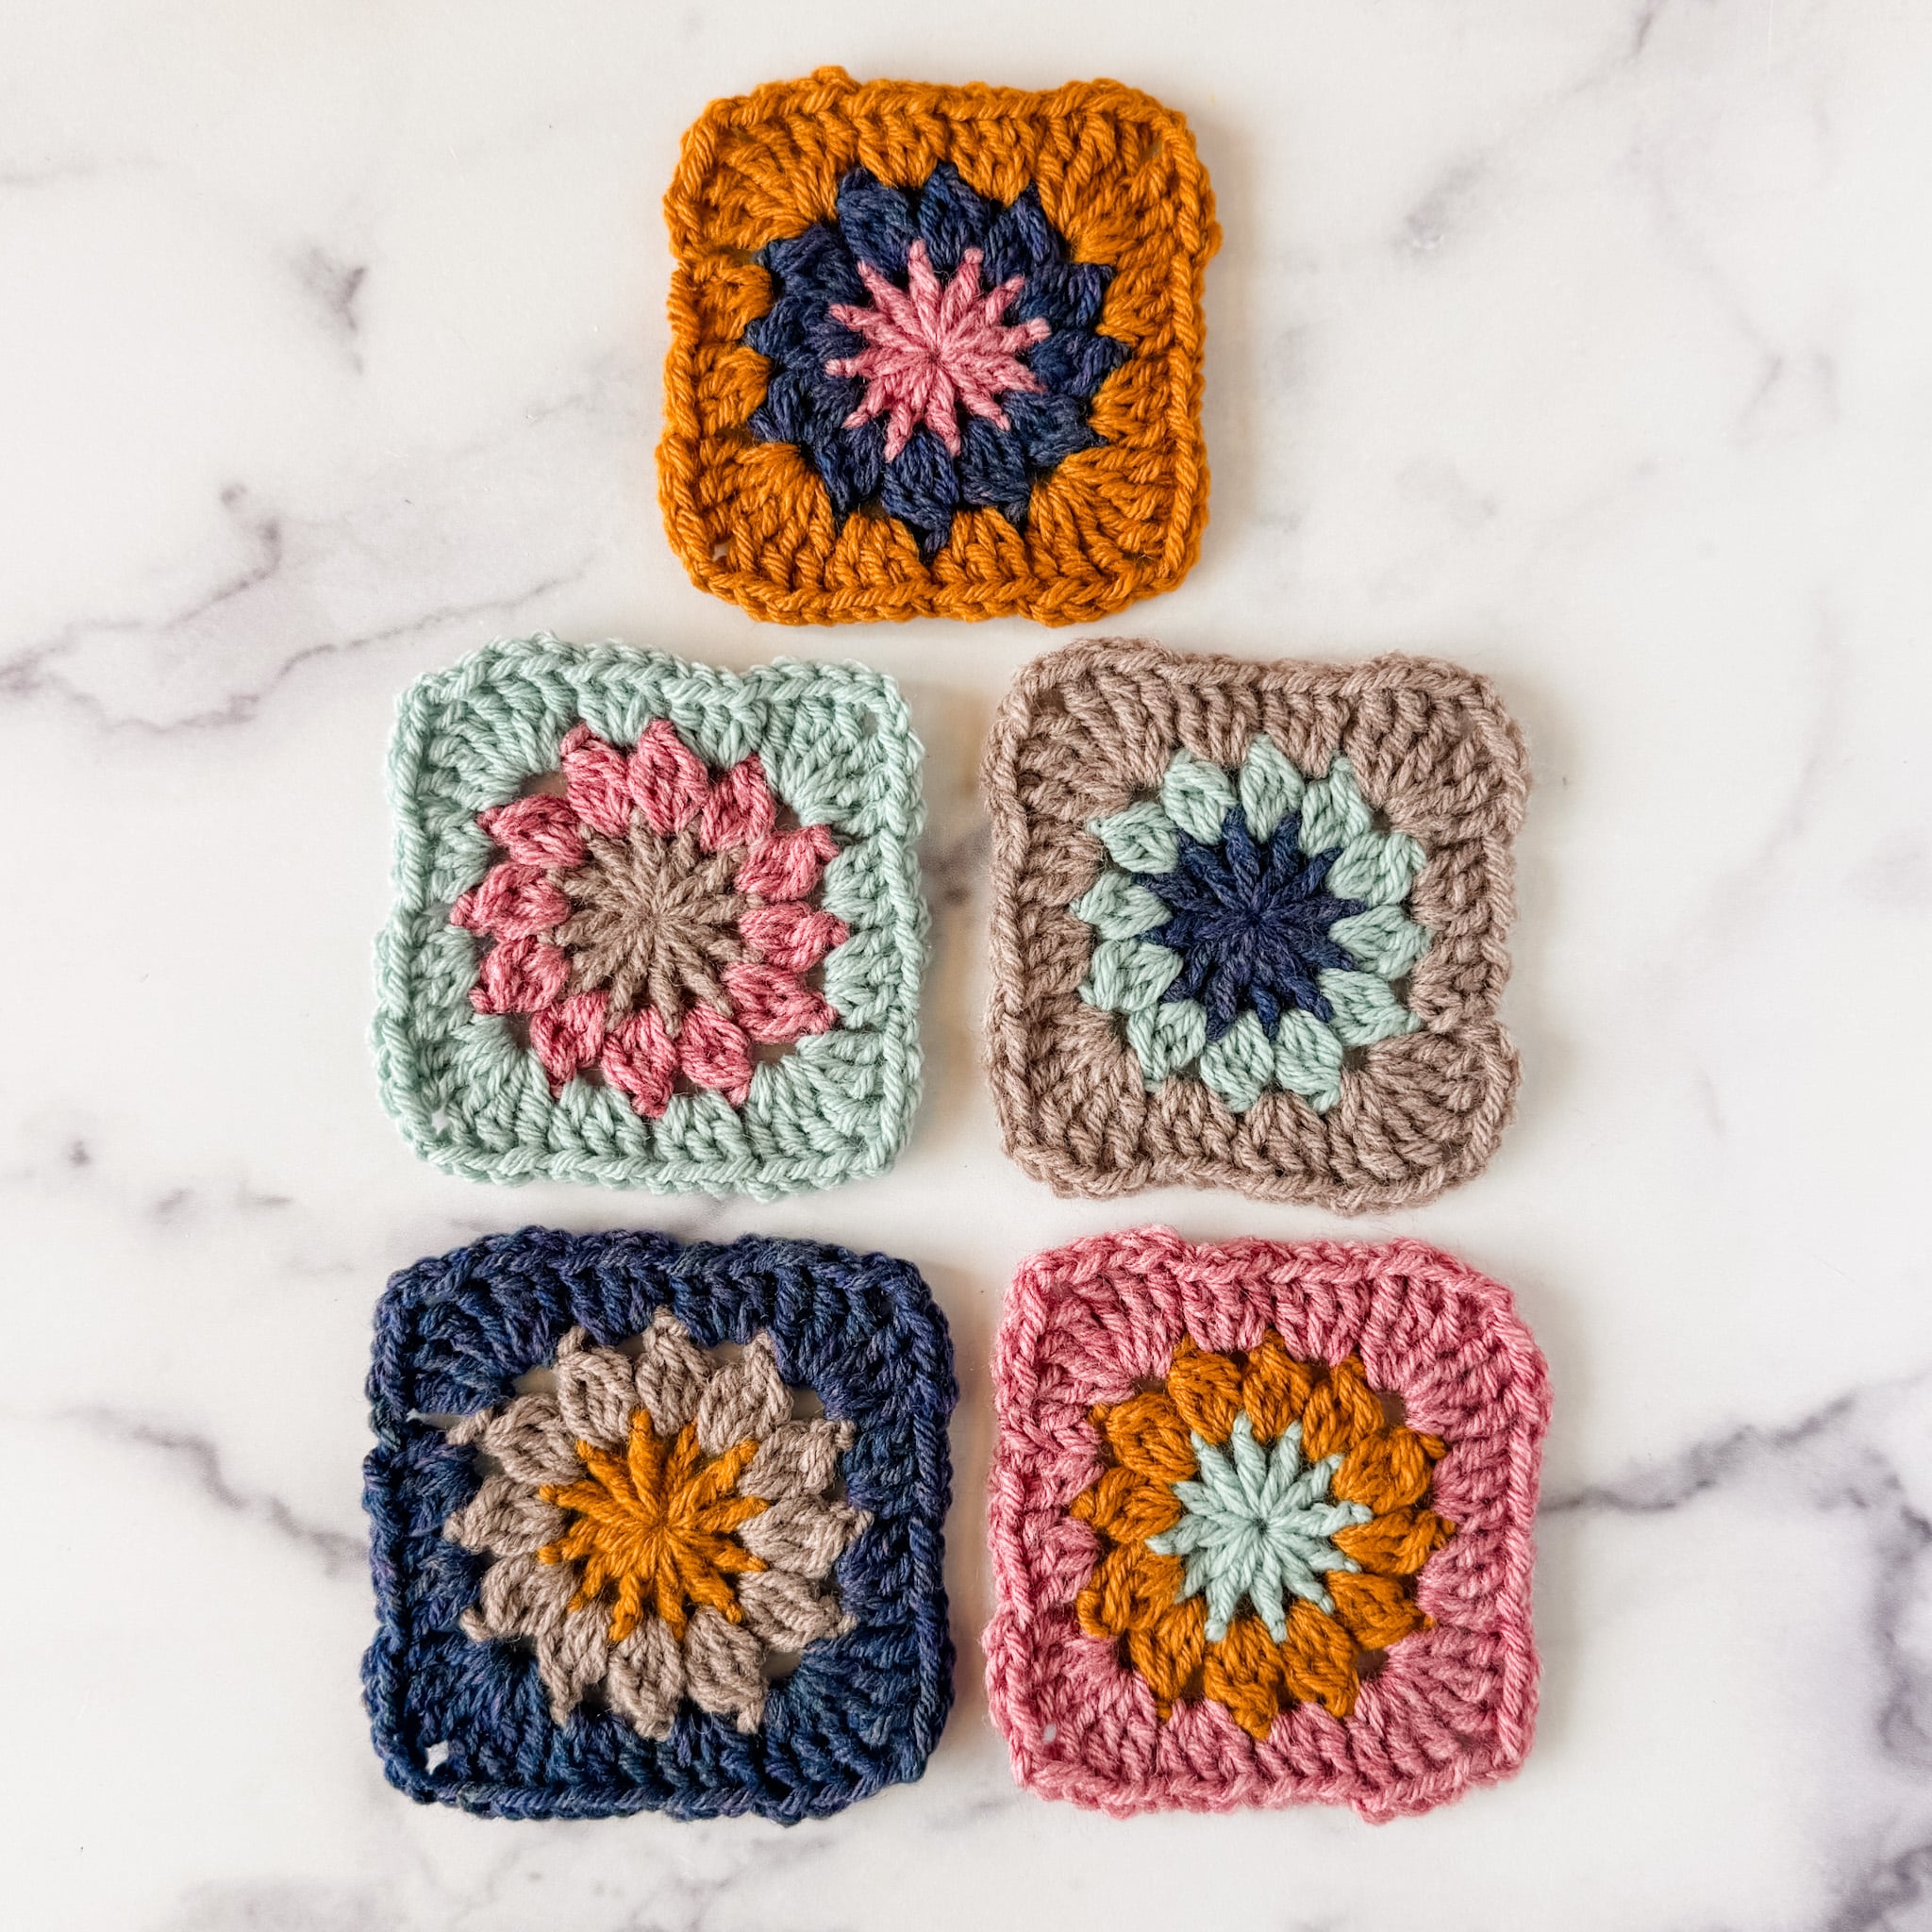
Use the instructions above to make 16 squares in each of the following color sequences (80 granny squares total):
- Palette 1: A, C, D
- Palette 2: B, A, E
- Palette 3: C, E, B
- Palette 4: D, B, C
- Palette 5: E, D, A
Layout
Here’s a chance to let your individuality shine! Choose a layout suggested below, or lay out your squares however you like.
Once you’ve settled on a layout, I recommend taking a photo. This will be a helpful reference if you need to move your blanket during Assembly.
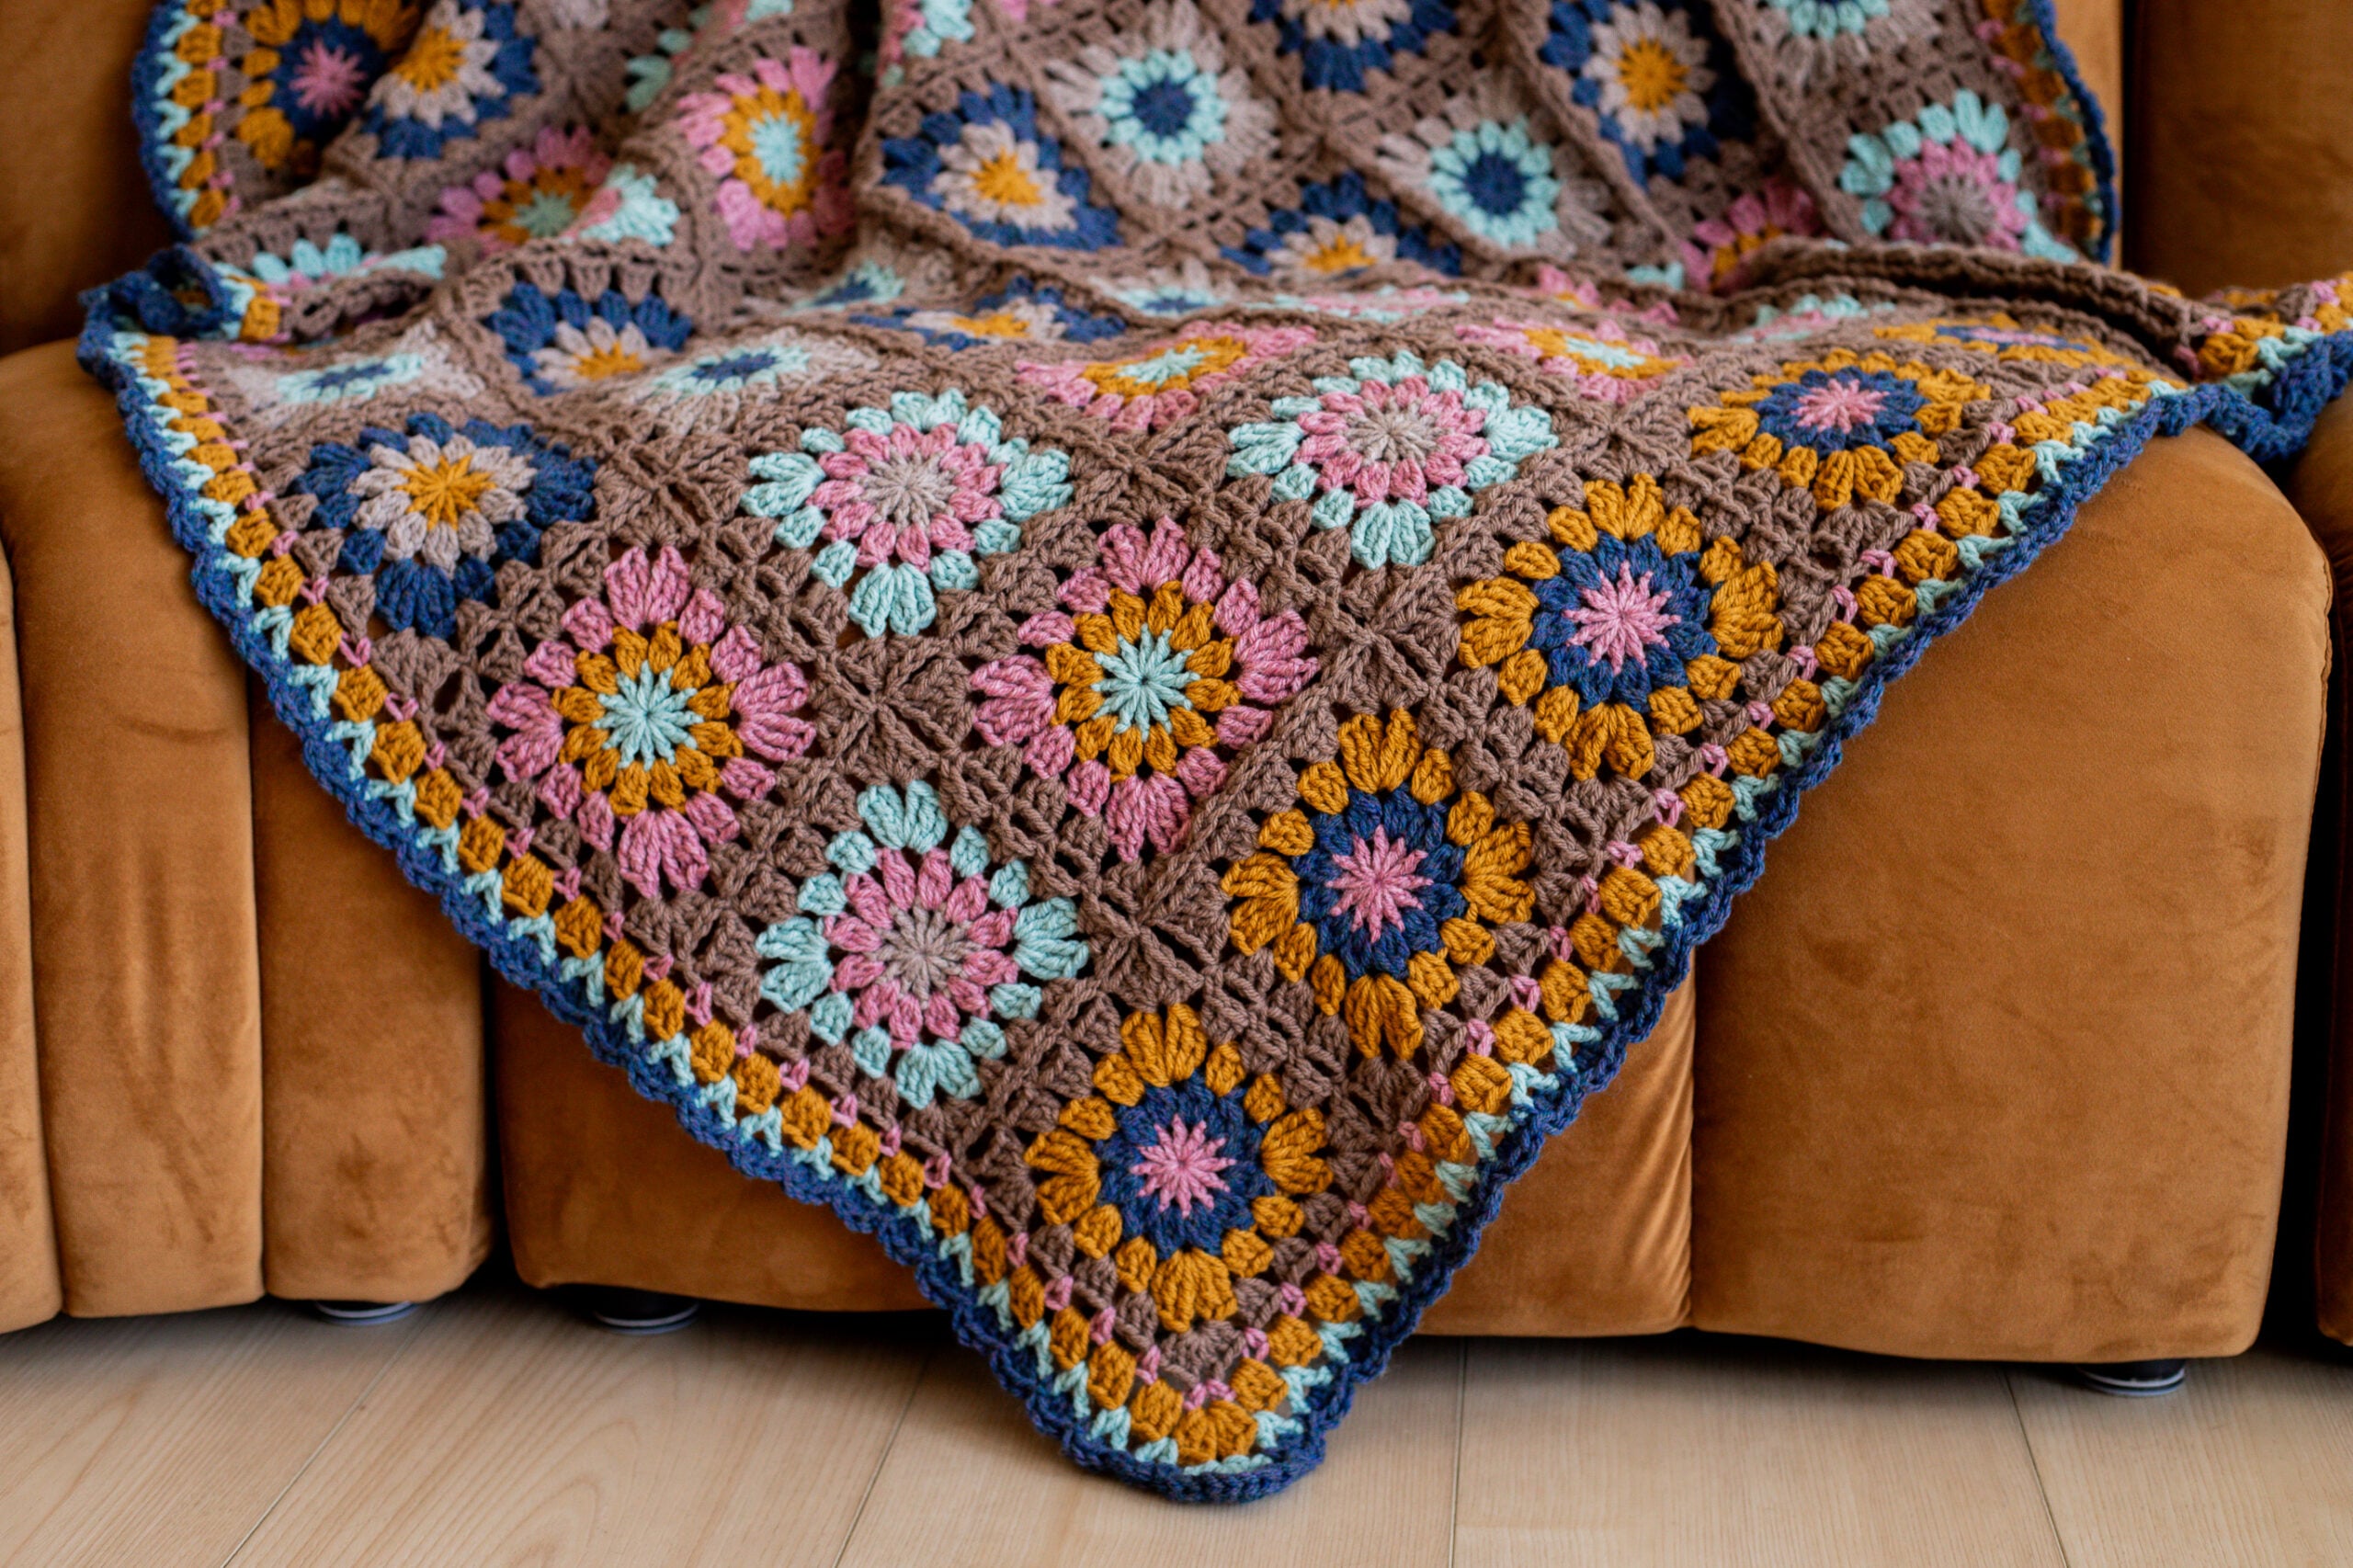
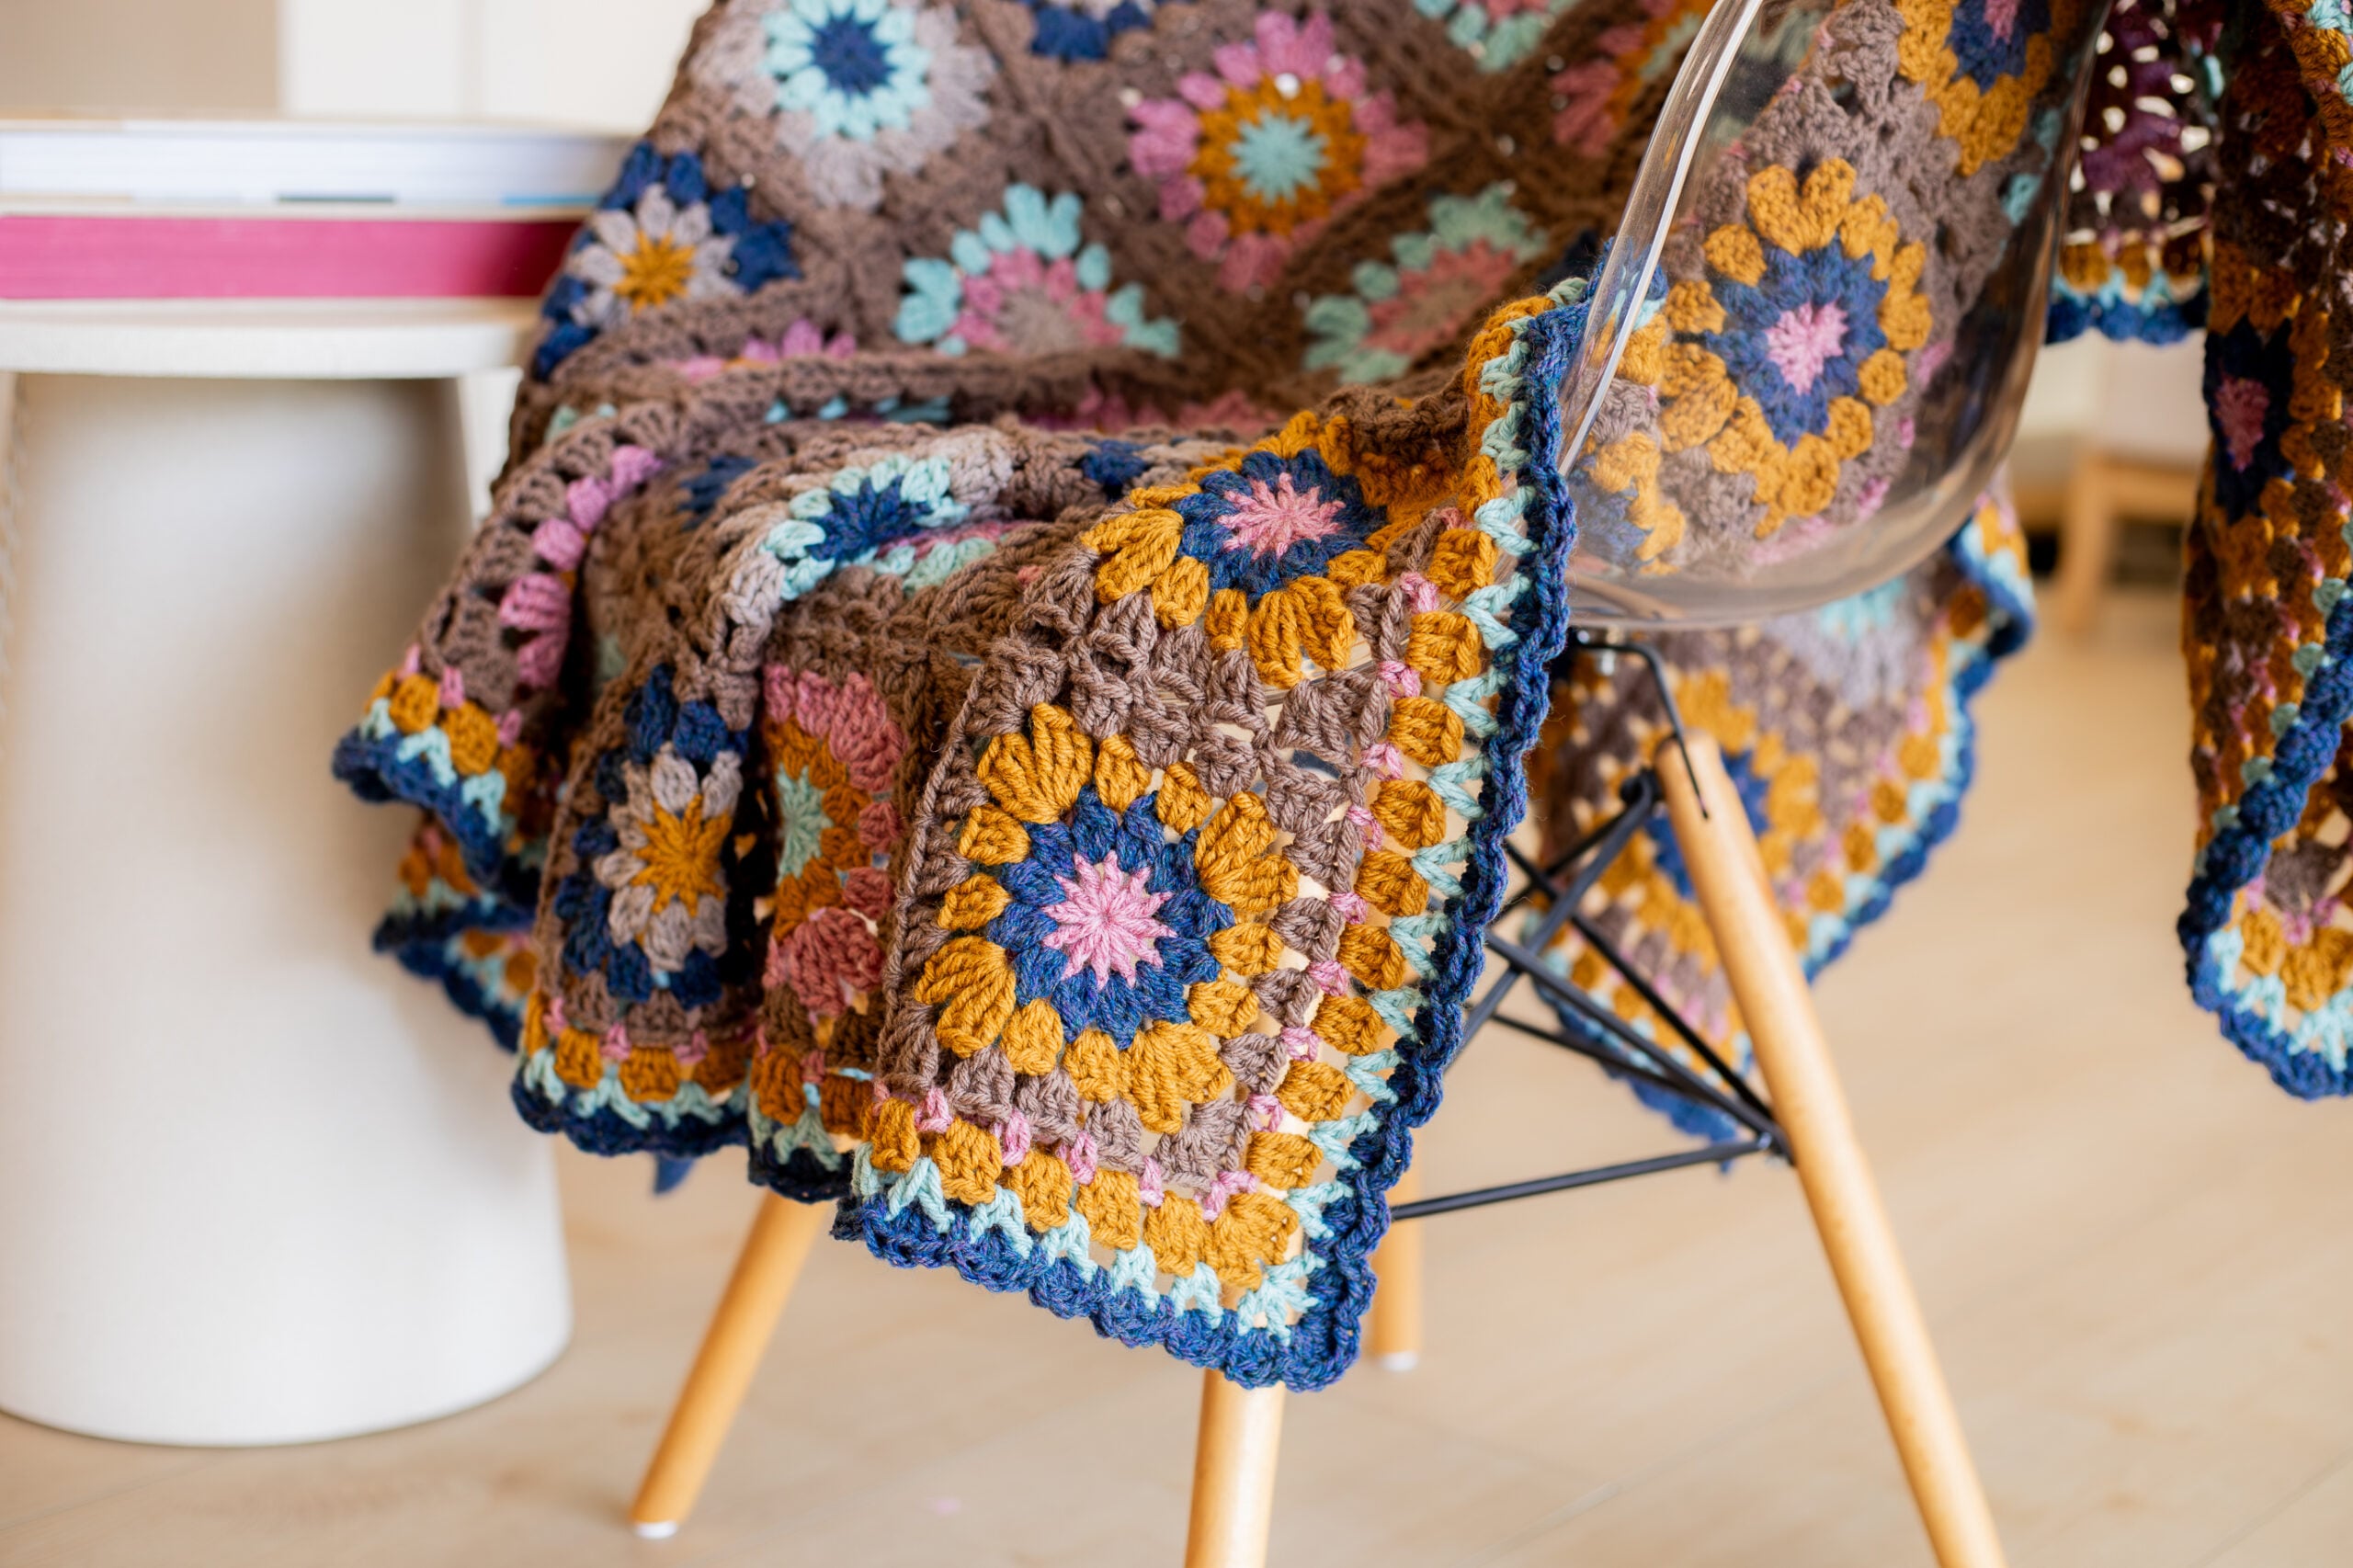
LAYOUT 1 – CHECKERBOARD (original design): Arrange one row with Palette 4 across the top of the blanket. Create a checker pattern with Palettes 2 and 3 for the next two rows. Create a checker pattern with Palettes 1 and 5 for the following two rows. Repeat these last 4 rows of checkers, inverting the layout as shown in the photo. Finish with a final row of Palette 4.
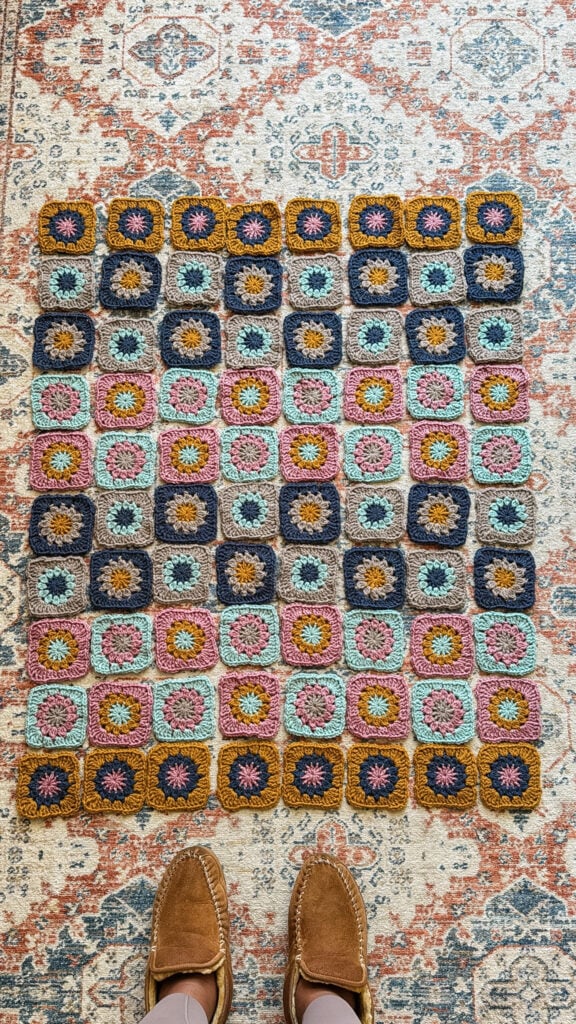
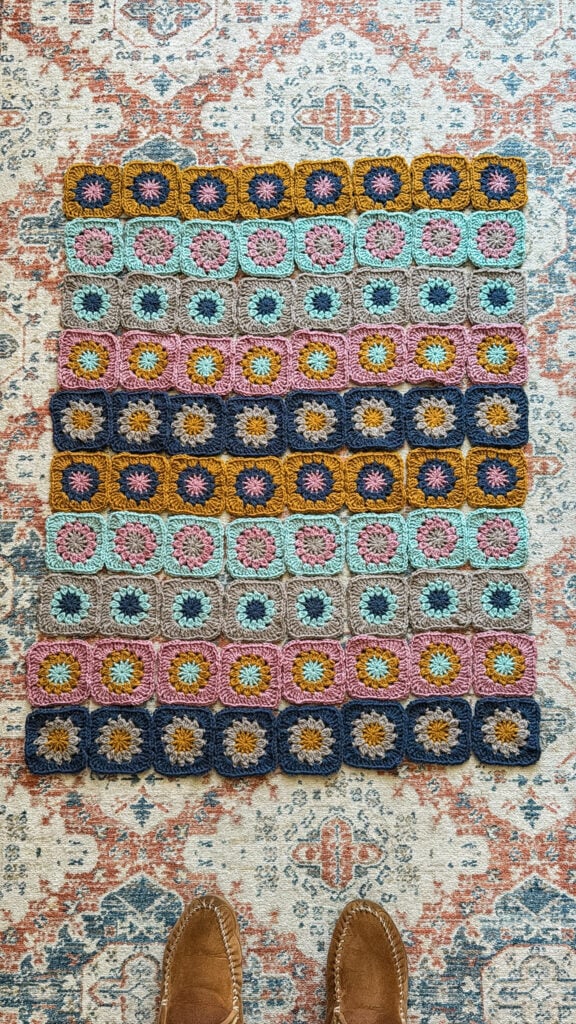
LAYOUT 2 – STRIPES: Arrange squares in rows of 8, working through Palettes 1-5 two times each.
LAYOUT 3: DIAGONAL: Place one square of Palette 1. Progressing diagonally, place 2 squares of Palette 2, three squares of Palette 3, and so on until the blanket is 8 squares wide. Continue diagonally and maintain the color sequence, increasing the length without increasing the width until the blanket is 10 squares tall. Continue diagonally and maintain the color sequence, decreasing on both sides of the blanket to create the final corner.
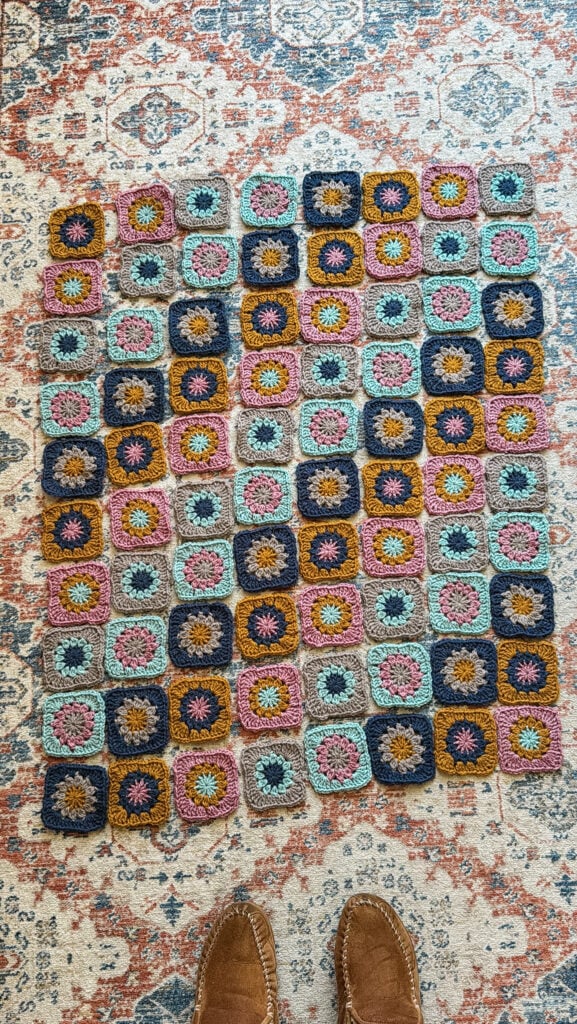
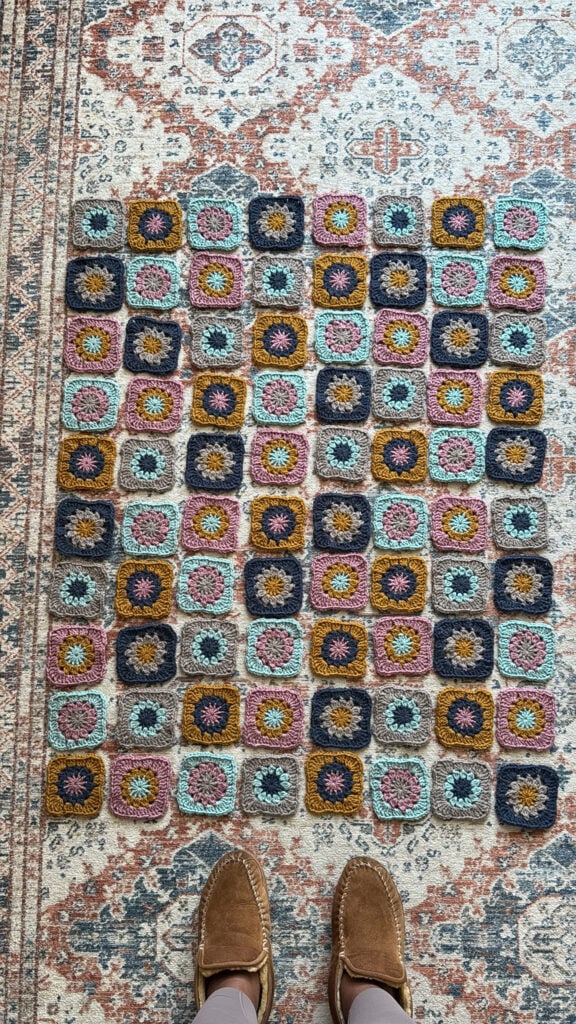
LAYOUT 4 – RANDOM LAYOUT: Arrange squares in a random layout. Purchase the printable PDF for a full breakdown of my “random” layout – get the pattern HERE!
ASSEMBLY
I chose to join my squares using the Continuous Join-As-You-Go method, as demonstrated by Hooked by Robin. This technique allows you to add a 4th round to your granny squares while also joining them to their neighbors. I’ve successfully used this technique numerous times, all thanks to Robin’s excellent teaching.
Use MC to join your granny squares using these instructions:
VIDEO INSTRUCTIONS: Connect your squares in your preferred order using Robin’s tutorial video HERE.
WRITTEN INSTRUCTIONS: If you’d prefer written instructions, find a detailed photo tutorial from Cypress Textiles HERE.
BORDER
NOTE: Right side is facing for all round of the border.
ROUND 1 (RS): With D, join with a s-sc in any corner of the blanket, *(ch-2 loosely, sc in next ch-1 sp) to the join between squares, sc in corner of square, ch 2, sc in corner of next square; continue in this way to next corner of blanket**, (sc, ch 2, sc) in corner; rep from * around, ending last rep at **, sc in same corner as join, ch 2, join with a sl st in the top of the s-sc, fasten off.
ROUND 2 (RS): With C, join with a s-dc in any corner ch-2 sp, *2dc in same corner, 3dc in each ch-2 sp to corner**, (3dc, ch 2, 3dc) in corner; rep from * around, ending last rep at **, 3dc in same corner as join, ch 2, join with a sl st in the top of the s-dc, fasten off.
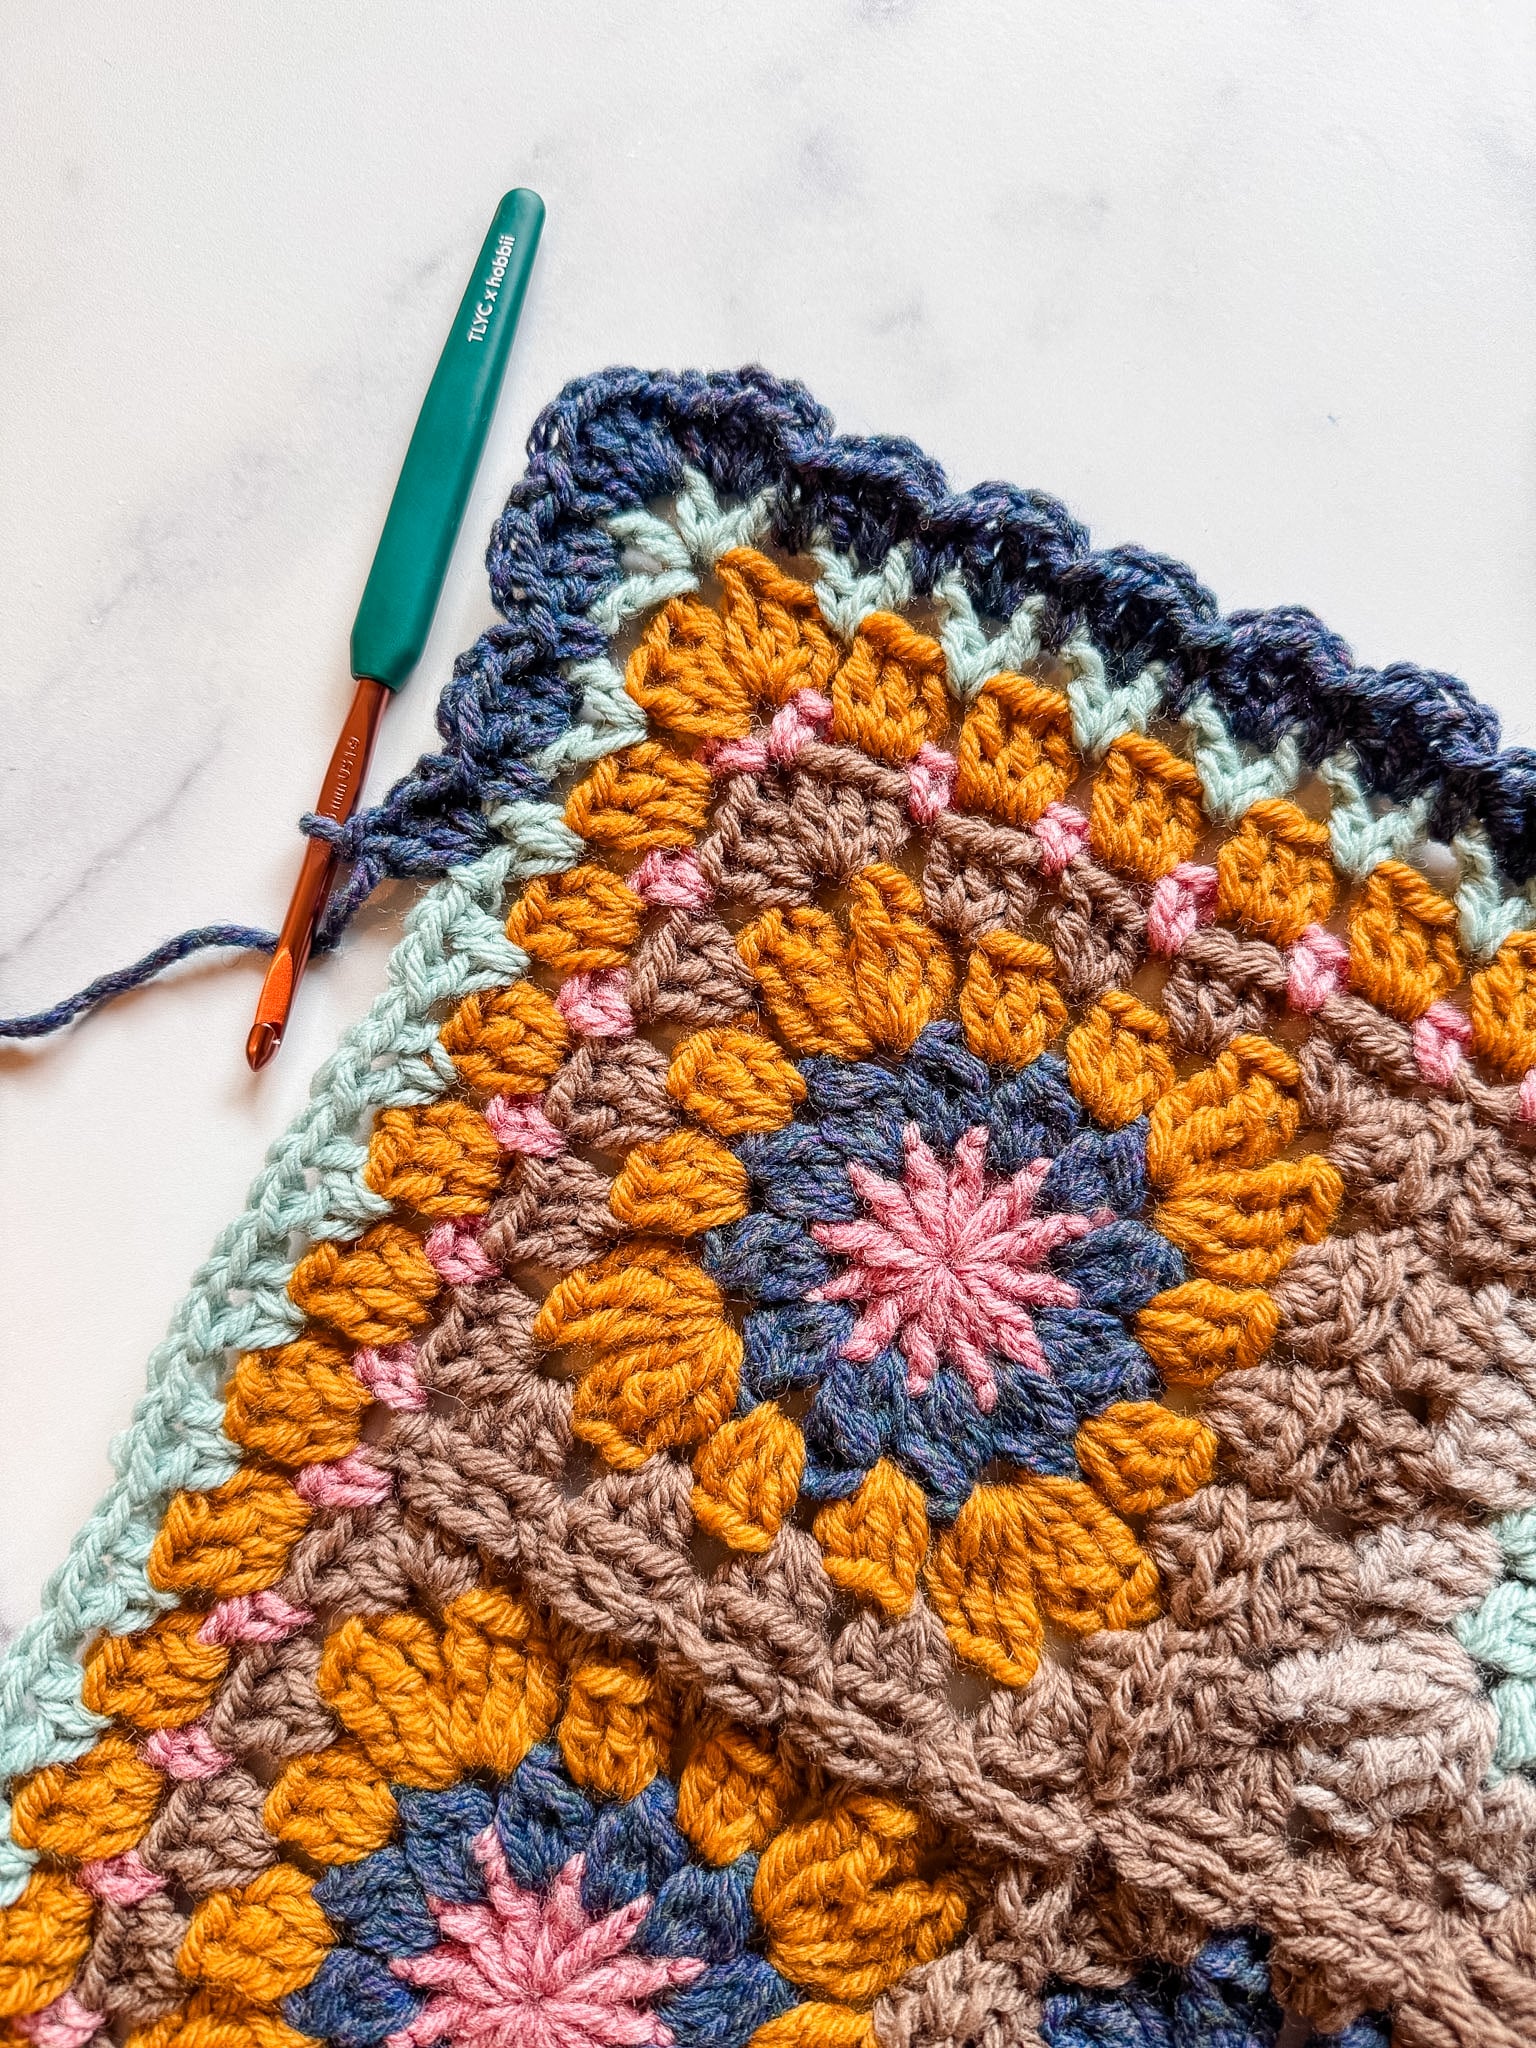
ROUND 3 (RS): With A, join with a s-dc in any corner ch-2 sp, ch 1, dc in same corner, *v-st in sp after next 3-dc group to corner**, (v-st, ch 2, v-st) in corner; rep from * around, ending last rep at **, v-st in same sp as join,
ch 2, join with a sl st in top of s-dc, fasten off.
ROUND 4 (RS): With B, join with a s-dc in any corner ch-2 sp, 2dc in same corner, *sc in next dc, (3dc in ch-1 sp of next v-st, sc in sp after next dc) to v-st before corner ch-2, 3dc in ch-1 sp of v-st, sc in next dc**, 5dc in corner; rep from * around, ending last rep at **, 2dc in same corner as join, join with a sl st in top of s-dc, fasten off.
FINISHING
-Weave in all remaining ends.
-Steam block blanket to finished dimensions.
Prefer an ad-free, printable version of this pattern? I got you!
Crocheting a motif blanket is a labor of love, and nothing beats the feeling of cuddling under your own handmade masterpiece. My Woodstock Granny Blanket will be my partner-in-crime on those luxurious couch potato days of winter.
Before you dive into your next WIP, be sure to share your project on Instagram and Ravelry. Then come show off in the Yarn Hive – we can’t wait to see what you made!
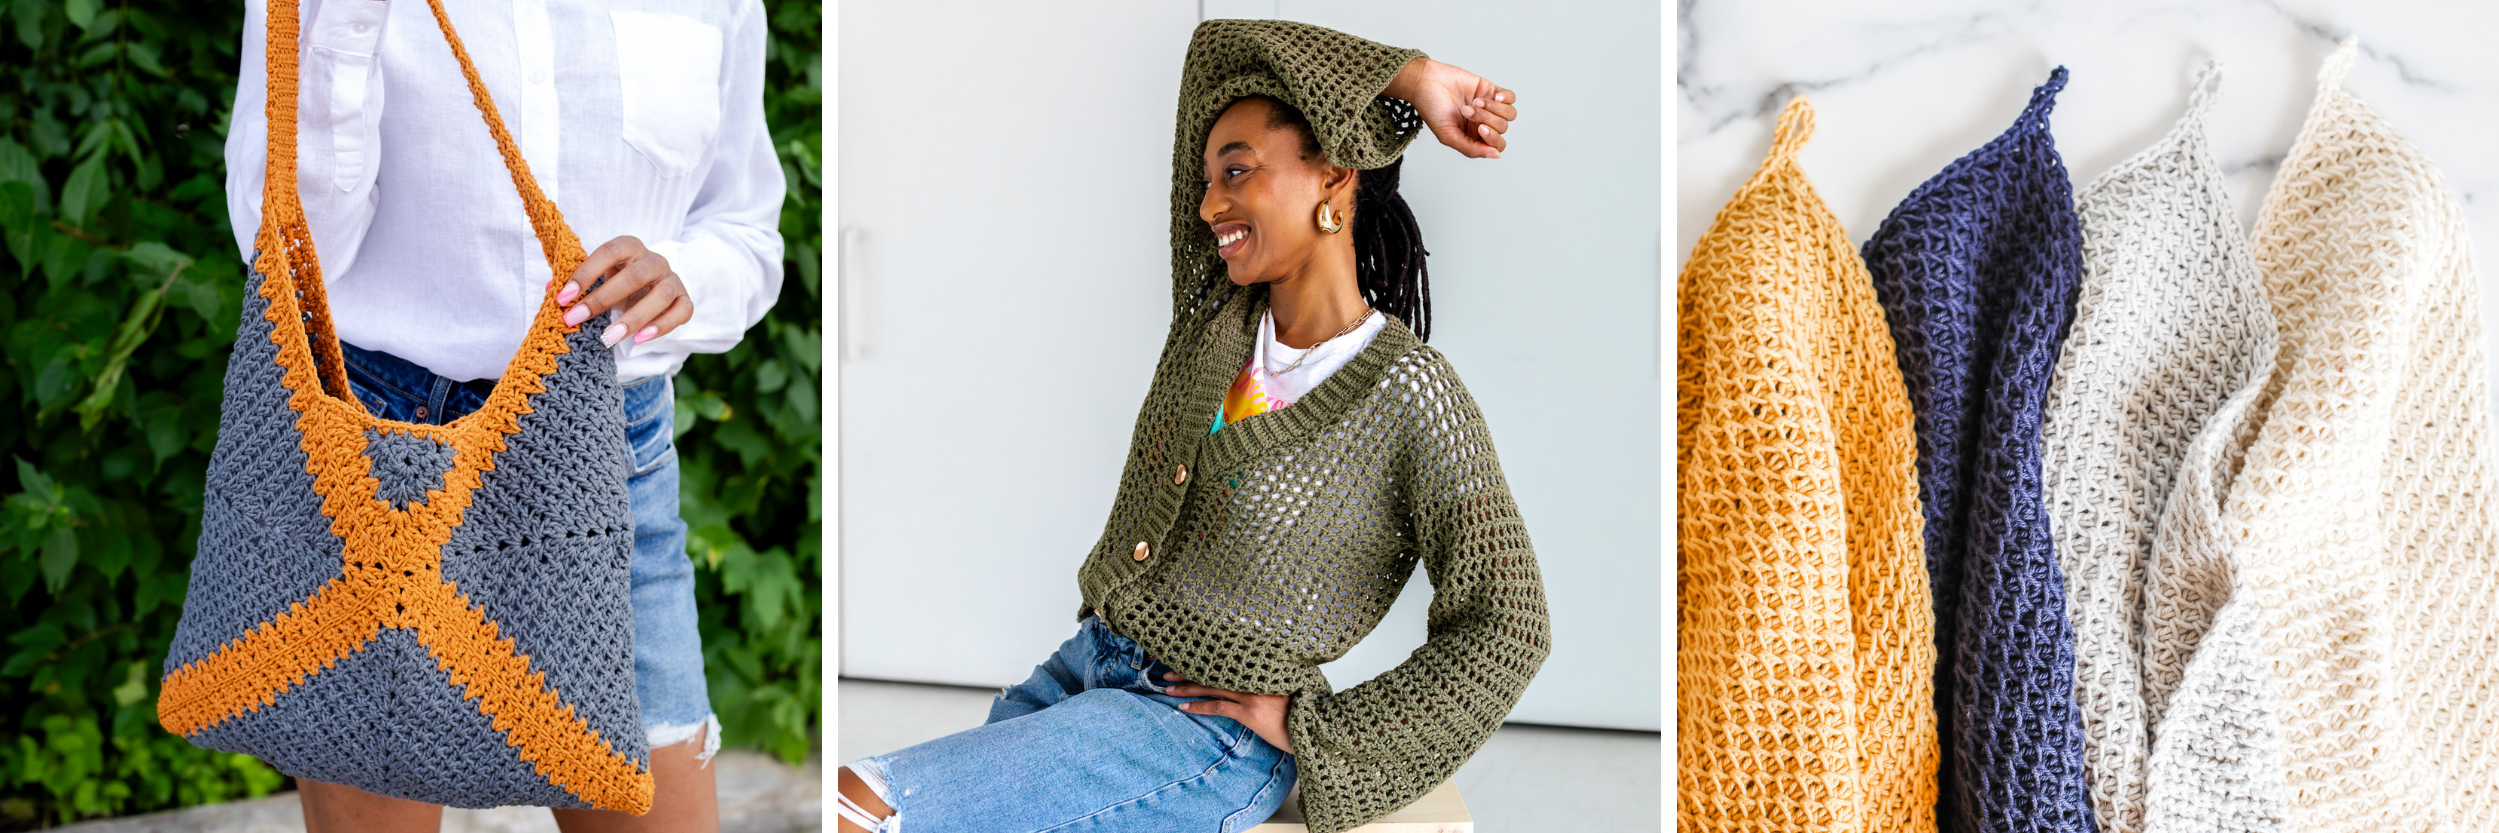
MORE FREE CROCHET PATTERNS FOR YOU:

Come here often?
Hey, crochet babe! I’m Toni, the designer, educator, and unashamed yarn hoarder behind TL Yarn Crafts. Thanks for stopping by this post – because we can never have too many WIPs, right?
While you’re here, sign up for happy mail, or buy me a coffee. And stop by my membership – the Honeybees would love to meet you.


