How to Crochet the Tunisian Crochet Pinwheel Square – VIDEO TUTORIAL

Practice Tunisian crochet short rows, color changes, and adding a border, all while making an adorable crochet block when you stitch Pinwheel Square!
This post contains affiliate links that support the content on TLYCBlog.com. All opinions are my own. Find my Privacy & Disclosures Policy here.
CLICK TO PIN THIS POST
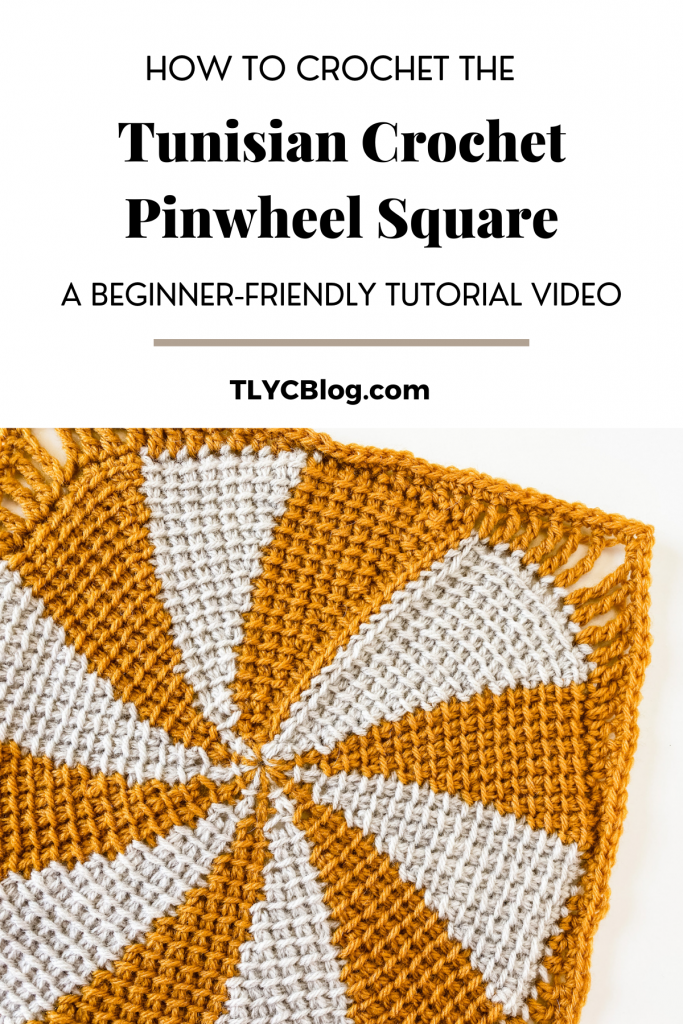
I had so much fun designing the Bloomfield Square for Granny Square Day that I had to find a way to add the design to the Tunisian Holiday Sampler Blanket. Something about playing with color, short rows, and adding a square border just spoke to me. And now we have the Pinwheel Square, a 12″ square with even more wedges of color to love!
The Pinwheel Square is much easier than it looks. If you’ve never tried short rows, you’re in for a surprise. I’m breaking down the whole technique into manageable sections and helping you every step of the way. Crochet along with me!
Ready to make the Pinwheel Square with me?! Grab your crochet hooks and watch this video:
Learn even more Tunisian crochet with these helpful videos:
- Tunisian Crochet for Absolute Beginners [watch here]
- How to Choose and Use Tunisian Crochet Hooks [watch here]
- 5 More Tunisian Crochet Stitches to Try [watch here]
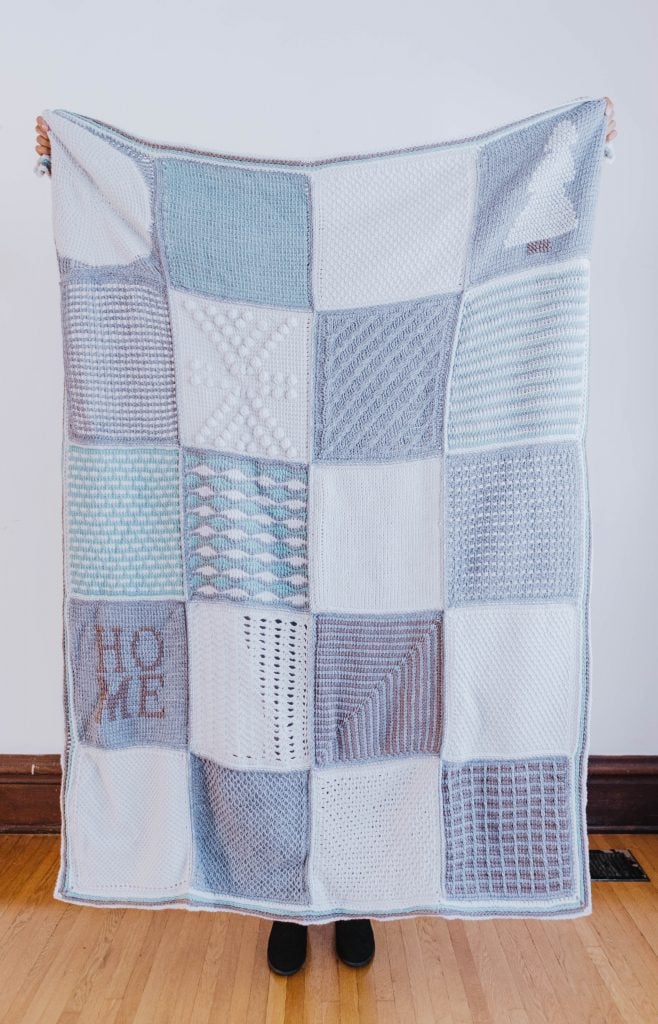
Holiday Tunisian Sampler Blanket – Circle in Square Pattern
This tutorial was made as a supplement to the Circle in Square as part of the Tunisian Holiday Sampler Blanket. Find the full pattern to make your square below.

Join the Holiday TCAL 2020 event! This free crochet along to make the Tunisian Holiday Sampler Blanket runs from October to November 2020. Get full details in this blog post and join the fun!
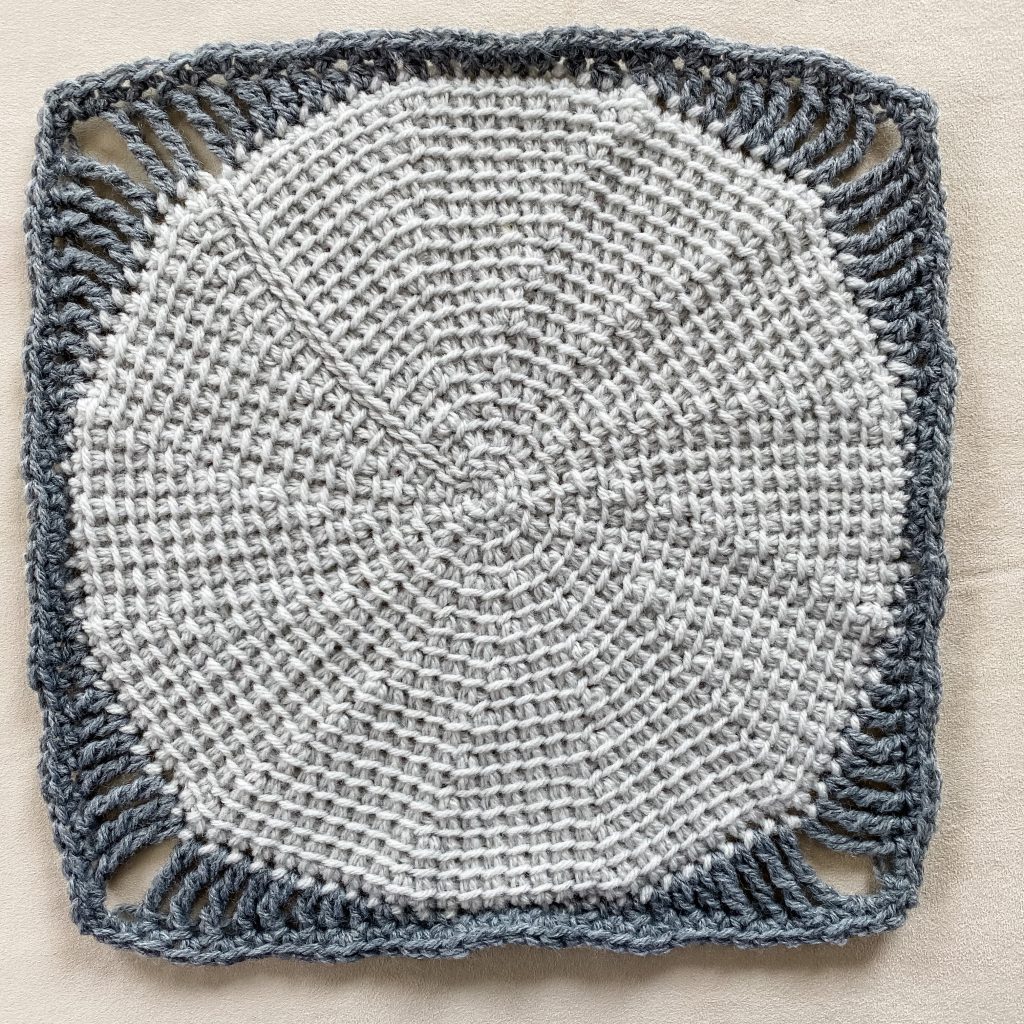
Circle in Square Pattern
*Get the printable PDF version of the Tunisian Holiday Sampler Blanket pattern HERE.
MATERIALS
- Worsted weight yarn – colors C and D
- 6.5mm Tunisian crochet hook with 16″ cord
- 6mm crochet hook
- Scissors
- Tapestry needle
FINISHED SIZE
12 x 12 inches square after blocking
GAUGE
The gauge varies for each square of the Tunisian Holiday Sampler Blanket. Reference the starting chain stitch multiple to make adjustments to your square. All squares should measure about 11.5″ square before the border is added.
ABBREVIATIONS
- 2sc = 2 single crochet in the same stitch (increase made)
- Ch(s) = chain(s)
- Dc = double crochet
- Dtr = double treble crochet
- Hdc = half double crochet
- Rep = repeat
- RetP = return pass
- Sc = single crochet
- Sc2tog = single crochet 2 together (decrease made)
- Sl st = slip stitch
- Sk = skip
- Sp = space
- St(s) = stitch(es)
- Tr = treble crochet
- Tss = Tunisian simple stitch
- Yo = yarn over
SPECIAL STITCHES
- Return Pass (RetP) – ch 1, (yo, pull through the next 2 loops) until only one loop remains on the hook
PATTERN NOTES:
- Work the last stitch of short row forward pass in front loop of the last stitch only.
- Cut yarn at the end of each section when no longer in use.
- The finished stitch count after Border, Round 1 is 108 (not including chain spaces); the finished stitch count after Border, Round 2 is 140 (not including chain spaces).
INSTRUCTIONS
First Wedge
SETUP: With C, 6.5mm corded hook, and leaving a 6” tail, ch 19, pull up a loop in the back bump of the 2nd ch from hook and each remaining ch, RetP. (19)
ROW 1: Tss 2, RetP. (3)
ROW 2: Tss 2, tss next 2 on foundation, RetP. (5)
ROW 3: Tss 4, tss next 2 on foundation, RetP. (7)
ROW 4: Tss 6, tss next 2 on foundation, RetP. (9)
ROW 5: Tss 8, tss next 2 on foundation, RetP. (11)
ROW 6: Tss 10, tss next 2 on foundation, RetP. (13)
ROW 7: Tss 12, tss next 2 on foundation, RetP. (15)
ROW 8: Tss 14, tss next 2 on foundation, RetP. (17)
ROW 9: Tss 16, tss next 2 on foundation being sure to tss under both loops of last st, RetP. (19)
Wedges 2-12
Repeat Rows 1-9 of the First Wedge, pulling up loops in Row 9 of the previous wedge in place of the foundation. Designer’s Tip: When working the last stitch of the last row for each wedge, skip the last stitch of that row and pull up a loop in the same stitch as the last stitch of Row 9 from the First Wedge. This ensures a uniform look to the center of your circle.
When last wedge is complete, slip stitch bind off across 19 live stitches leaving a 6” tail for seaming. Use tail from bind off to mattress seam the bind off edge to the foundation edge, then weave in end securely. Use tail from foundation to close center hole – weave tail through the back loops of all stitches in the center, then pull tail to close center and weave in end securely. Weave in all remaining ends.
BORDER
ROUND 1:
- First Side – With D and 6mm crochet hook, join with a sl st in any st along the edge of the circle, ch 4 (counts as dtr), dtr 2, tr 2, dc 2, hdc 2, sc2tog, sc 1, sl st 5, sc 2, hdc 2, dc 2, tr 2, dtr 3, ch 2. Rotate to begin Second Side.
- Second Side – Dtr 3, tr 2, dc 2, hdc 2, sc 2, sl st 5, sc 2, hdc 2, dc 2, tr 2, dtr 3, ch 2. Rotate to begin Third Side.
- Third Side – Dtr 3, tr 2, dc 2, hdc 2, sc2tog, sc 1, slst 5, sc 2, hdc 2, dc 2, tr 2, dtr 3, ch 2. Rotate to begin Last Side.
- Last Side – Dtr 3, tr 2, dc 2, hdc 2, sc 2, sl st 5, sc 2, hdc 2, dc 2, tr 2, dtr 3, ch 2, join with sl st in top of starting ch.
ROUND 2: Ch 1, sc in same st as join, sc 2, 2sc, (sc 3, 2sc) 5 times, sc 3, (sc, ch 2, sc) in ch-2 sp, *(sc 3, 2sc) 6 times, sc 3, (sc, ch 2, sc) in ch-2 sp; rep from * 2 more times, join with sl st in first sc.
Fasten off. Block to 12” x 12”.
Click HERE to access stitch patterns for the other squares in the Tunisian Holiday Sampler Blanket.
Tunisian Holiday Sampler Blanket Layout

Get the printable PDF version of the Tunisian Holiday Sampler Blanket here.