How to Make a Yarn Wrapped Keyhole Tassel

Are you looking for a cheap and easy keychain idea? How about a fun way to spruce up your favorite tote bag or decorate your door handle (yes, that is a thing!)? I have the perfect solution: Keyhole Tassels! But be warned – they’re adorable and addictive!
This post contains affiliate links that support TLYCBlog content. All opinions are my own. Read my full Privacy and Disclosures statement HERE.
Prefer a video? You can watch the photo tutorial on YouTube!
PIN IT NOW, MAKE IT LATER!
After making my Catalina Tote [click for the FREE pattern!], I had a bunch of lovely Hempster yarn leftover. The keyhole tassel I made to add to the bag was the perfect finishing touch. Not only did it use some of the leftover yarn, but it gave the bag a fun and festive flair.
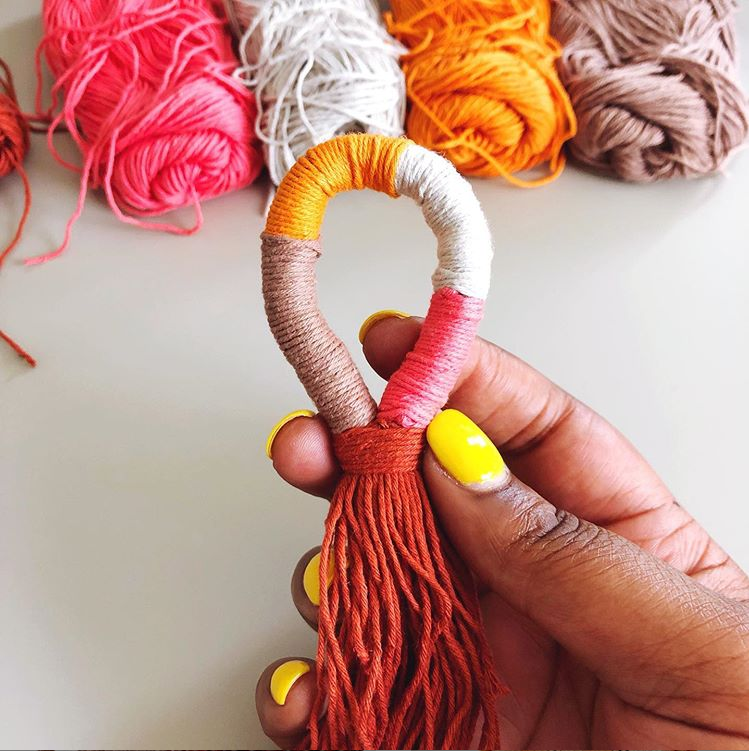
Keyhole tassels are super fun and easy to make. Let’s jump into the tutorial!
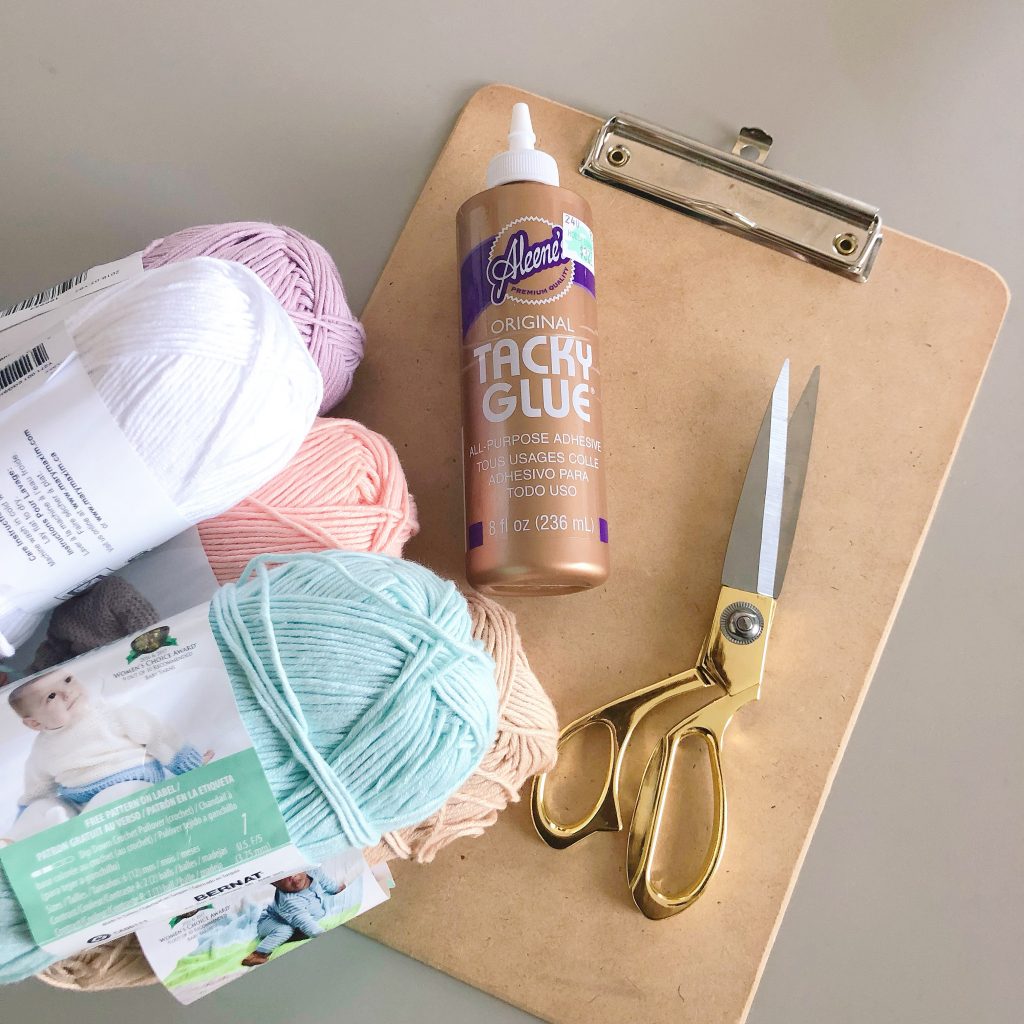
SUPPLIES:
- Assorted yarn
- Sharp scissors
- A clipboard or cardboard
- A garment steamer or steam iron
- Craft glue (optional)
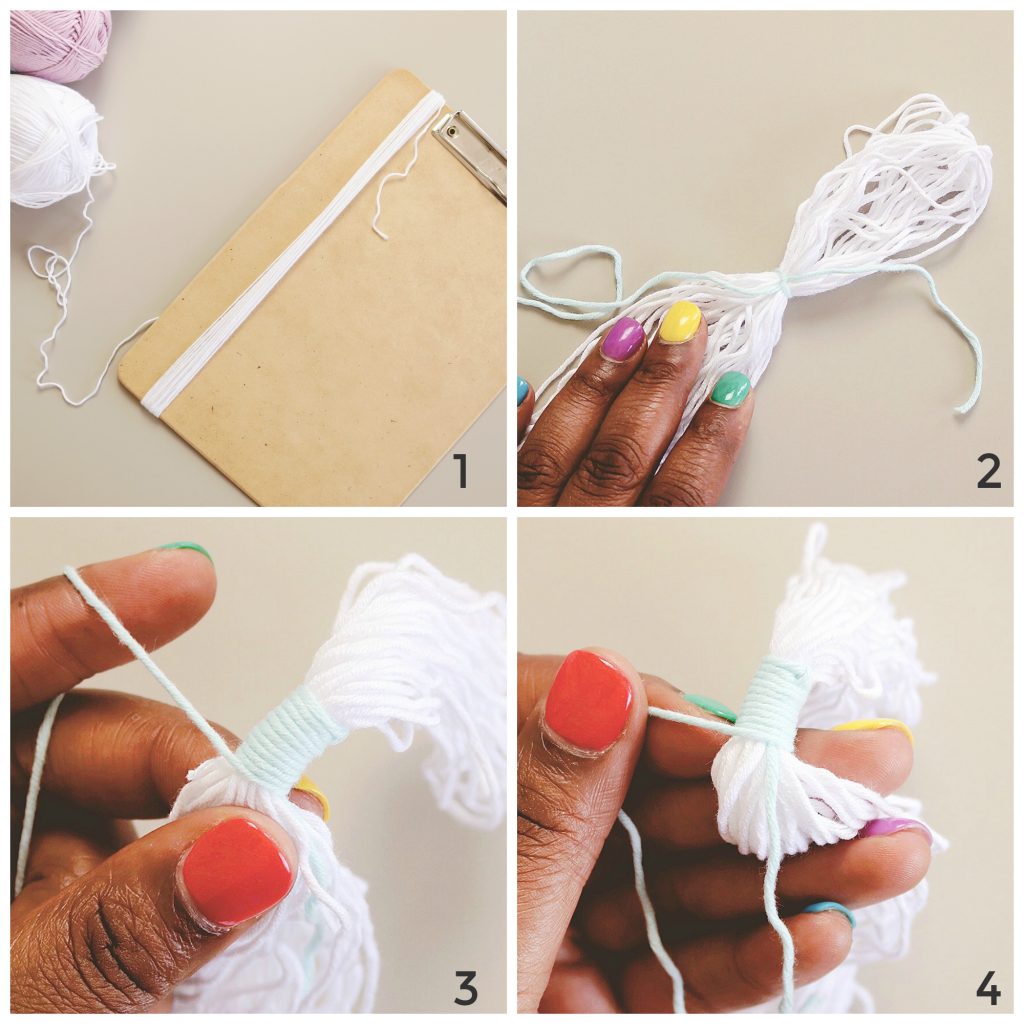
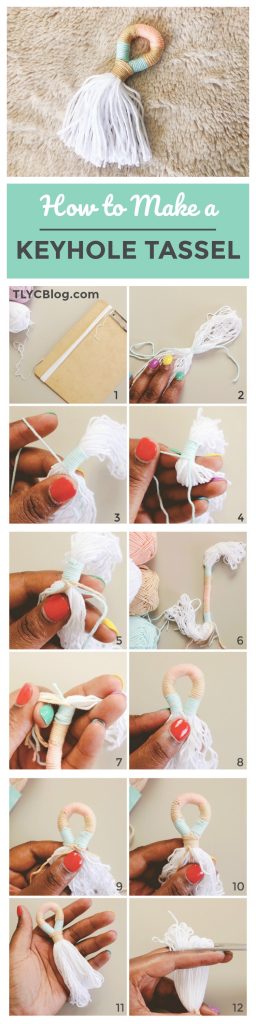
Step 1: Wrap tassel color around clipboard several times, then slide the wrapped yarn off the clipboard.
Step 2: Tie the first color to the tassel about 1/3’d of the way down. No need to knot it.
Step 3: Wrap the first color around the tassel several times, working over the loose end.
Step 4: Cut the first color and tie the ends together.
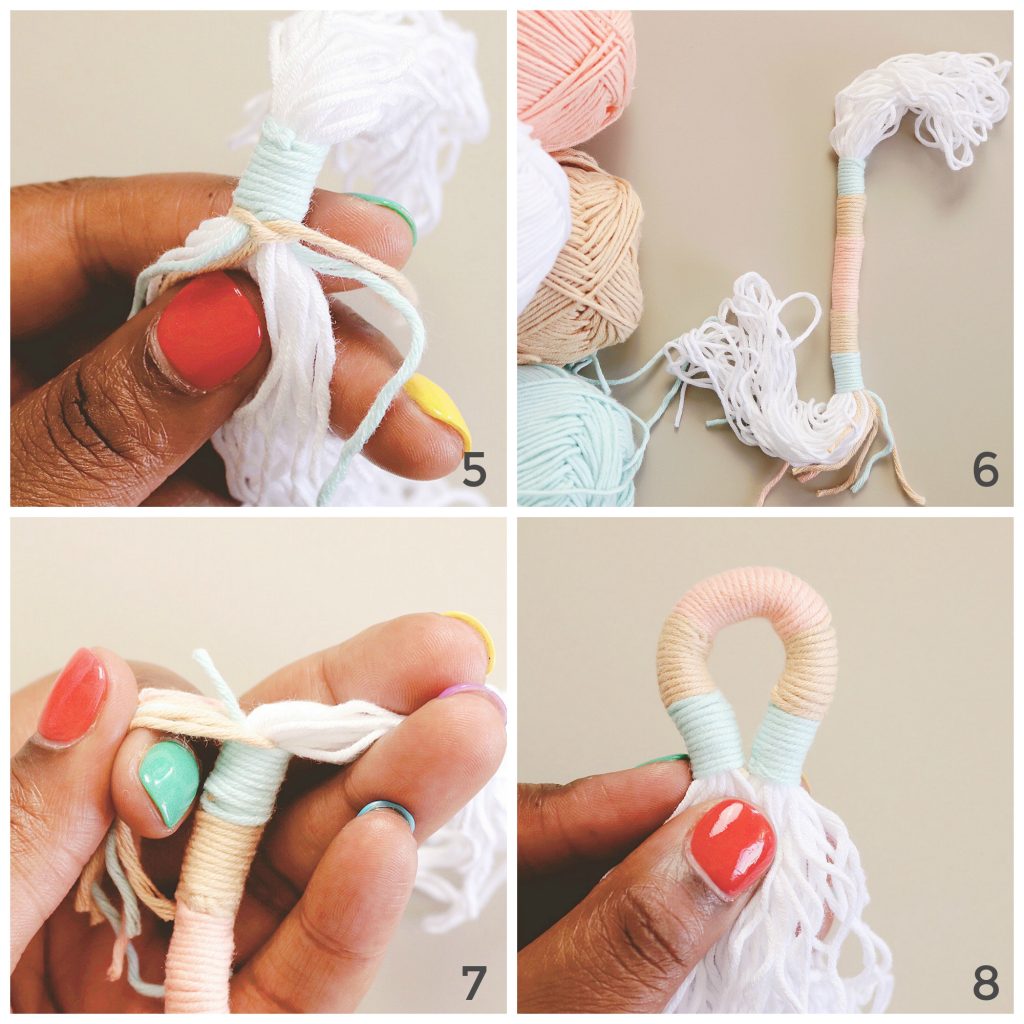
Step 5: Repeat these steps for each of your colors.
Step 6: Your tassel should look like this!
Step 7: Cut the remaining ends close to the wrapped section.
Step 8: Bend the tassel, bringing the wrapped ends together.

Step 9: Tie your final color so the tie is in the back.
Step 10: Wrap the final color several times. Optional: Secure knot with a dot of craft glue.
Step 11: Use a garment steamer or steam iron to relax the tassel strands.
Step 12: Carefully trim the tassel ends so they are even.

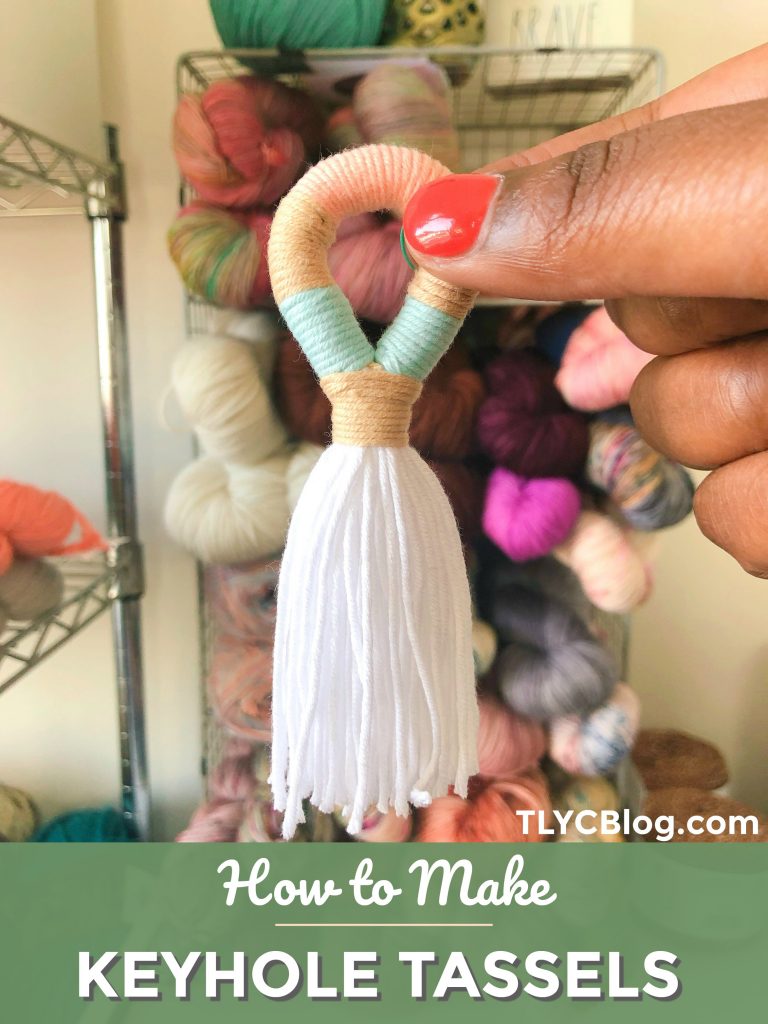
And there you go! Your keyhole tassel is done! Wasn’t that super duper easy?! Don’t forget to share this post with your friends and check out the FREE Catalina Tote pattern, right here on my blog.
PIN THIS POST TO SHARE!