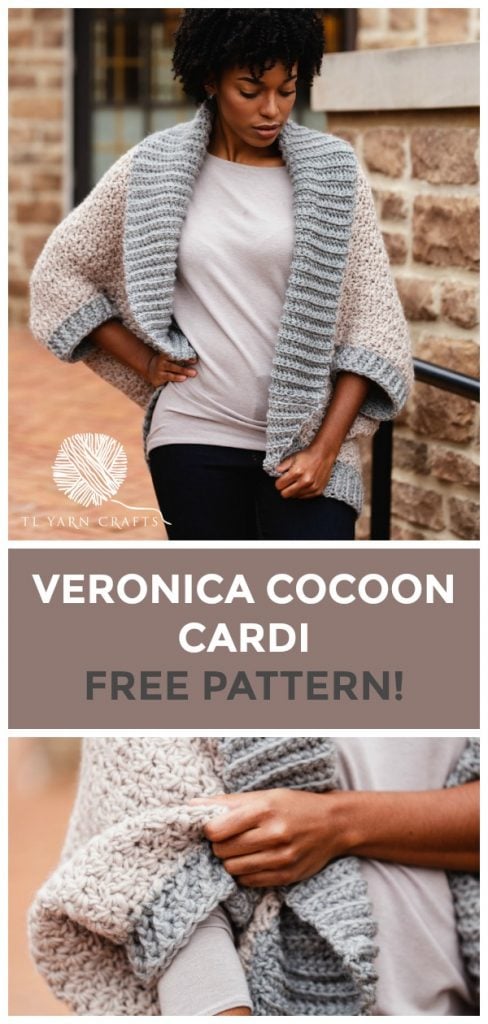
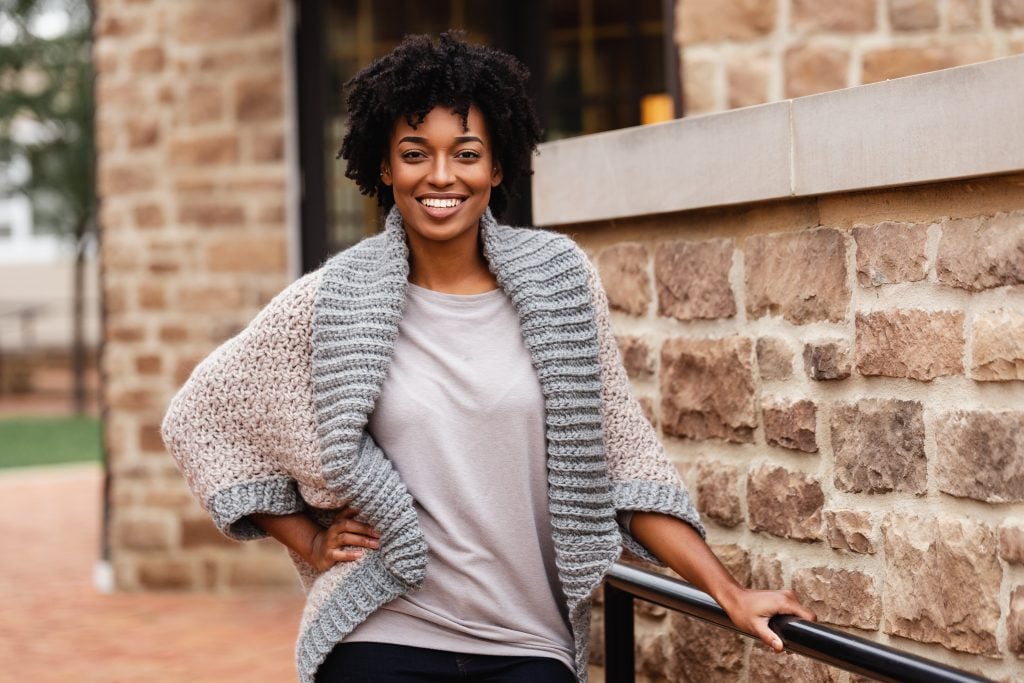
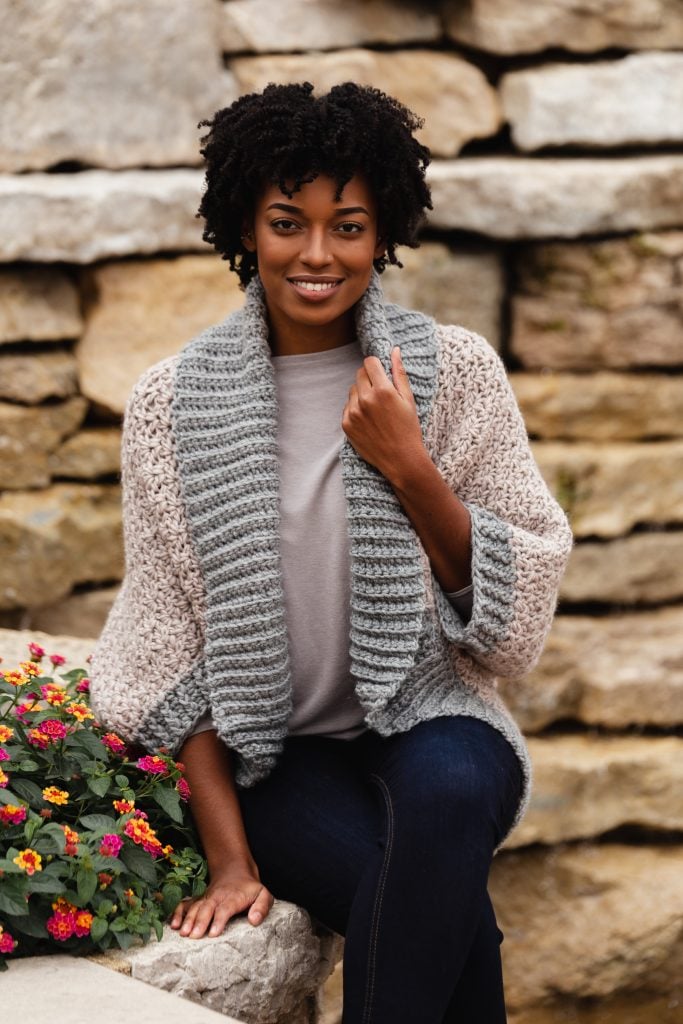
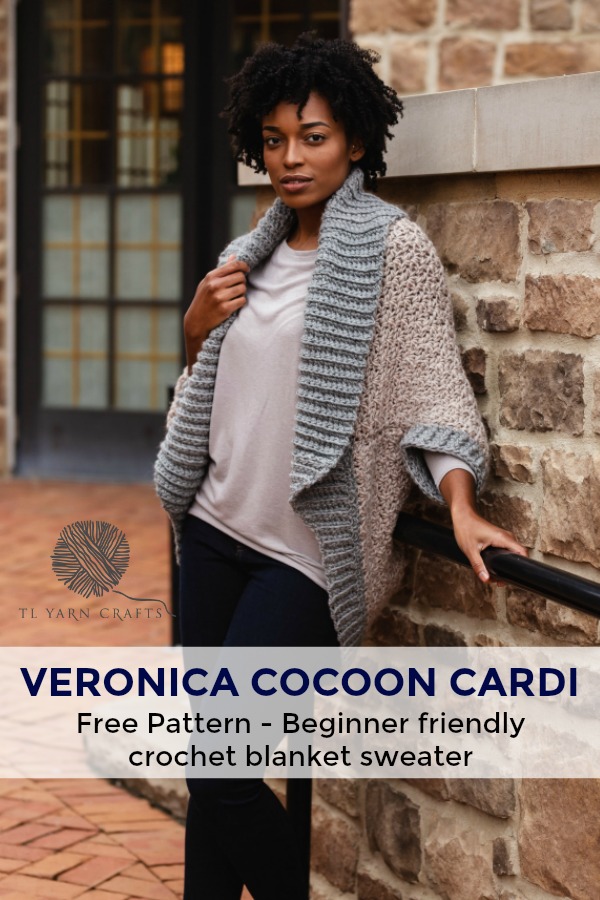
The Veronica Cocoon Cardi, an oversized blanket sweater

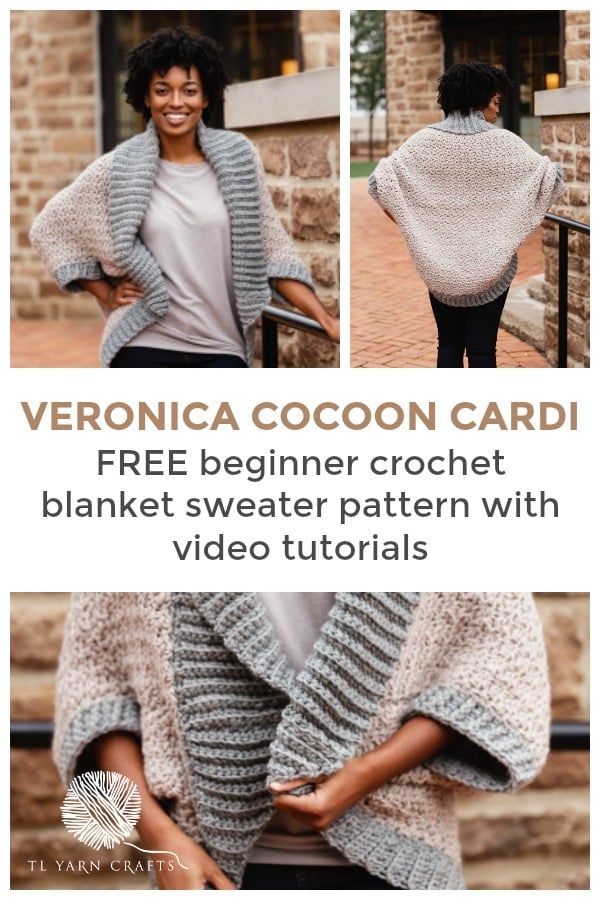
Combine addictive textured stitches and basic construction to make the Veronica Cocoon Cardi, a beginner-friendly crochet blanket sweater.
The Veronica Cocoon, my latest collaboration with JOANN, is the definition of cozy. Most days I struggle between wanting to look chic and yearning to wear my PJ’s in public. Now that I have the Veronica Cocoon, I can go from drinks with friends to a Netflix binge session without changing my clothes. Sounds like a win-win to me!
This post contains affiliate links that support TLYCBlog content. All opinions are my own.
PIN IT NOW, MAKE IT LATER
Keep scrolling for the FREE version of the Veronica Cocoon Cardi, or find a
My original Veronica Cardi pattern was the first garment I designed and it still holds a special place in my maker heart. The color combination, gorgeous texture, and effortless wearability defines everything I love when building a cold weather outfit. I wanted to take those same elements and incorporate them into a cocoon cardigan since I hadn’t made one before. After a quick trip to my local JOANN store and a bit of tweaking, the Veronica Cocoon was done in no time.

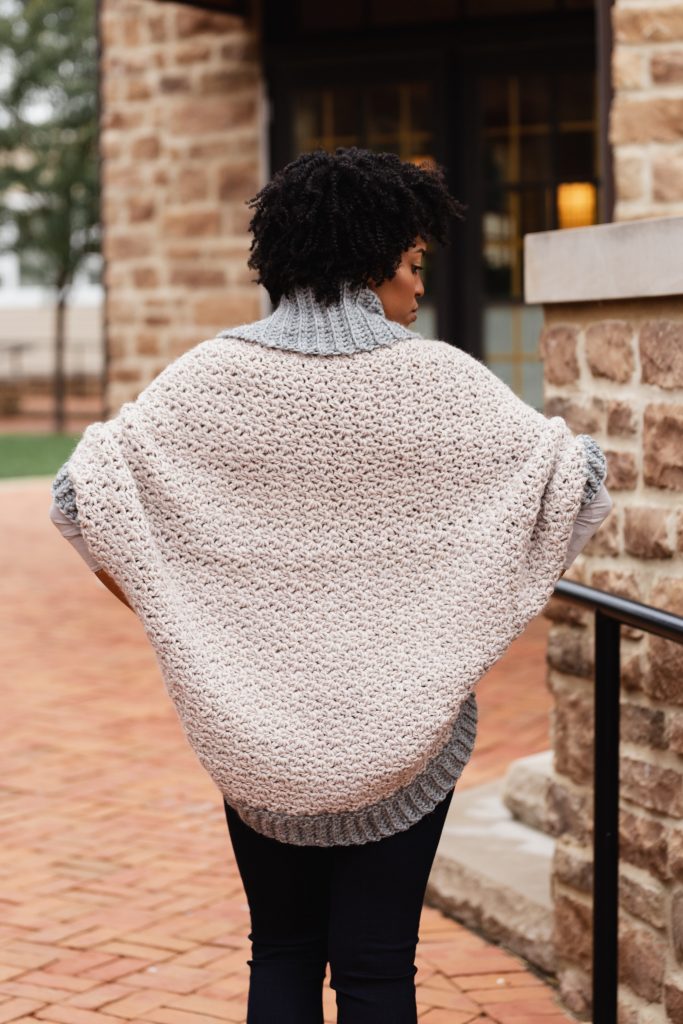
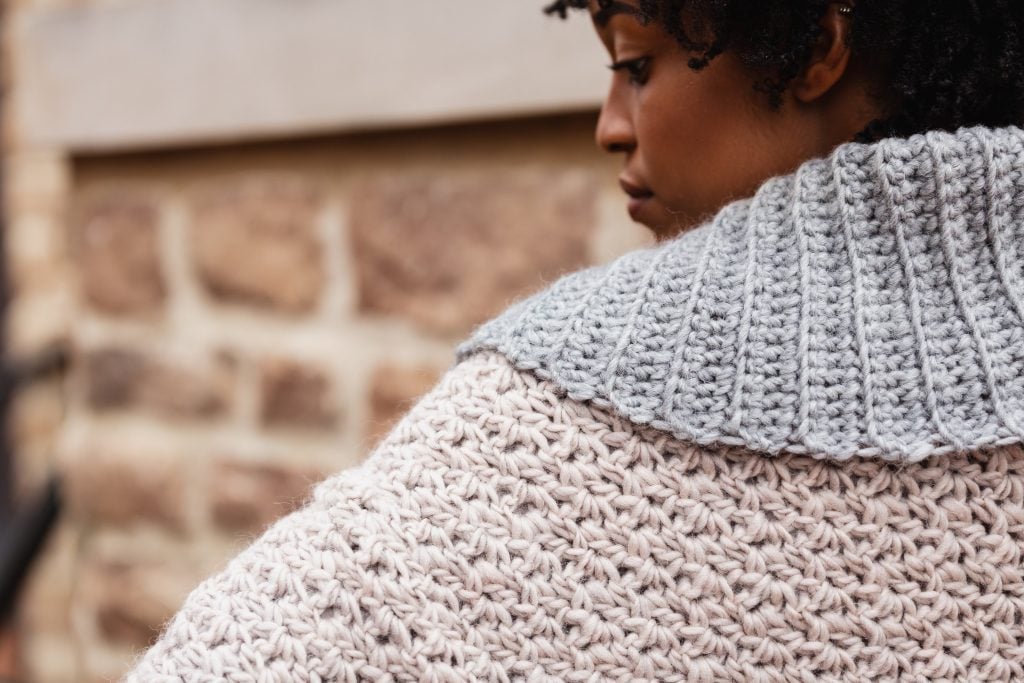
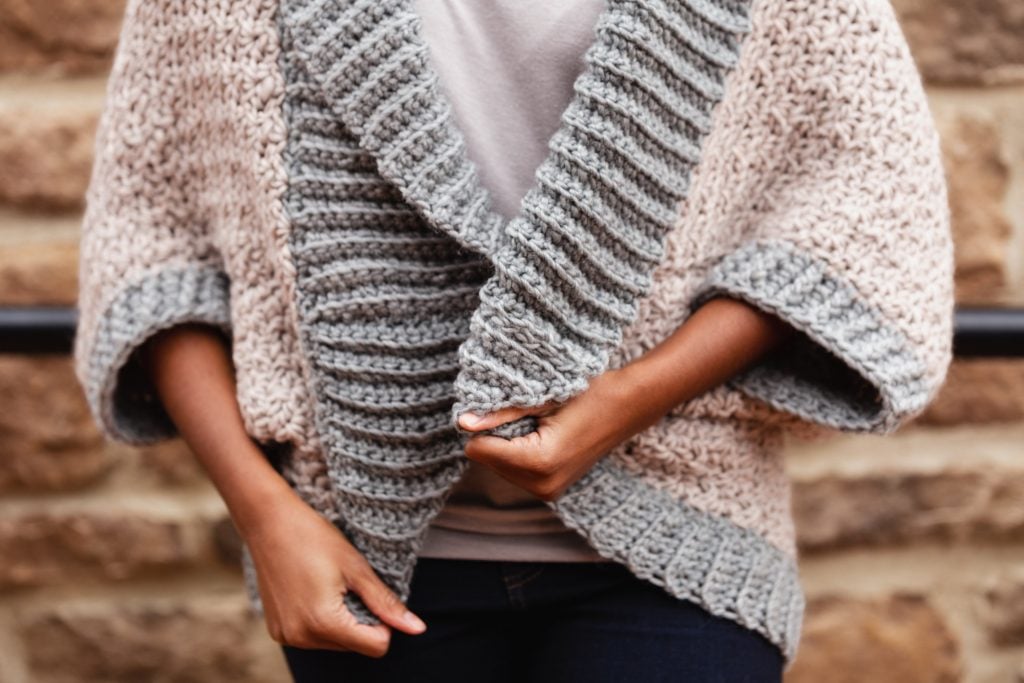
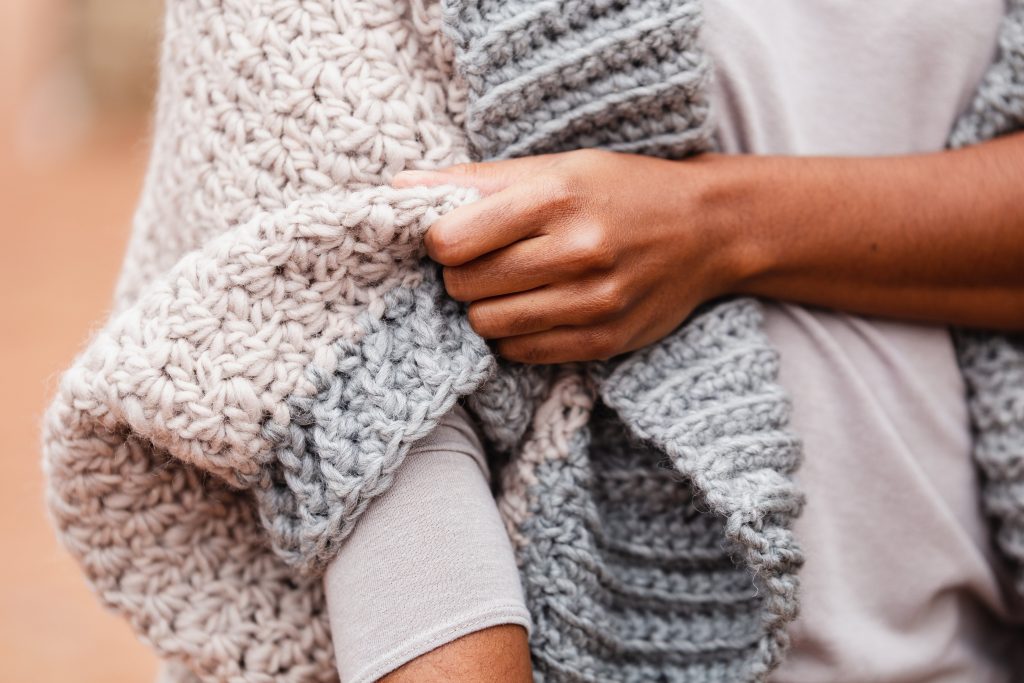
One of the things I love about crochet design is finding a balance between interesting and straightforward. The cluster stitch used in the Veronica Cocoon adds amazing texture while using a large hook gives the fabric drape and lightness. The overstated collar is made from simple single crochet ribbing and is applied to the opening of the cardigan without any additional sewing. The final step is to add textured cuffs, which bring a polished finish to the arm openings.
I love roaming the aisles of JOANN when I’m planning new crochet projects. For the Veronica Cocoon, I mimicked the original Veronica Cardi by using the same Patons Classic Wool Roving which is made of 100% wool. It’s a level 5 bulky weight yarn that’s offered in a range of neutral shades. While I love the feel of this yarn, there were plenty of other options that would work perfect with this pattern. Bernat Softee Chunky offers some additional variegated and bright color options. Big Twist Rainbow is a lighter bulky weight yarn that’s 100% acrylic and so very soft. And we have to bring some velvet yarn in the mix – Premier Yarns Parfait Big Yarn would be a great choice, especially if you mix Pale Gray and Peach!
CLICK TO PIN THIS PATTERN!
I have to give a lot of credit to my pattern testers who worked on the Veronica Cardi pattern. They were gracious enough to spare their time, talent, and yarn stash during the holiday season. I picked each of these makers from my TLYC Insiders group and they did a fantastic job. Please visit their Instagram accounts and show them some love on their amazing finished Veronica Cocoons.

-Leslie of @leslielakelife
-Sarah of @stitchedbysarahs
-Lisa of @stringsandcuddles
-Nadir of @unraveledgrace
-Britteny of @bonita_afro_bum
-Kristina of @woolcuddles
Interested in pattern testing for TL Yarn Crafts? Apply here!

Veronica Cocoon Cardi Pattern
FINISHED SIZE:
- S/M/L – 38” wingspan before cuffs and 41” long
- L/XL/2XL – 42” wingspan before cuffs and 45” long
MATERIALS:
- 5 (6) balls Patons Classic Wool Roving in the color Natural
- 4 (5) balls Patons Classic Wool Roving in the color Grey
- US Size L/11 8mm crochet hook
- Scissors
- Yarn needle
- Stitch markers (optional)
GAUGE:
4 inches square = 4 clu x 7 rows, unblocked
ABBREVIATIONS:
- BLO = back loop only
- Ch = chain
- Clu = cluster (see Pattern Stitch)
- Dc = double crochet
- FPdc = front post double crochet
- Hdc = half double crochet
- Rem = remaining
- Rep = repeat
- RS = right side
- Sc = single crochet
- Sc2tog = single crochet two stitch together
- Sk = skip
- Sl st = slip stitch
- Sp = space
- St(s) = stitch(s)
- WS = wrong side
Pattern Stitch – Cluster (clu)
Clu = (sc 1, ch 1, dc 1) all in same space.
NOTES:
- Pattern is written for S/M/L size with size L/XL/2XL in parenthesis. For some sections, instructions for sizes may be written separately. Only follow the instructions for the size you are making.
- Numbers in parenthesis at the end of some rows indicate the total number of stitches in that row.
- Portions of pattern are written in crochet shorthand. For example – “sc 1” means to single crochet in the next stitch.
- The Bottom Ribbing is made perpendicular to the cardigan opening. Full instructions are included. For a tutorial of a similar technique, watch this video: https://youtu.be/xsEPLeUSwmg
Top Ribbing
Step 1: With color B Ch 21, sc in 2nd ch from hook and each st across, turn. (20 sc)
Step 2: Ch 1, sc BLO in each st across, turn.
Step 3: Rep Step 2 to 109 (130) total rows.
Rotate ribbing to work into ends of rows just made.
Body
Row 1: Ch 1, sc into the end of each row, change to color A, turn. (109 sc; 130 sc)
Row 2: Ch 1, sc 1, sk 2 sts, *clu in next st, sk 2 sts; rep from * to last 3 sc, sk 2 st, sc in last st, turn. (35 clu +2 sc; 42 clu + 2 sc)
Row 3: Ch 1, sc in first st, clu in ch-1 sp of each clu across row, sc in last st, turn.
Rep Row 3 until piece measures 38” (42”) including ribbing.
Border Foundation: Change to color B, ch 1, sc in each sc, ch-1 sp, and dc across row. (109 sc; 130 sc)
Bottom Ribbing
Row 1: Ch 21, sc in 2nd ch from hook and each ch across, sl st in next 2 sts of Border Foundation, turn. (20 sc)
Row 2: DO NOT CH! Sk 2 sl sts, sc BLO across to last 2 sc, sc2tog over last 2 sc, turn. (19 sc)
Row 3: Ch 1, sc2tog over first 2 sc, sc BLO across rem sc, sl st in next 2 sts of Border Foundation, turn. (18 sc)
Rows 4-13: Rep Rows 2 + 3 five times. (8 sc)
Row 14: Rep Row 2. (7 sc)
Row 15: Ch 1, sc BLO in each sc across, sl st in next 2 sts of Border Foundation, turn.
Row 16: DO NOT CH! Sk 2 sl sts, sc BLO in each sc across, turn.
Rep Rows 15 and 16 to last 13 sts of Border Foundation.
Size S/M/L
Next Row: Ch 1, 2 sc in first sc, sc BLO across rem sc, sl st in next 2 sts of Border Foundation, turn. (8 sc)
Next Row: DO NOT CH! Sk 2 sts, sc BLO across to last sc, 2 sc in last sc, turn. (9 sc)
Rep these 2 rows five times.
Next Row: Ch 1, 2 sc in first sc, sc BLO across rem sc, sl st in last sc of Border Foundation. Cut yarn. (20 sc)
Size L/XL/2XL
Next Row: DO NOT CH! Sk 2 sts, sc BLO across to last sc, 2 sc in last sc, turn. (8 sc)
Next Row: Ch 1, 2 sc in first sc, sc BLO across rem sc, sl st in next 2 sts of Border Foundation, turn. (9 sc)
Rep these 2 rows five times.
Next Row: DO NOT CH! Sc BLO across to last sc, 2 sc in last sc, turn. (20 sc)
Next Row: Ch 1, sc BLO across sc sts, sl st in last Border Foundation. Cut yarn. (20 sc)
Finishing

Step 1: Fold cardigan Bottom Ribbing is laying on top of Top Ribbing.
Step 2: On left side, seam Ribbing with Color B and Body with Color A to 7” from fold for arm hole.
Step 3: Repeat Step 2 on right side.
Sleeve, repeat for both arm openings
Step 1: With color B and seam facing inside, hdc evenly around the arm hole ending with an ODD number of sts, join with sl st in first hdc.
Step 2: Ch 2, hdc in first st, *FPdc in next st, hdc in next st; rep from * around, join with sl st in first hdc.
Rep Step 2 two more times.
Cut yarn. Weave in all remaining ends.
Share your Veronica Cocoon with me on Instagram using #VeronicaCocoon and #TLYCMakers for a chance to be reposted. And be sure to join my Facebook group, TLYCMakers so we can see your cardigan too!
CLICK HERE TO PIN THIS POST


Can you make this cocoon cardigan with regular red heart super saver yarn? If so, do I still use the same size hook?
Hello! If you want to use Red Heart Super Saver, I’d suggest holding two lengths of yarn together throughout the pattern. That should get you close to a bulky weight yarn. Hope that helps! Let me know if you have any other questions 🙂
Thanks for this crochet ribbing tutorial. I specially liked the sweater’s pattern and color combination . I will definitely try this at home.
I’m so glad these videos were helpful! Let me know if I can help with anything else 🙂
Love this, but I’m struggling with the bottom ribbing. Is there a video, photos or graph of where the slip stitches are? I’ve searched your YouTube channel and can’t find it. Thanks!
Hi! There are no slip stitches in the bottom ribbing of this pattern. Feel free to email [email protected] and I can help you through the pattern.
Hi. I have a silly question. When you say to continue making the body until the piece measures 42”, including ribbing, do you mean only the top ribbing that is already made? Or 42” anticipating the bottom ribbing that will soon be added?
Thank you. ☺️
Just the ribbing that is made already.