Simone Dress: A FREE Summer Crochet Granny Dress Pattern
")
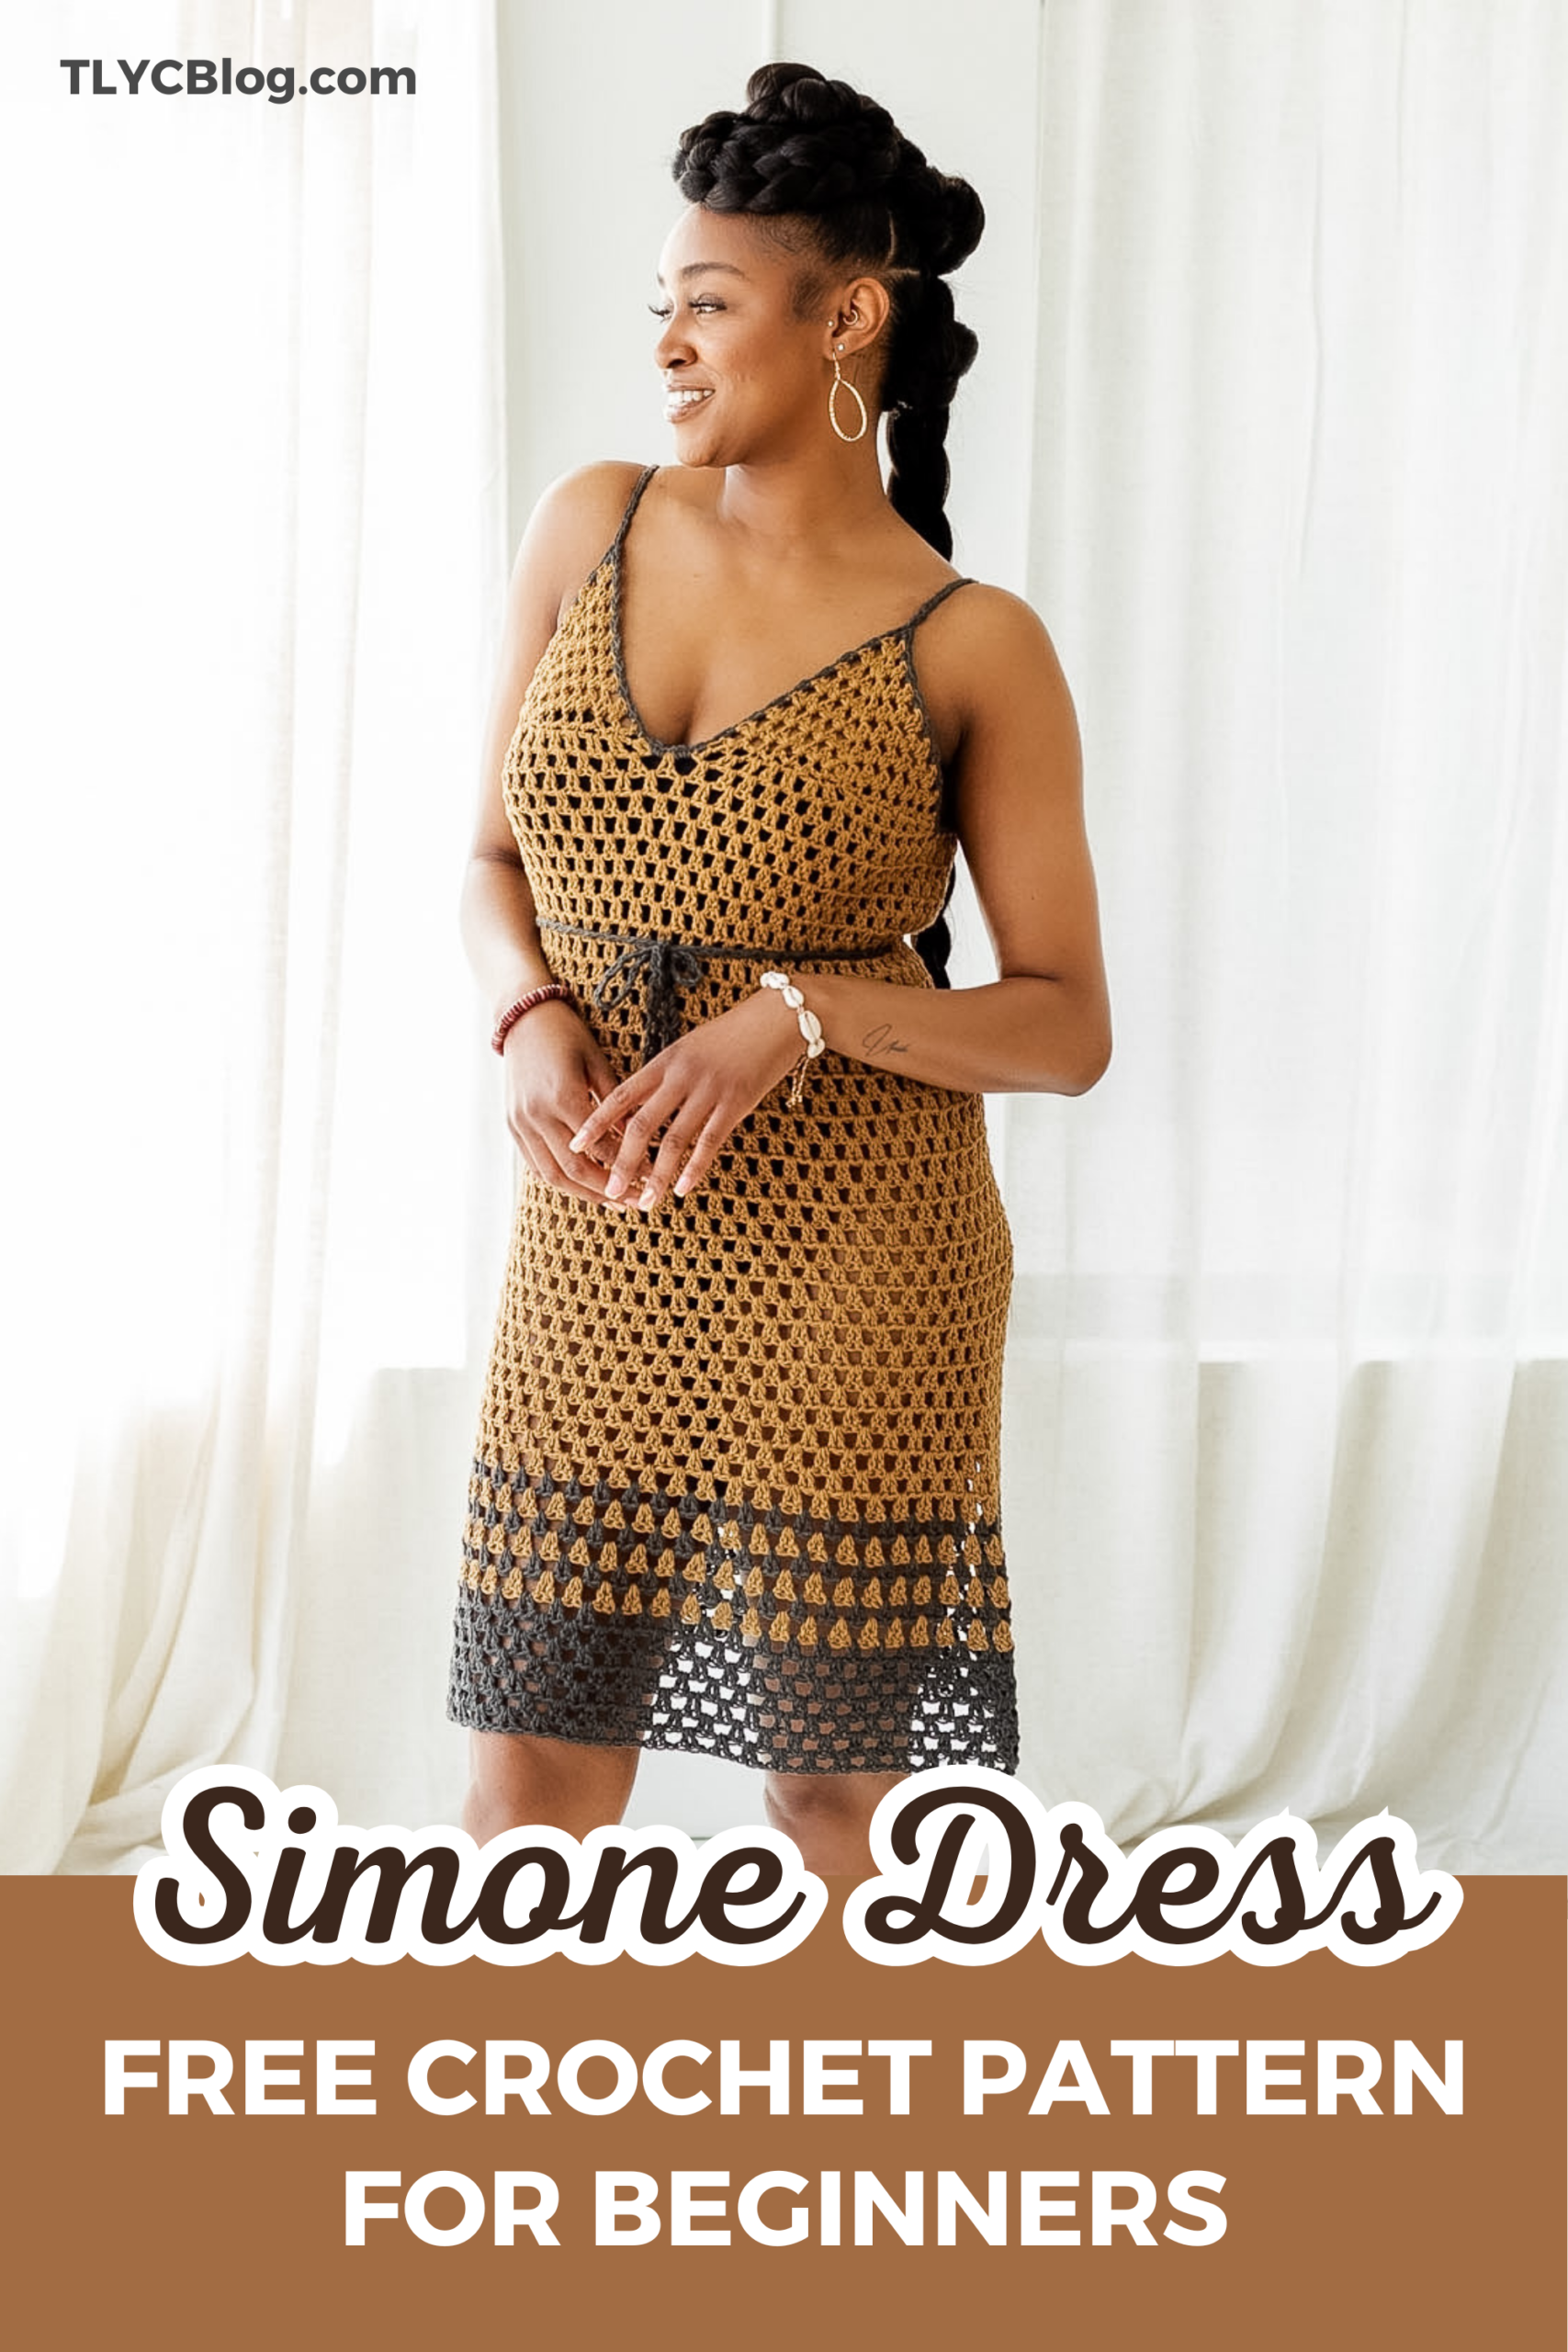
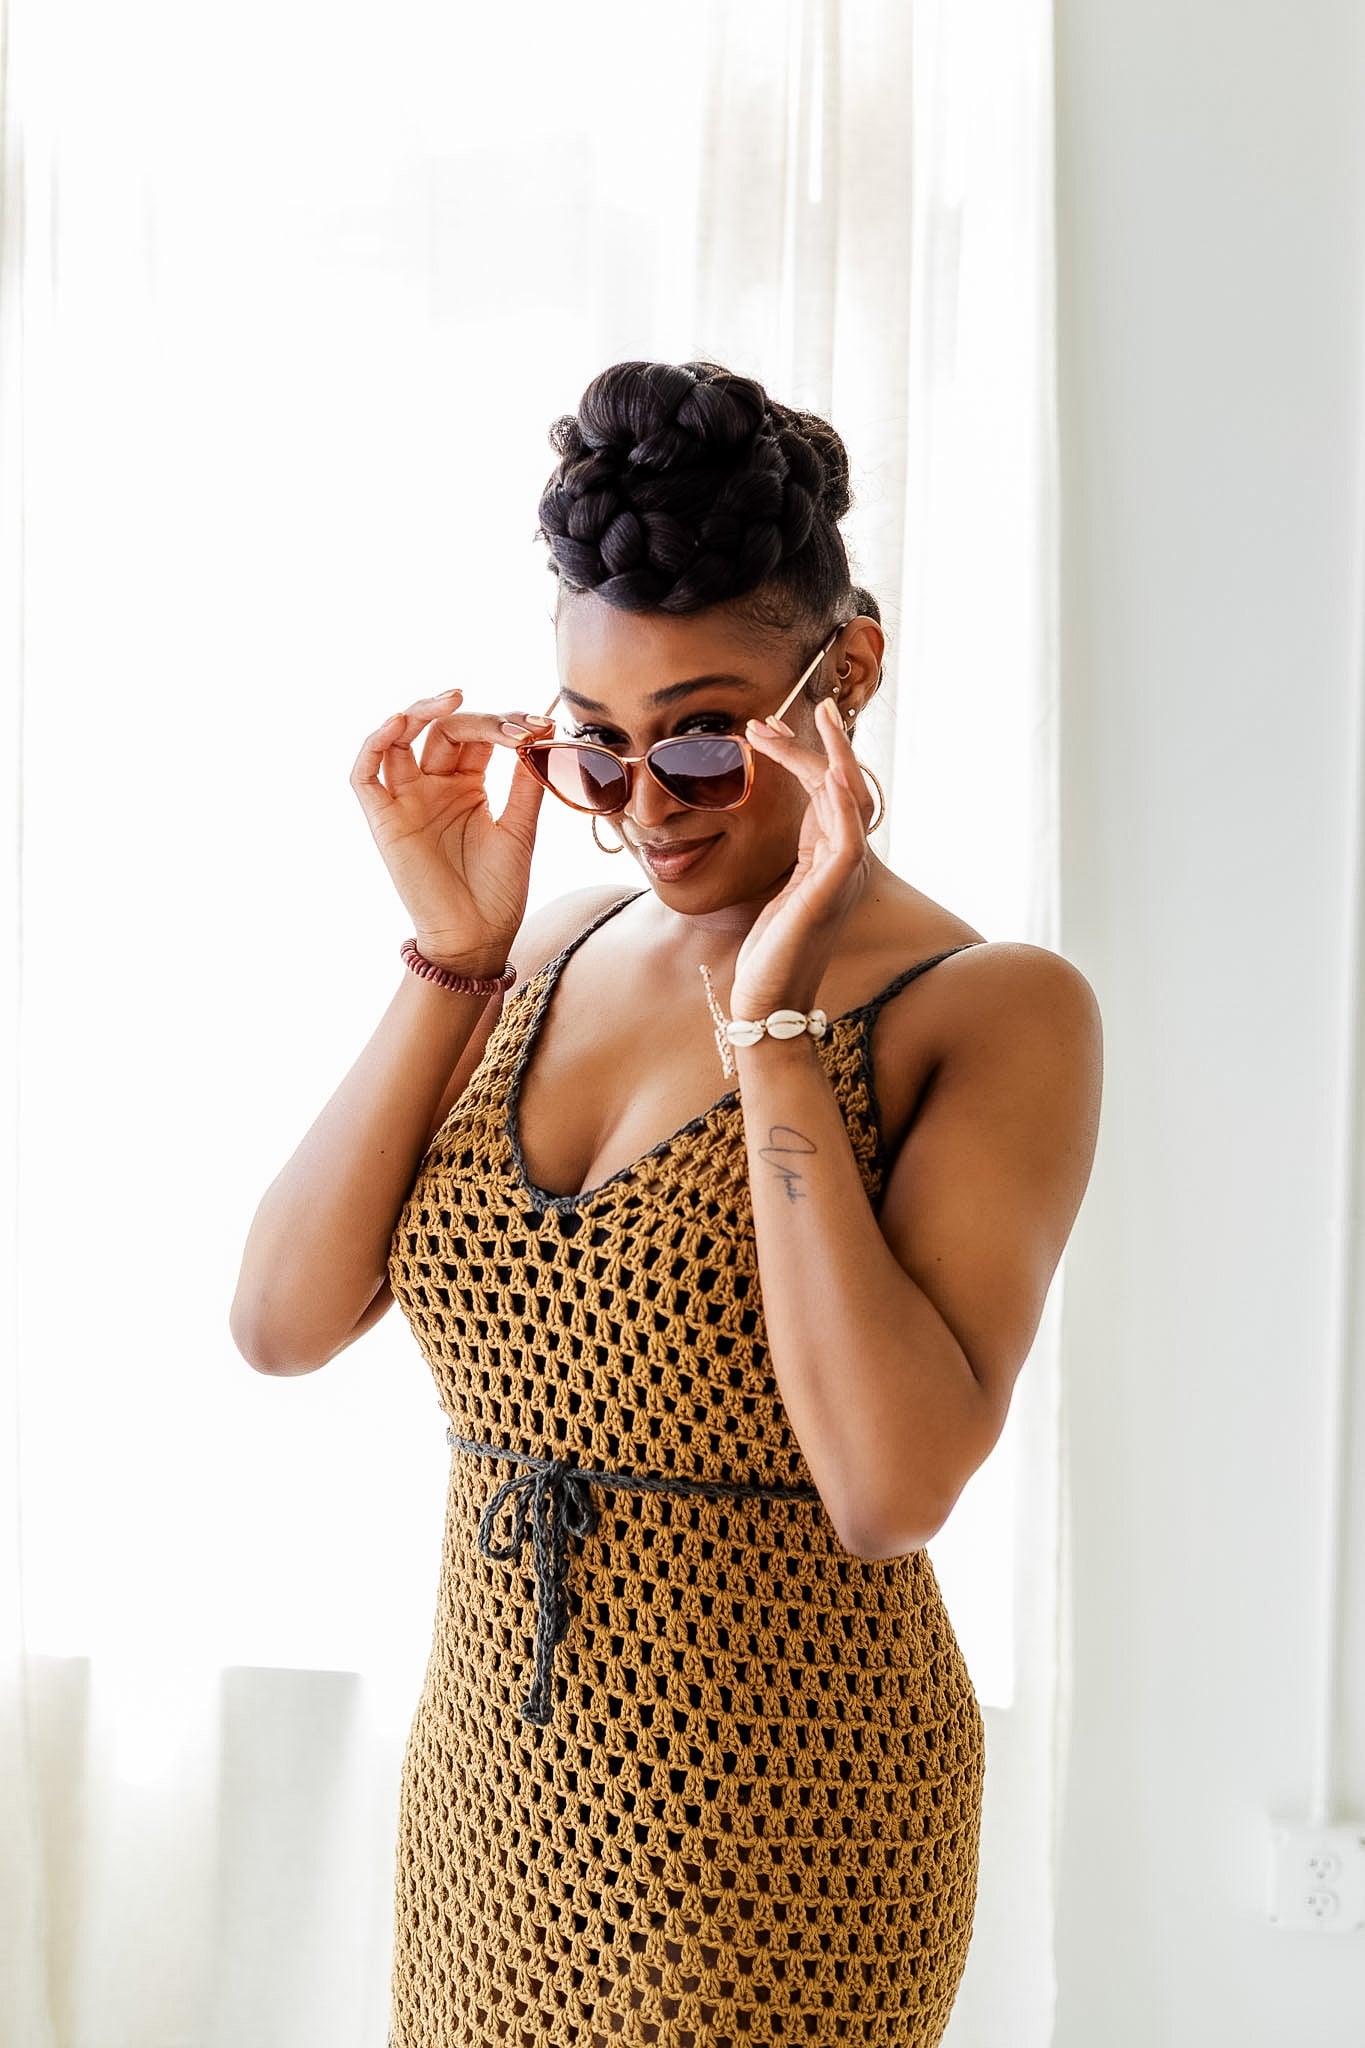
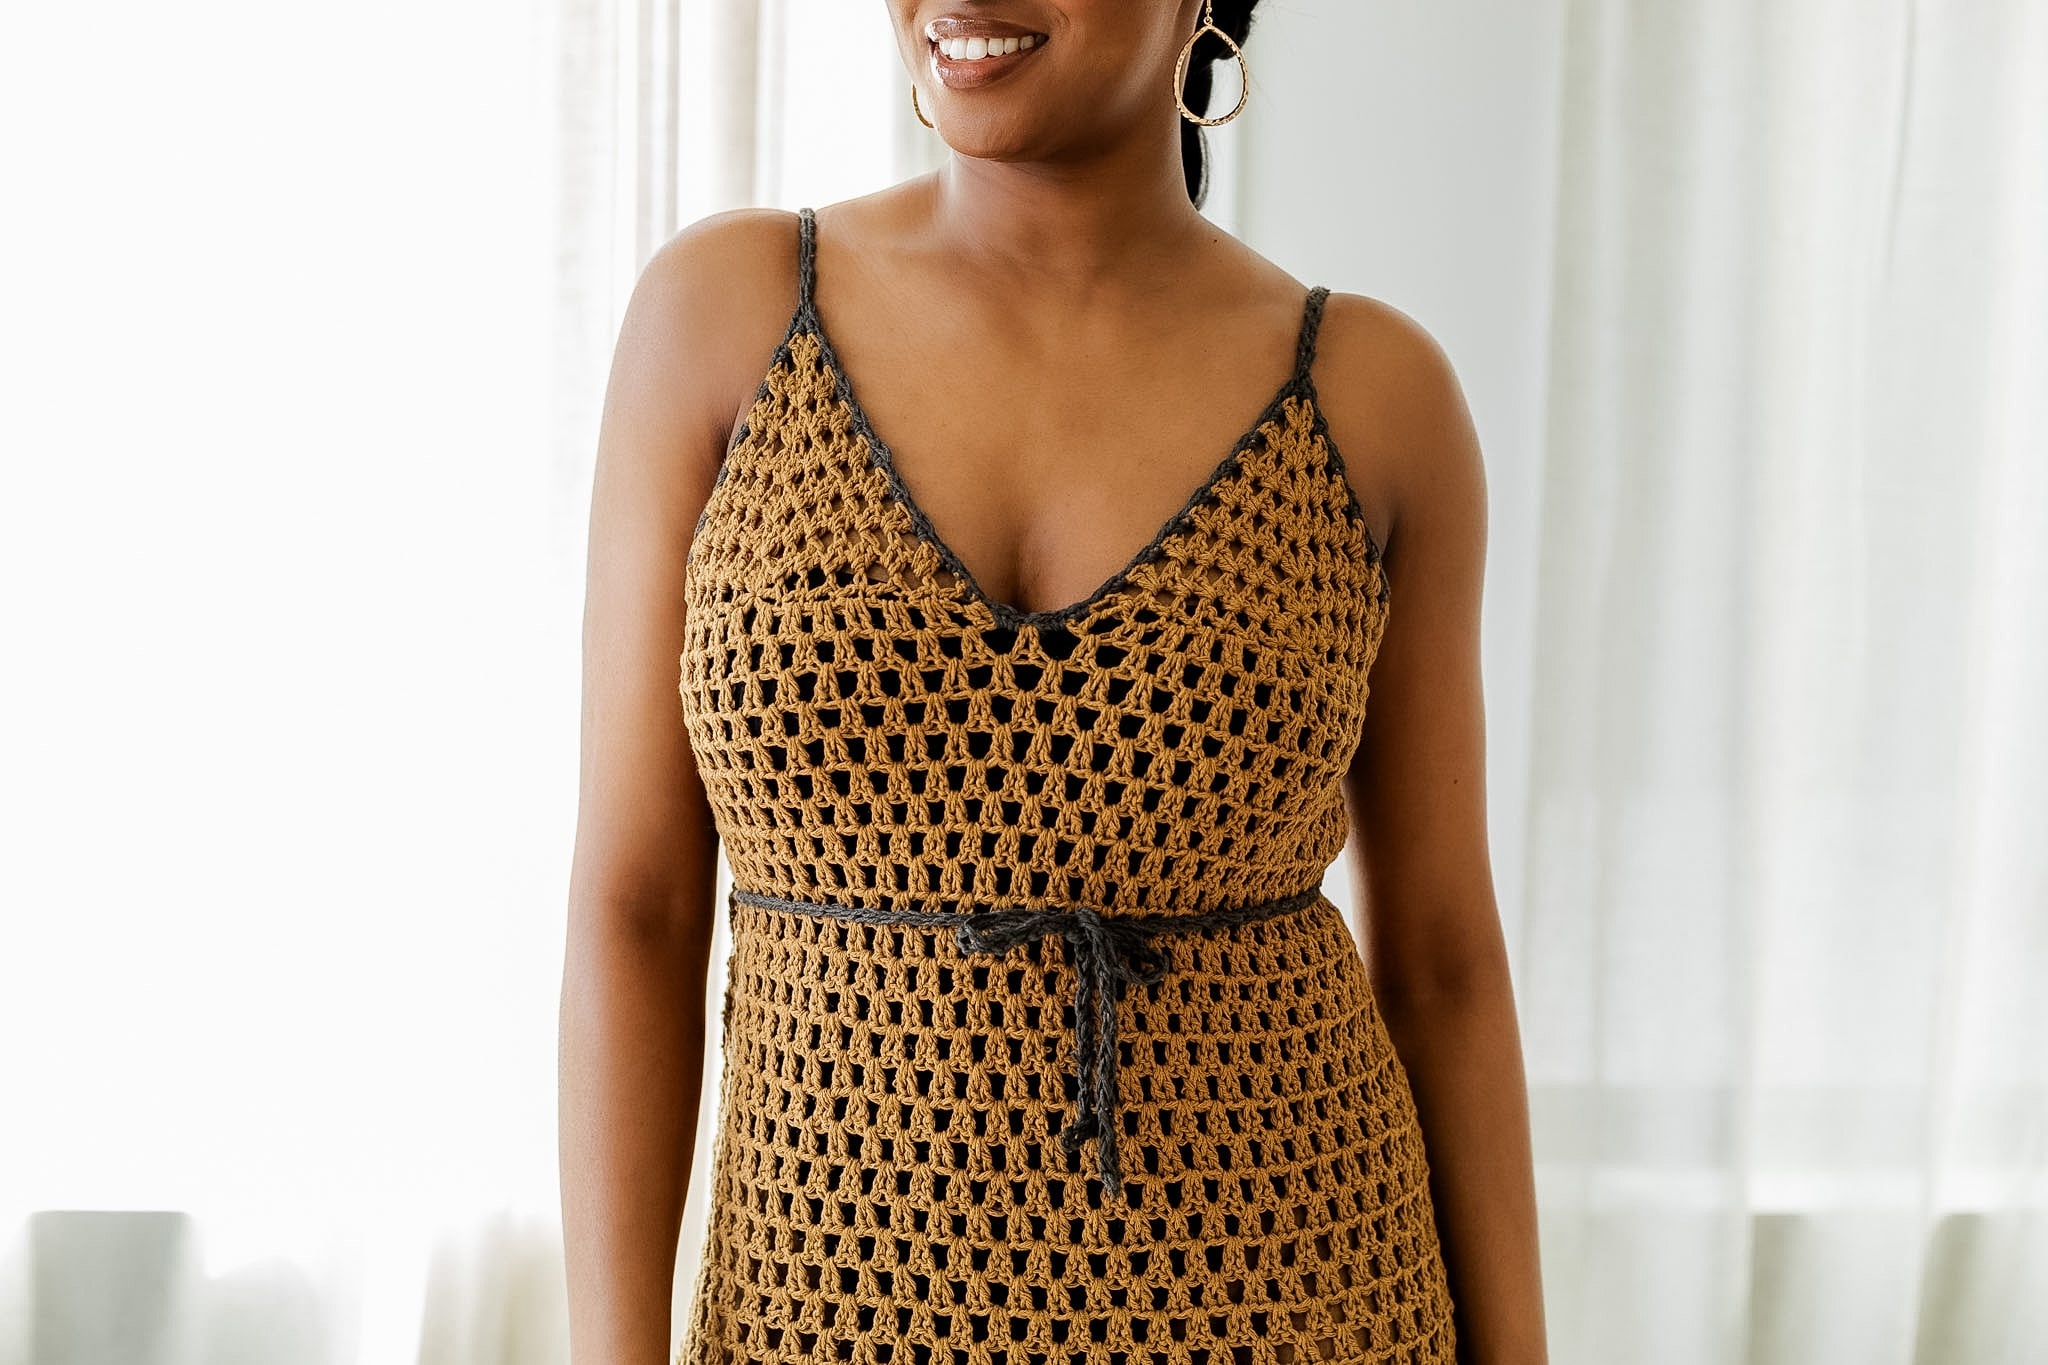
Show off that summer skin in your new Simone Dress, a FREE crochet granny dress pattern designed in collaboration with Lion Brand.
The thermostat finally topped 80 degrees, so you know what that means – it’s time to pull those cute dresses from your closet! And not just any cute dress – one you made by hand, custom-made for YOU. The Simone Dress is customizable, comfortable, and ready to soak up the sun. Make your first (or next!) crochet granny dress using this FREE PATTERN.
This post contains affiliate links that support the content on TLYCBlog.com. All opinions are my own. Find my Privacy & Disclosures Policy here.
Pin It Now, Make It Later!
Start Your Simone Dress NOW!
- To find the FREE Simone Dress pattern, keep scrolling.
- Get the ad-free printable version on Ravelry and TLYarnCrafts.com
- Customize your Simone Dress kit from Lion Brand
- Try Touch of Linen yarn from Lion Brand
Easy Crochet Granny Dress Pattern
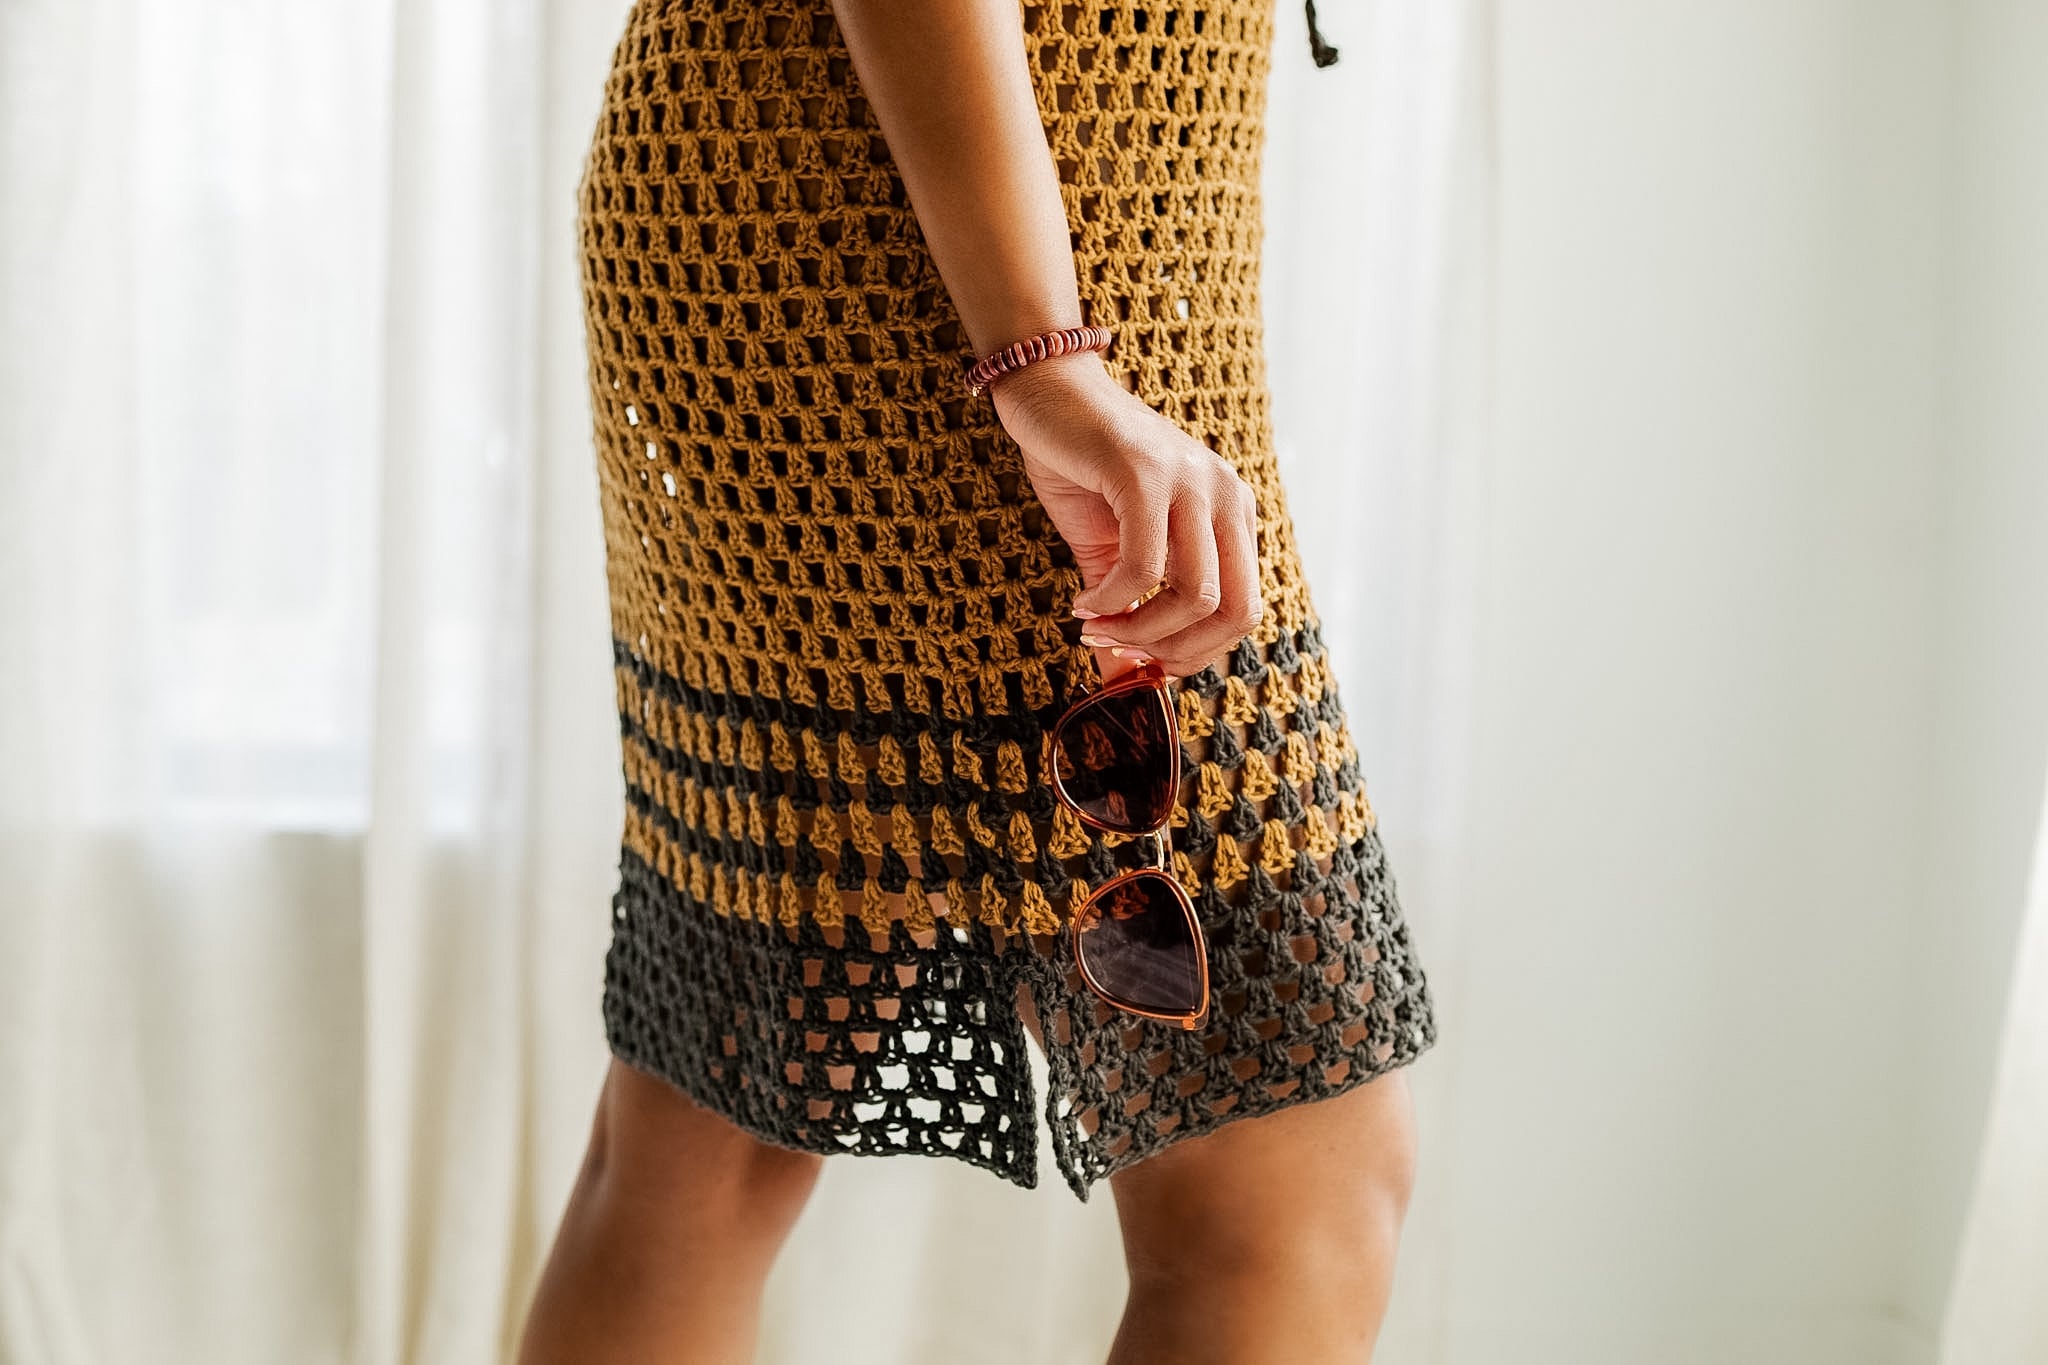
The Simone Dress proves that making your own crochet clothing doesn’t have to be rocket science. Far from it! When I made my first crochet sweater, the frustration and restarts helped me learn more about my body and how I want clothes to accentuate my favorite features. What better way to show off your crochet talent than with a stunning, easy crochet granny dress pattern like the Simone Dress? This cutie doubles as a swimsuit cover-up for sunny poolside afternoons and a flirty outfit for steamy date nights.
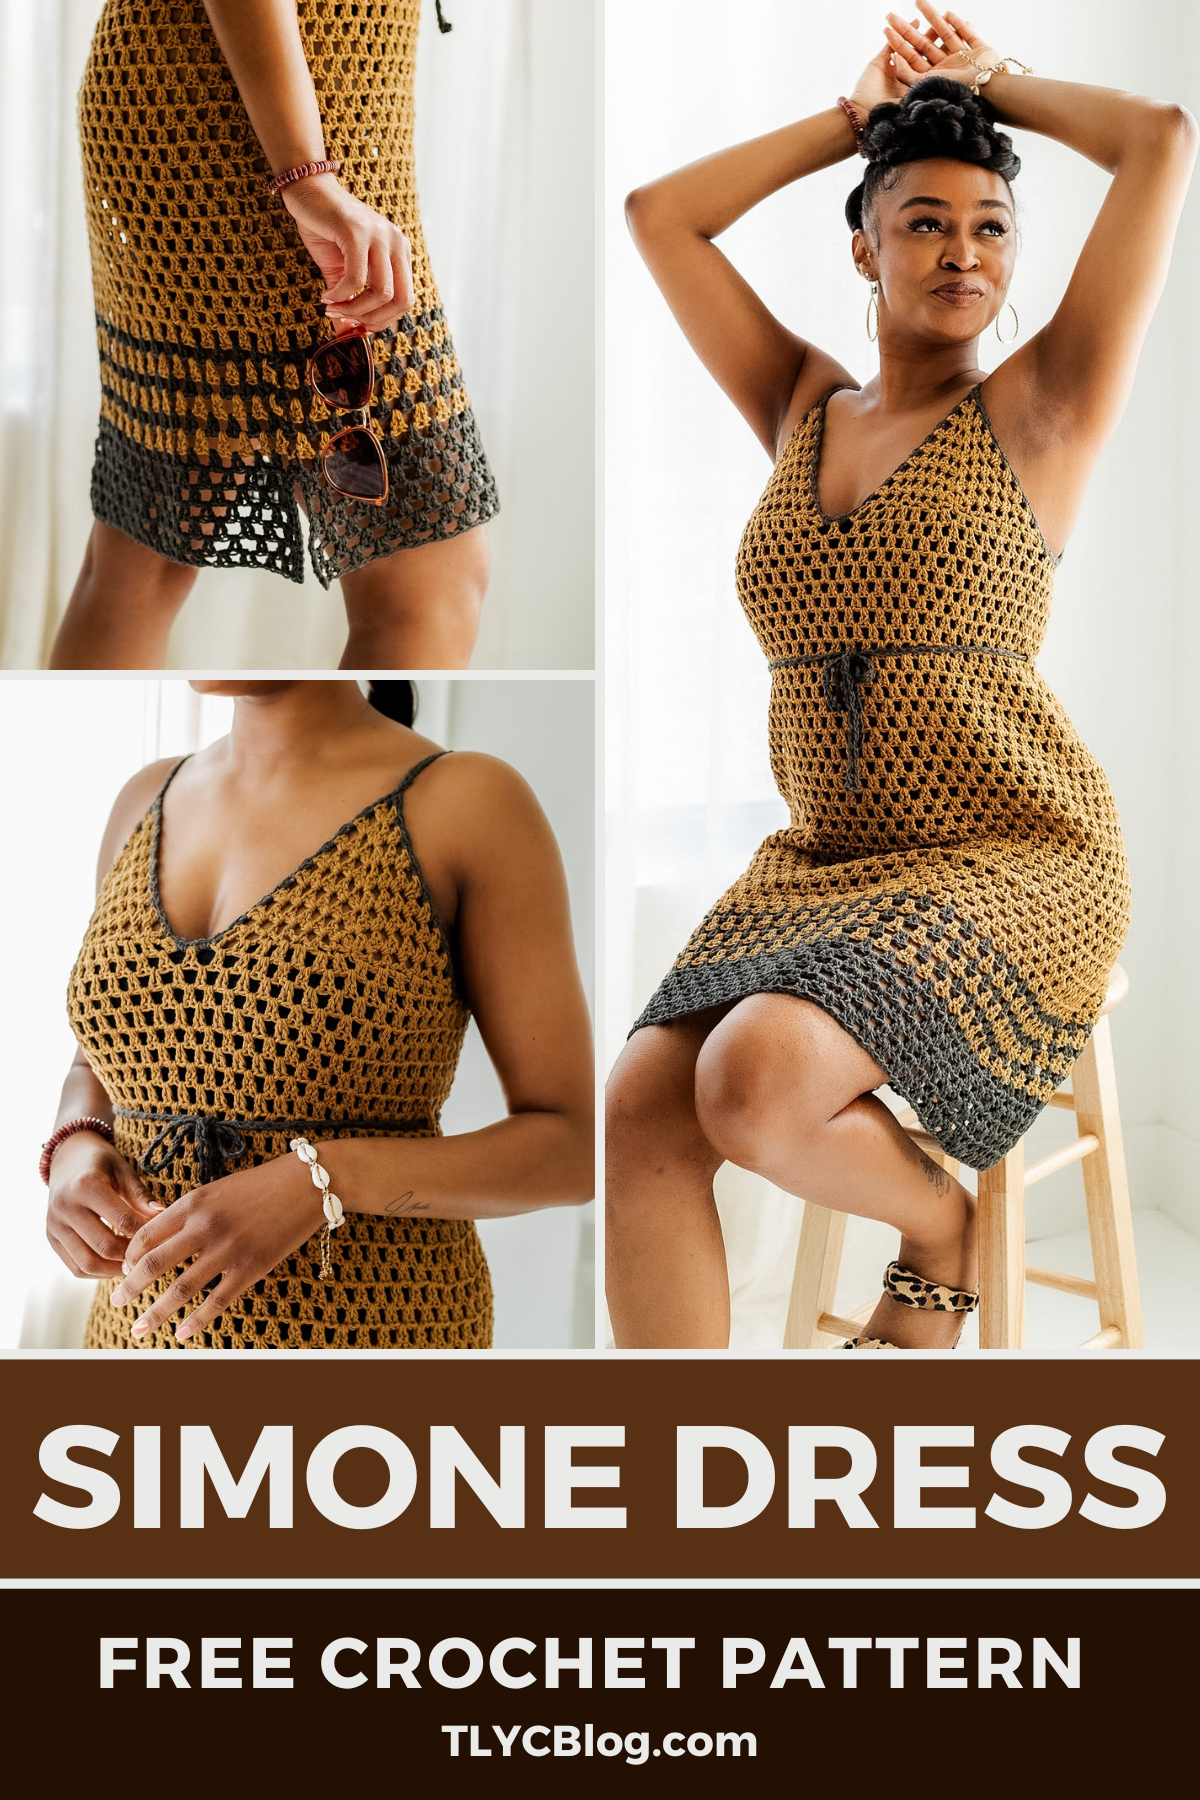
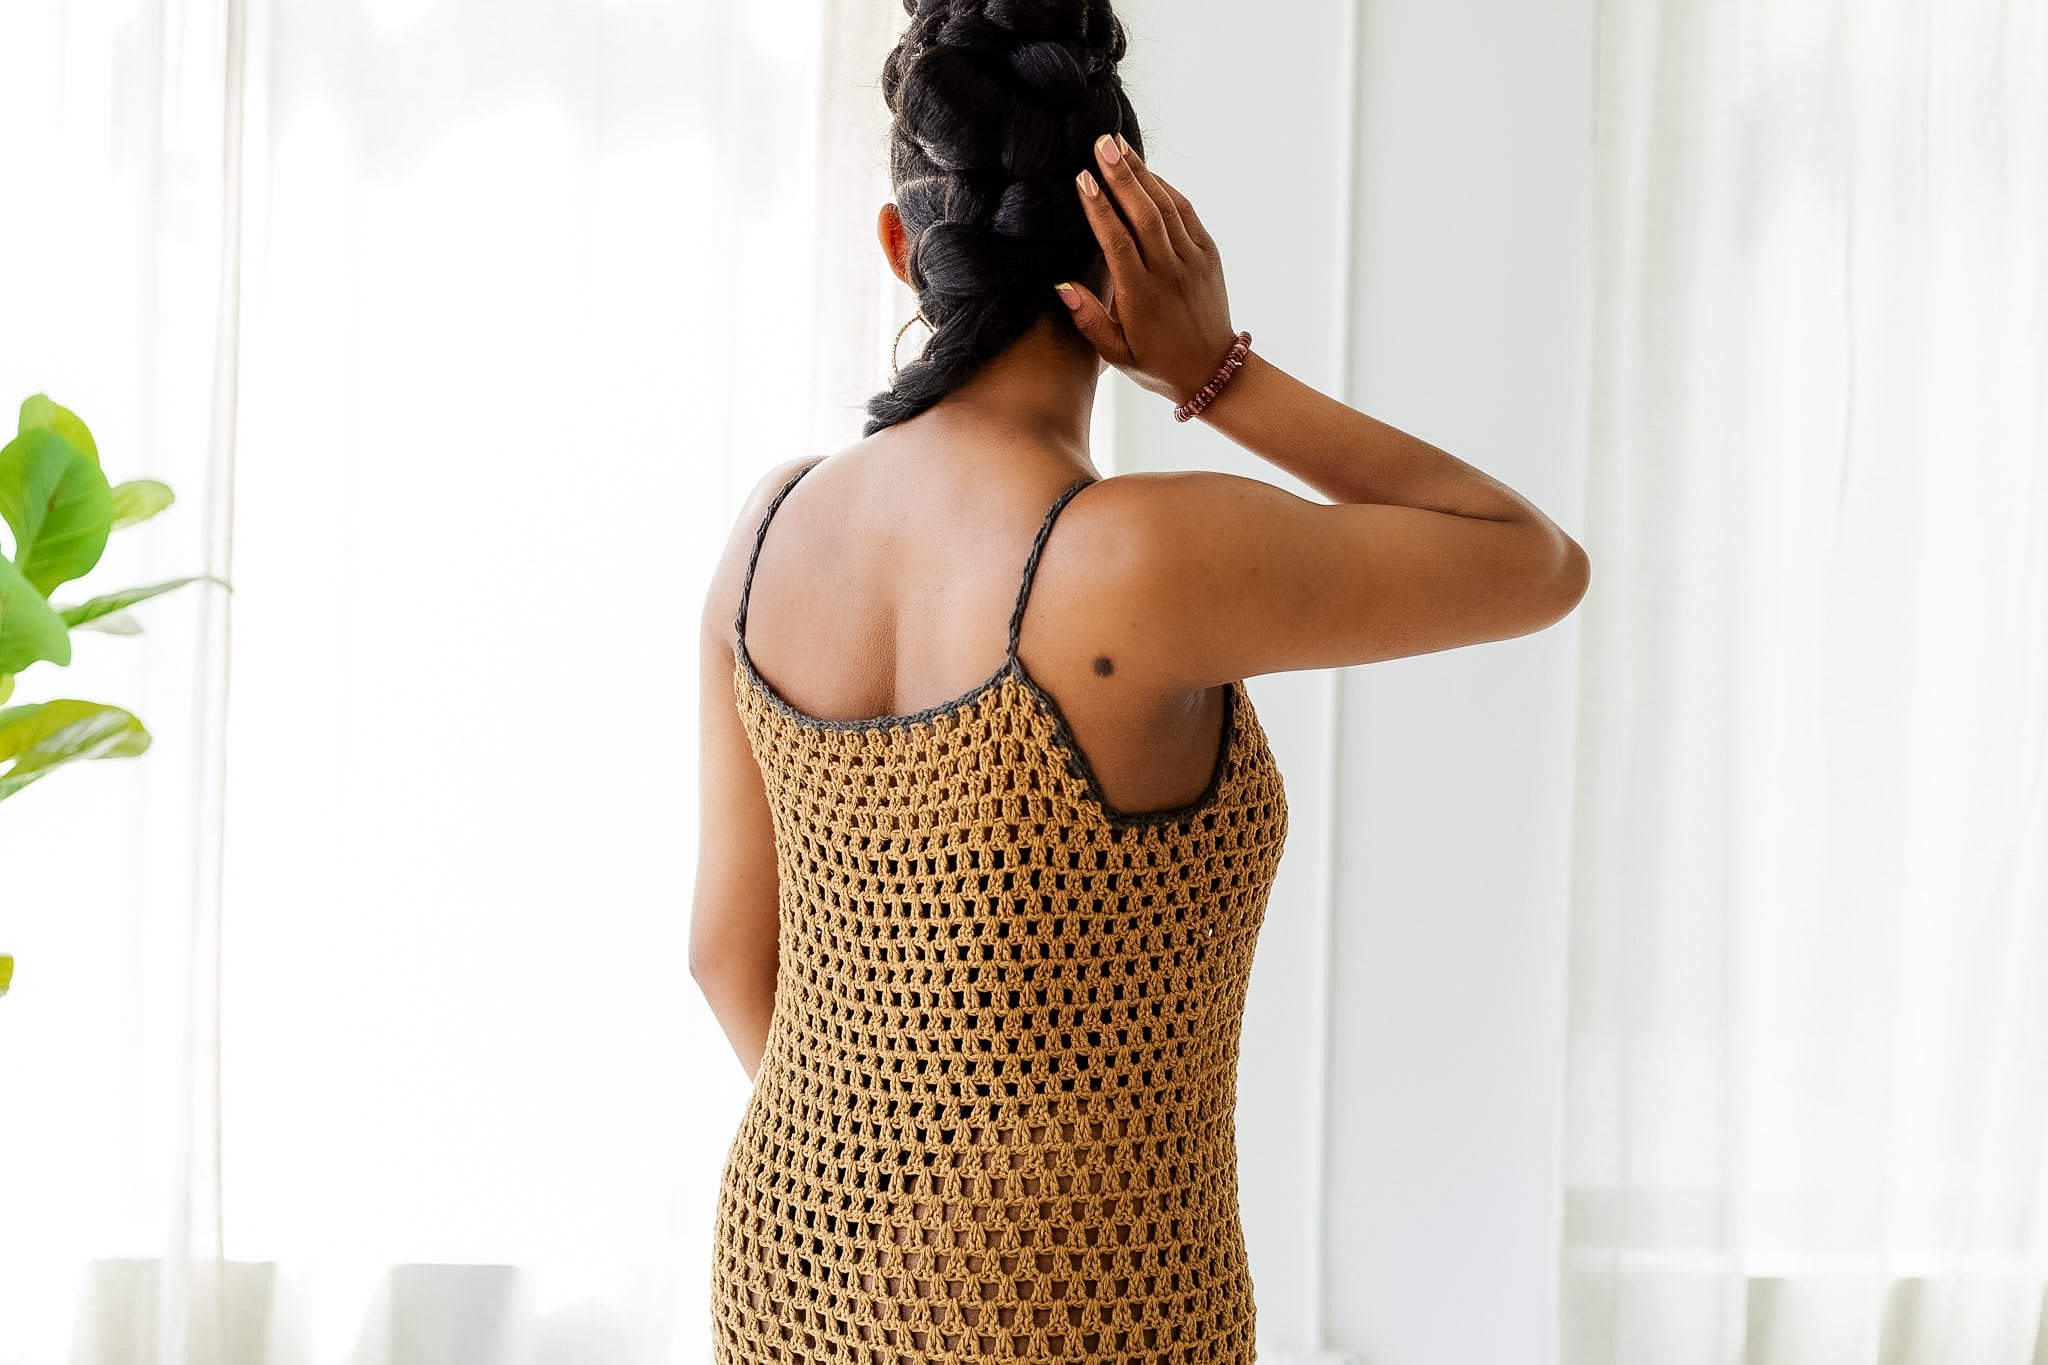
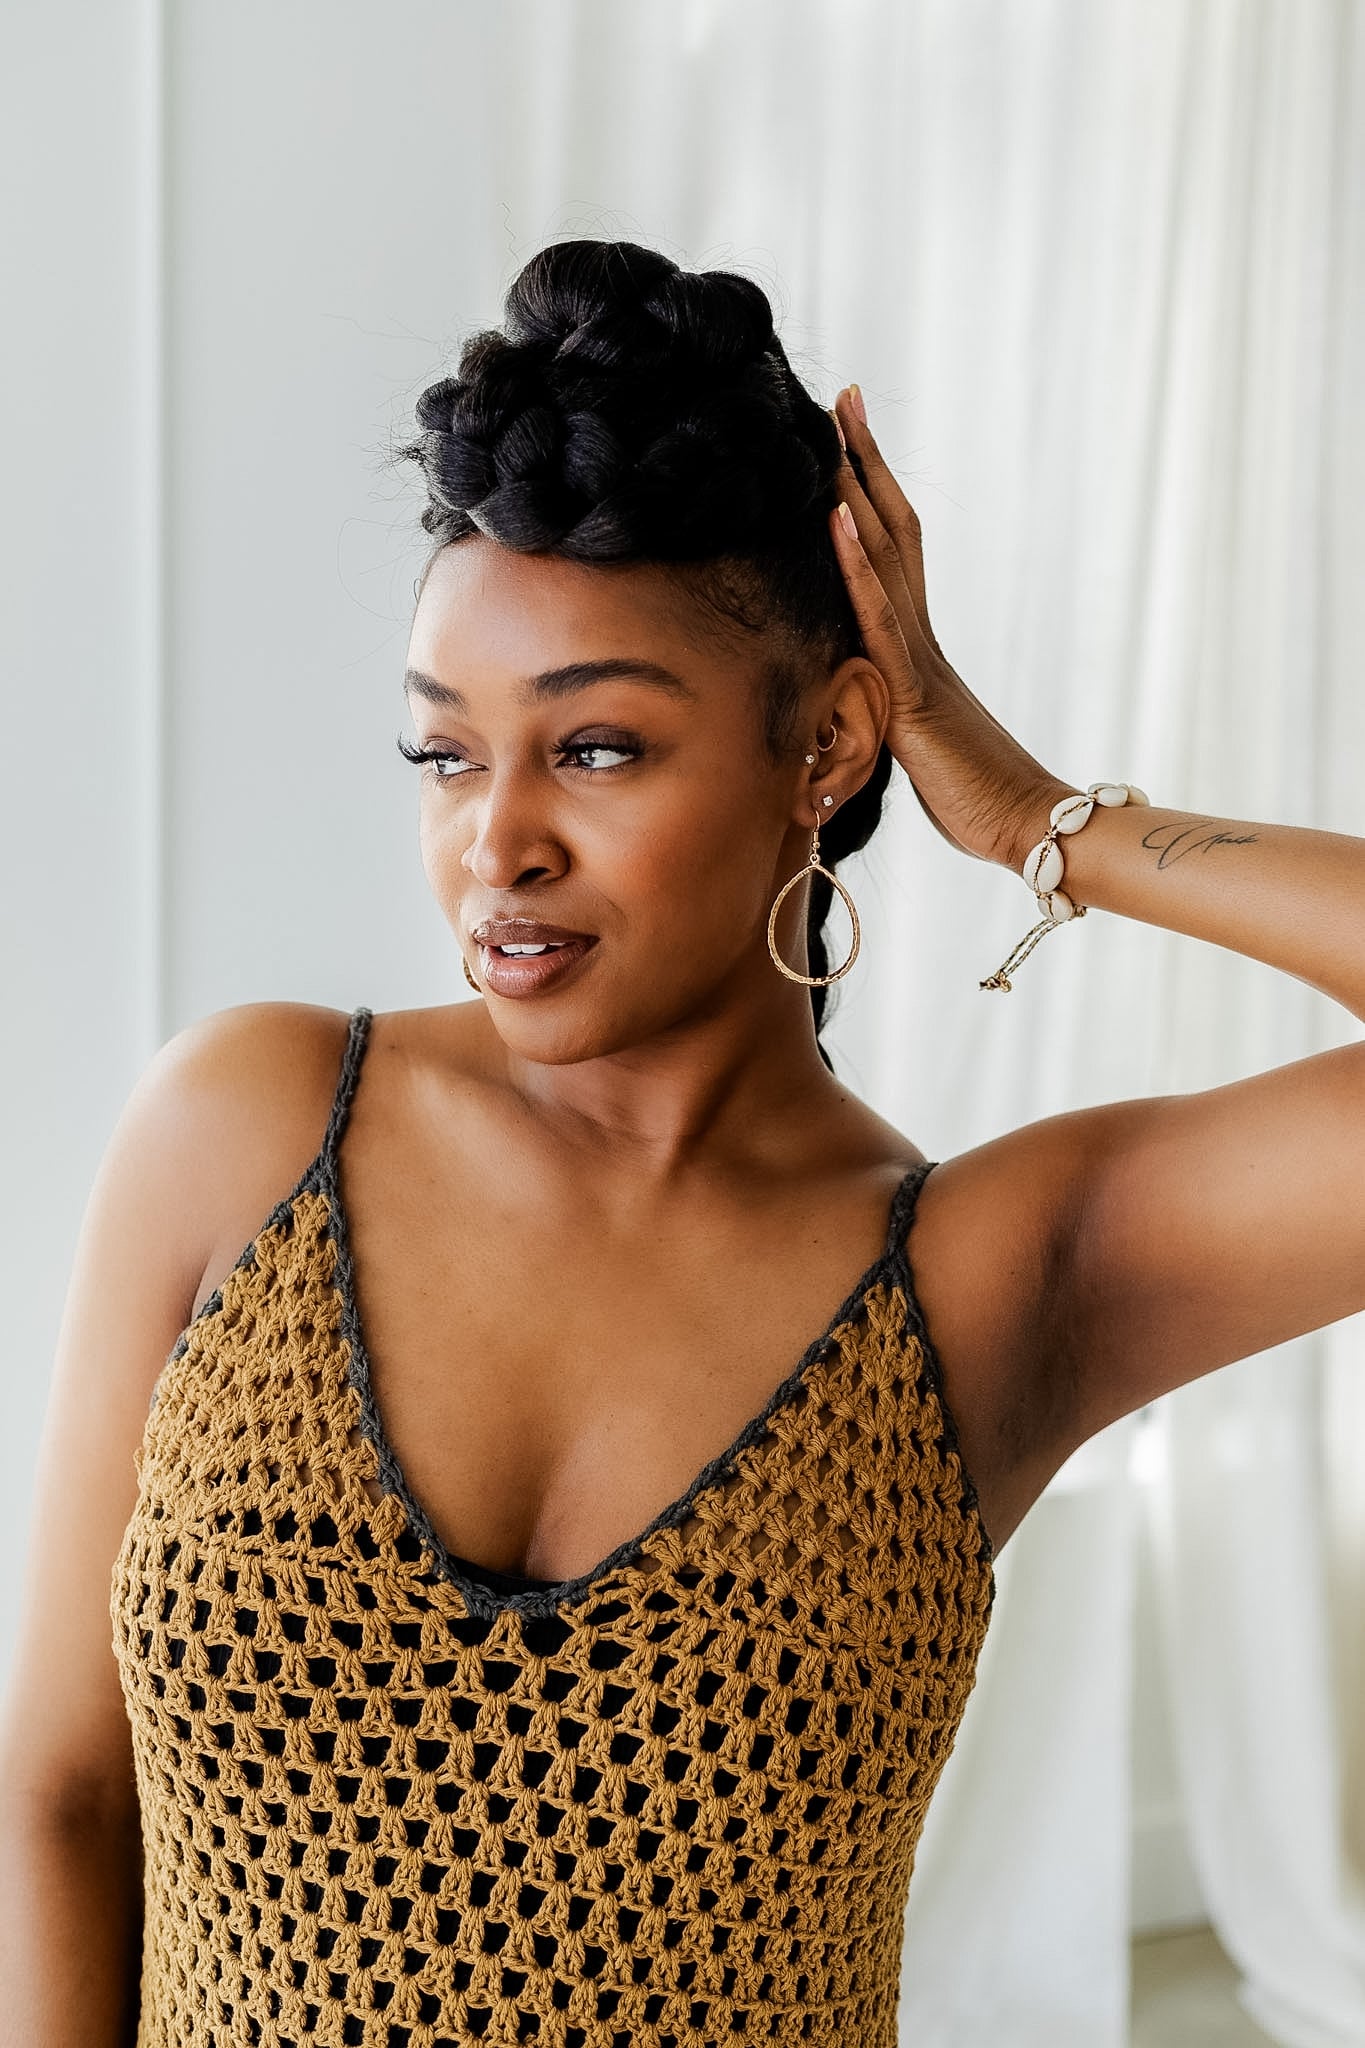
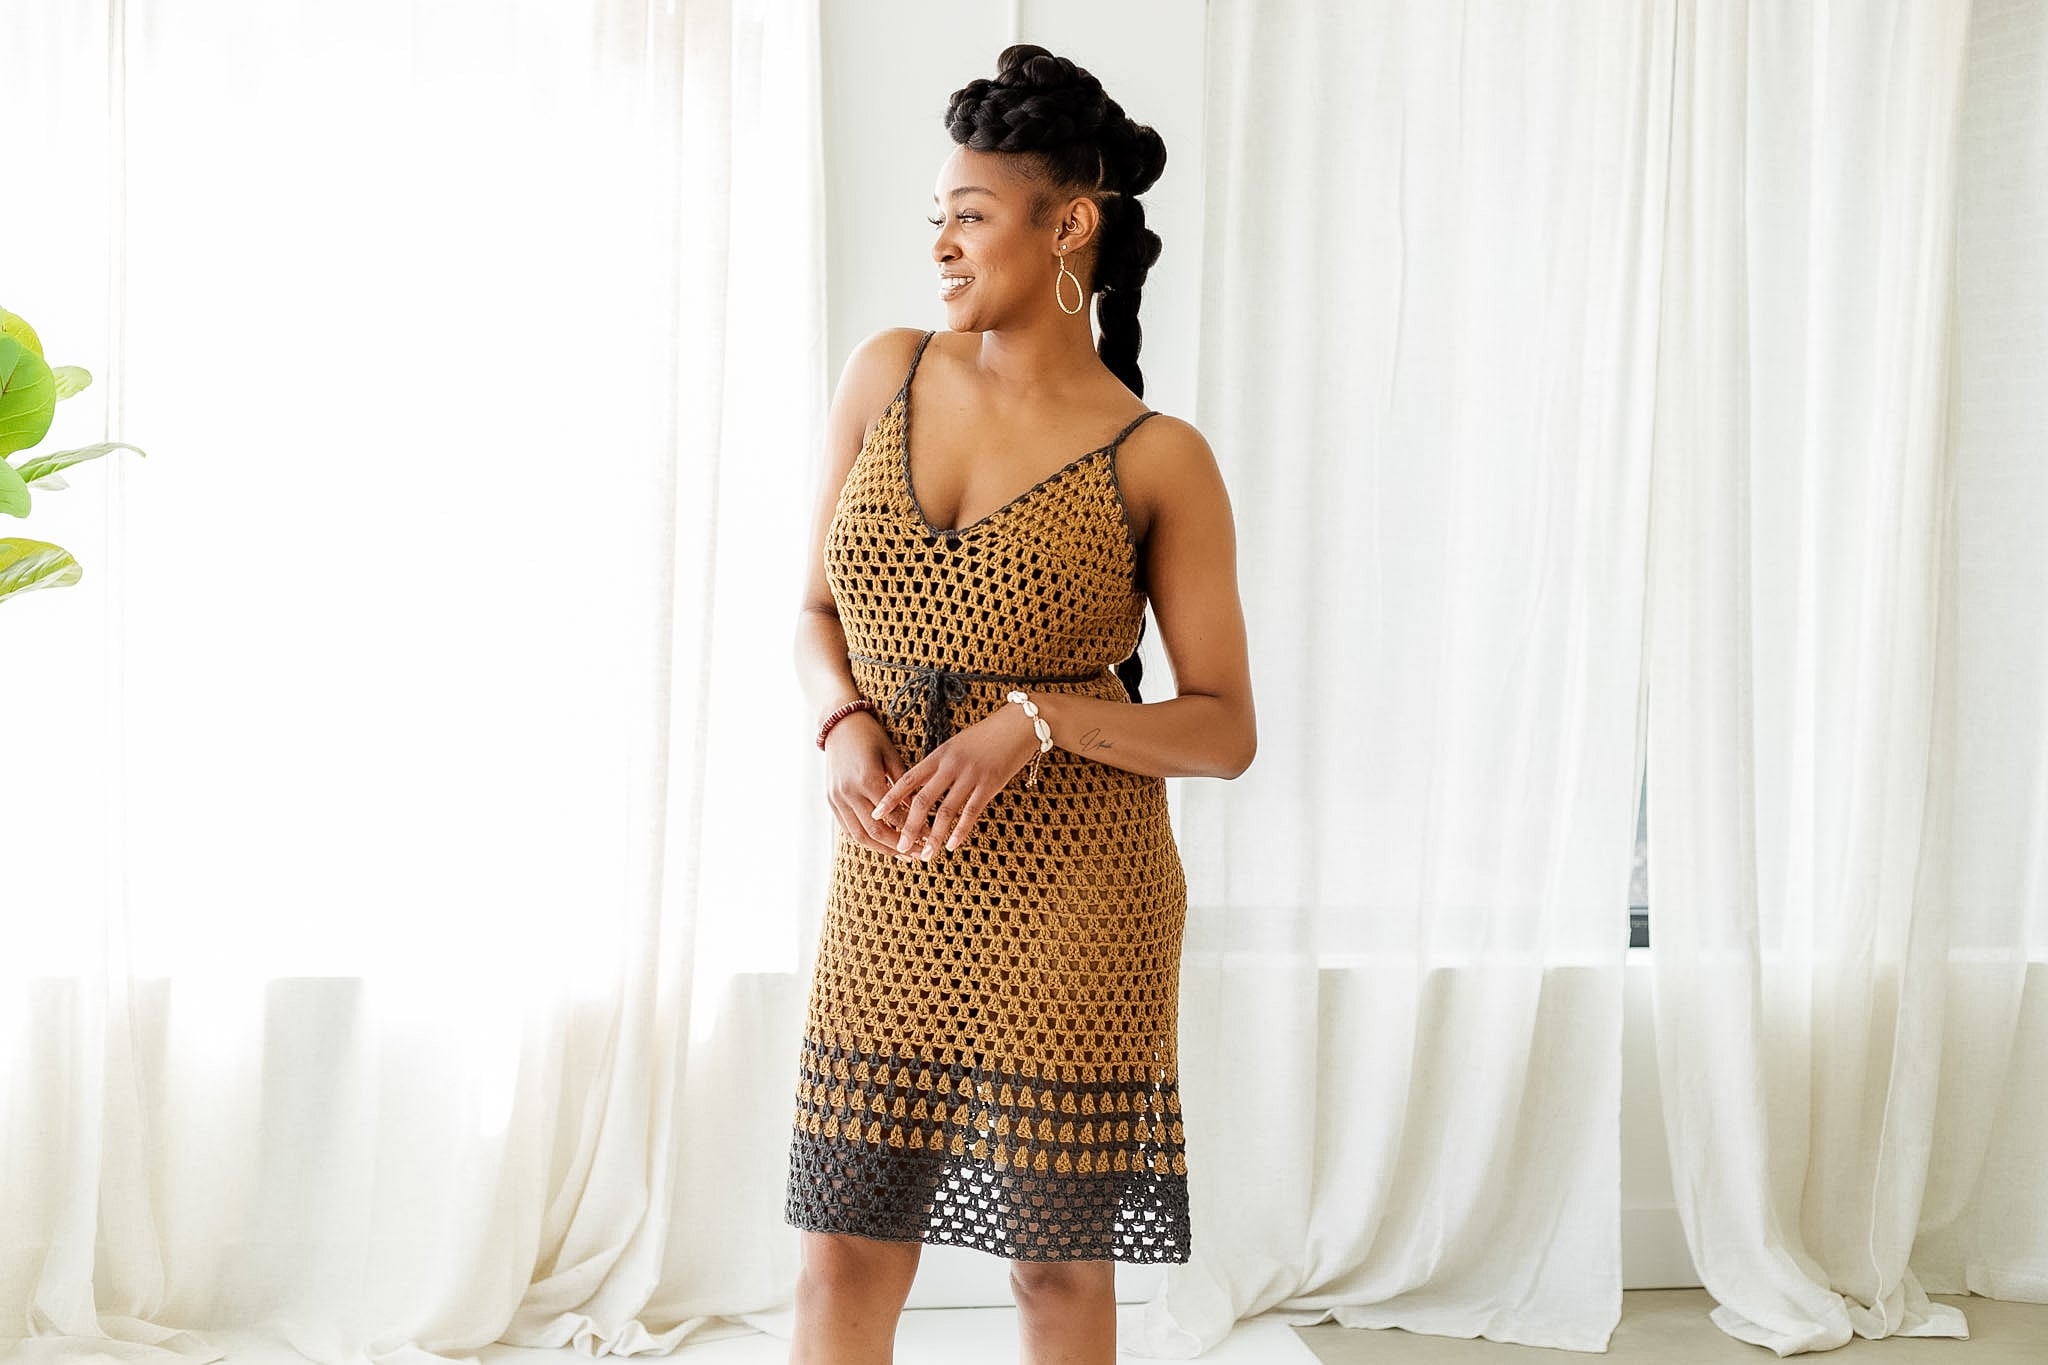
You’ll fall in love with the Simone Dress for its quick stitching and smart design. Start with two triangles, then pick up stitches and add chains to set up the body. Work in turned rounds to add length, changing hook sizes periodically for gentle shaping. This easy way to open gauge and create a smooth A-line shape is the key to making this dress flattering for every body type. Simple stripes accentuate the bottom of the dress, along with a subtle split. Add some stitching to the top for a contrasting border, then choose from three different strap options to personalize your masterpiece. You’ll be strutting down Main Street in your Simone Dress before you know it!
An Unexpected Yarn for Your Crochet Dress
Cotton is one of the best fibers for your crochet granny dress, but have you tried adding a touch of linen? Linen is another plant-based fiber that’s breathable and durable, just like cotton. But it also has the benefit of getting softer with wear and laundering, and it adds visual depth due to the yarn’s texture.
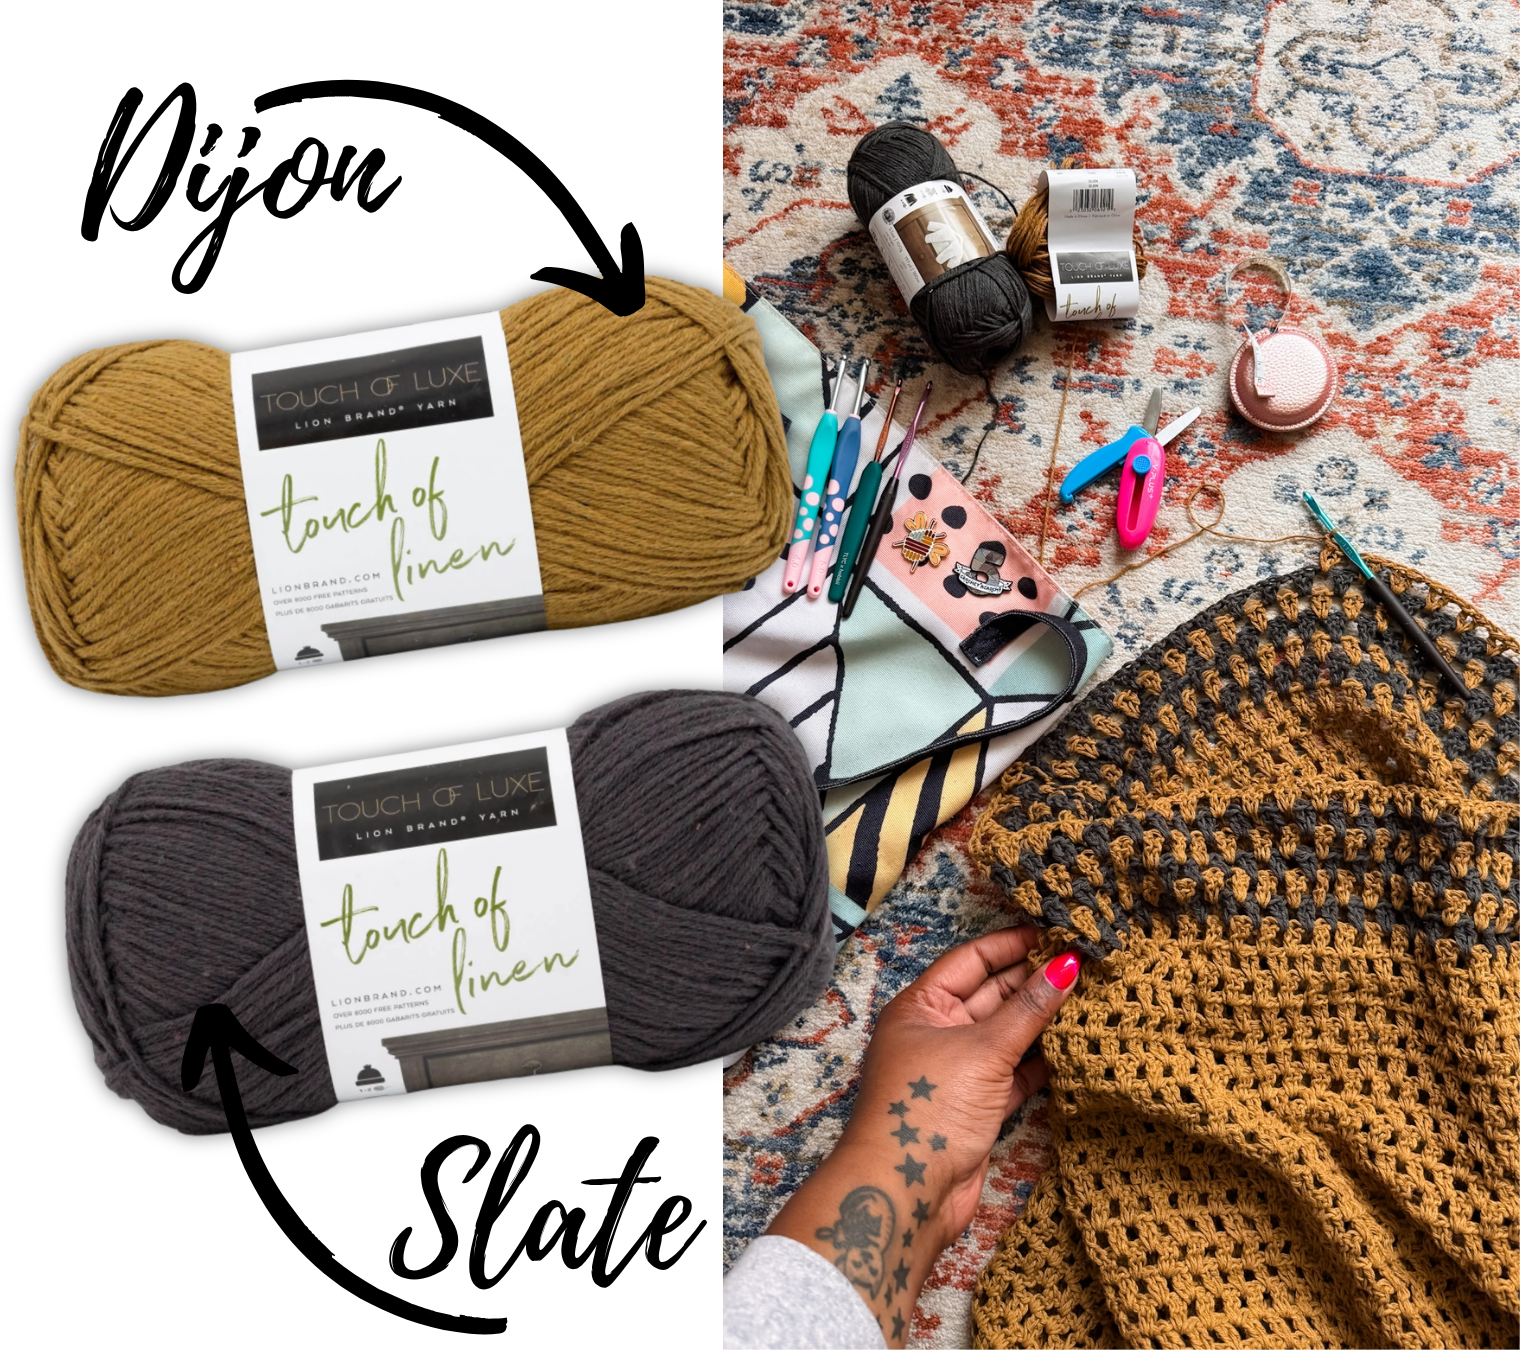
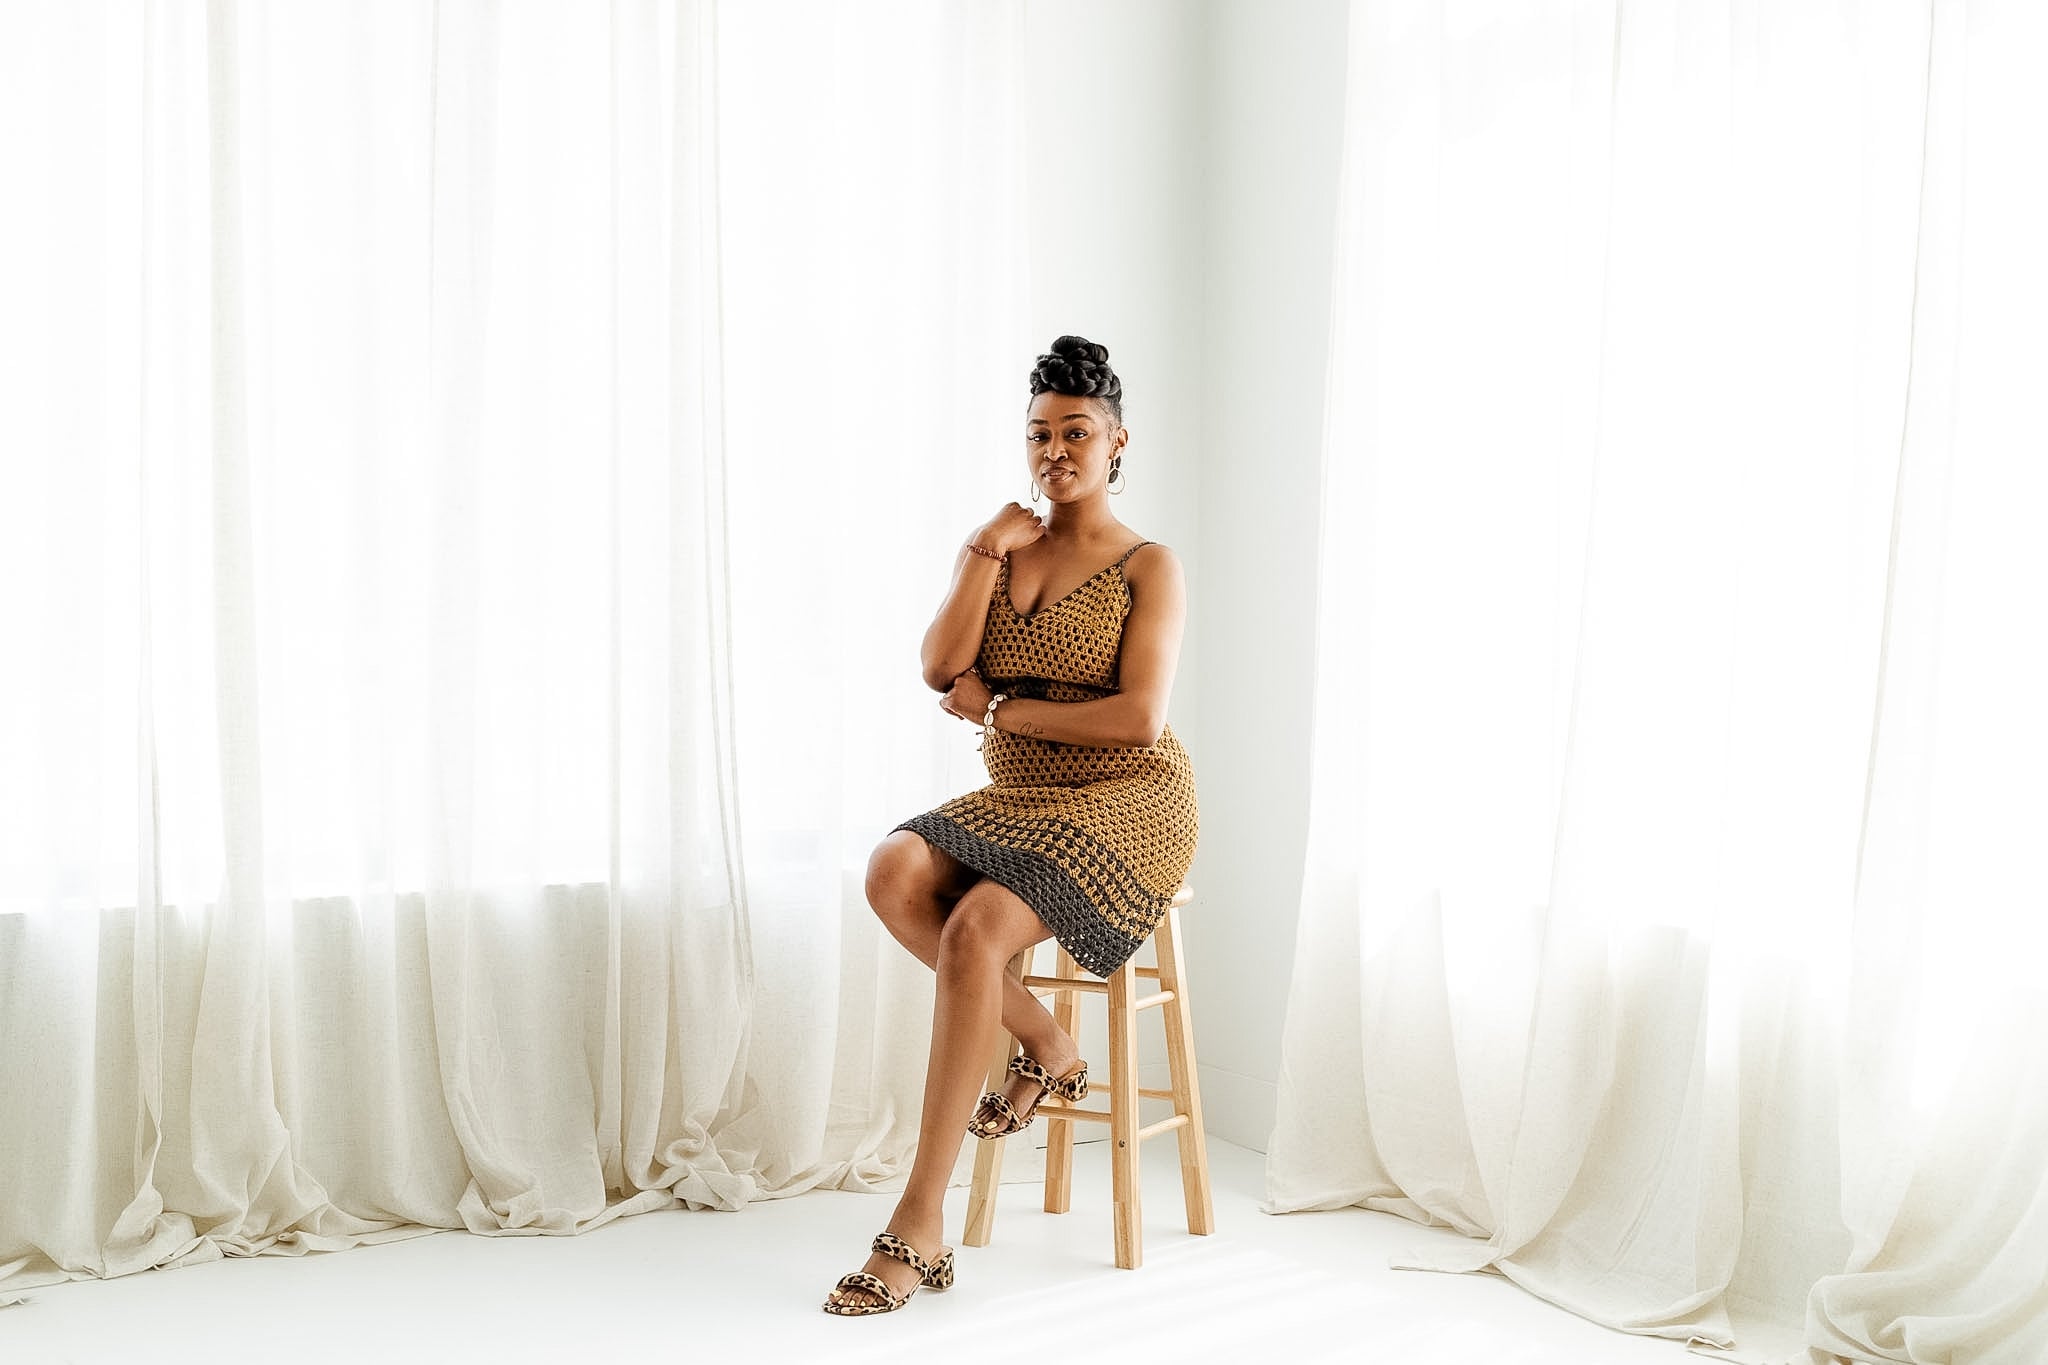
For those reasons and more, Lion Brand’s Touch of Linen yarn was the perfectly unexpected choice for the Simone Dress. It blends the softness of cotton and the strength of linen for a beautifully balanced natural fiber. I’d never tried this yarn before, and was impressed from the moment I took it out of the box. The yarn is crisp and inviting, flowing effortlessly into your stitches. But the real magic happens when you block this yarn. It takes on a stellar drape that helps this crochet granny dress contour to your body in the best way. The final result is sophisticated, tailored, and easy to wear, only getting better with time.
Explore Lion Brand’s Touch of Linen and get your Simone Dress kit HERE!
Click Here to PIN the Simone Dress
Ready to Start Your Simone Dress?
- To find the FREE Simone Crochet Granny Dress pattern, keep scrolling
- Get the ad-free printable version on Ravelry and TLYarnCrafts.com
- Customize your Simone Dress kit from Lion Brand
- Try Touch of Linen yarn from Lion Brand
Simone Dress Details
DESCRIPTION
Meet Simone, the effortlessly chic crochet granny dress your warm-weather wardrobe has been waiting for. Built from simple shapes and gradual hook increases, this design creates a gentle A-line silhouette that flatters every figure. Lightweight, breezy, and designed to move with you, Simone signals that the summer has arrived.
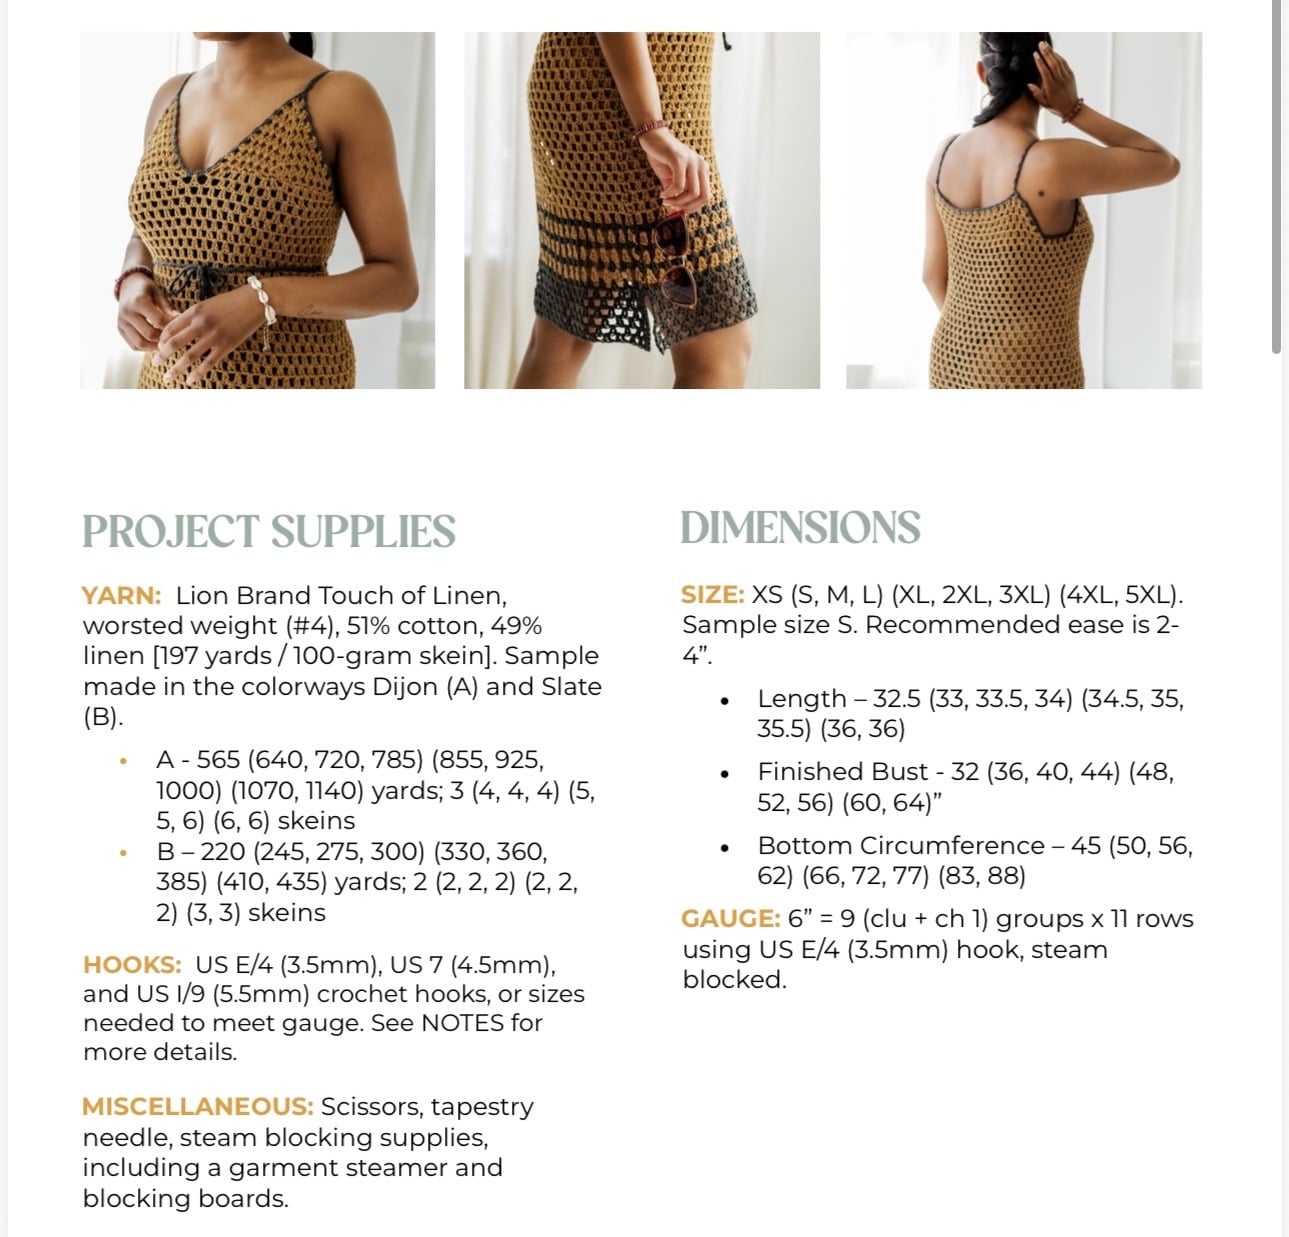
MATERIALS, SIZES, AND GAUGE
Use the image below for the exact yarn, hooks, and notions you need, along with the available sizes and blocked gauge.
ABBREVIATIONS
Cc = change color
Ch = chain
Ch-sp = chain space
Clu = cluster (see Special Stitch)
Dc = double crochet
Rep = repeat
RS = right side
S-dc = standing double crochet (learn it HERE)
S-sc = standing single crochet (learn it HERE)
Sc = single crochet
Sp = space
Sk = skip
Sl St = slip stitch
Tch = turning chain
SPECIAL STITCH
Cluster (clu): 2dc in the same stitch or space
NOTES
- Construction Note: This dress is made top down. Start with 2 triangles made from the center out. Pick up stitches along the bottom of the triangles and add chains to set up the Body of the dress. Continue working in turned rounds to lengthen the dress, periodically changing the hook size to add shaping. Stripes are added near the bottom, along with a small split. Pick up stitches along the top edge to create a back panel. Finally, use one of three methods to make straps separately, then attach them to the dress.
- Project Orientation: This pattern is written for right-handed crocheters. Left-handed crocheters need to work the instructions mirrored when necessary (working along the base of the cups, joining for the Back, etc.).
- Chains as stitches:
- Starting chain-3 counts as double crochet. This is primarily useful when making the cups. Start turned rounds with a chain 3, or use the starting double crochet method of your choice, like this one.
- Starting chain-4 counts as double crochet + chain 1. This is used in the split at the bottom of the dress.
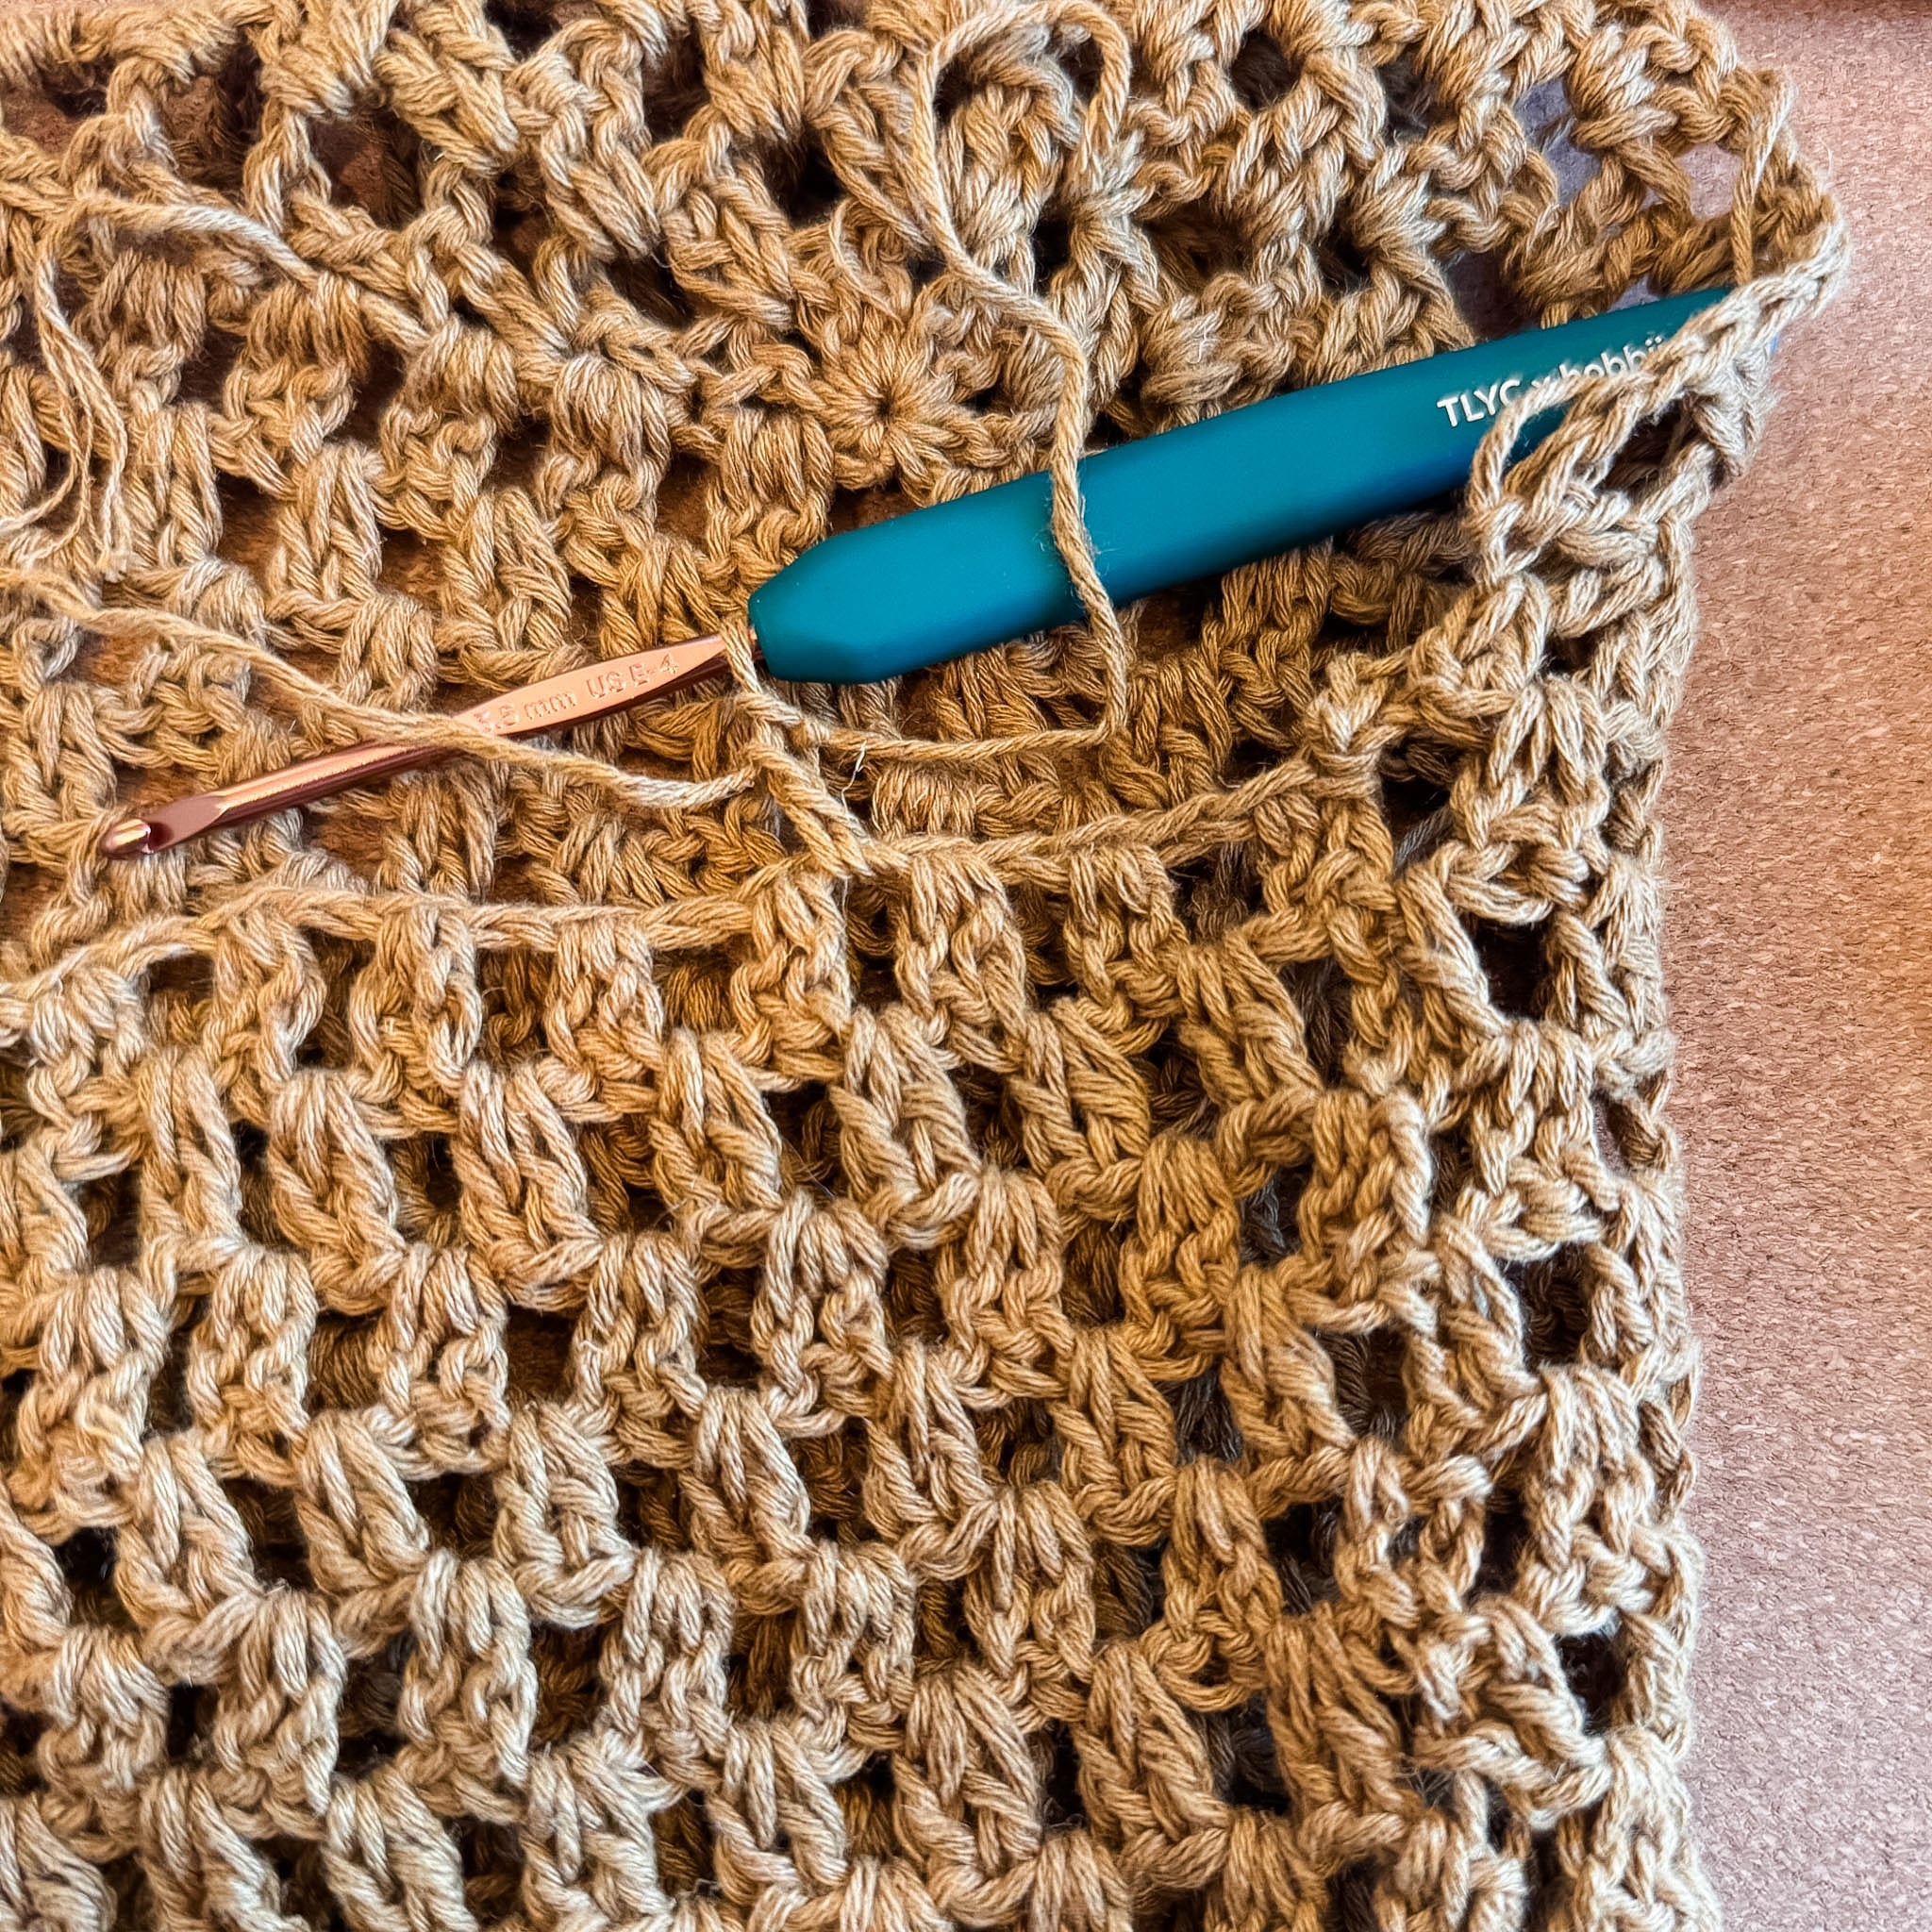
- Managing Gauge: This pattern uses three hook sizes to create shaping — no increases or decreases needed. Gauge matters most at the top of the dress, where the 3.5mm hook is used to ensure a comfortable fit through the bust. As you move into the 4.5mm and 5.5mm sections, your gauge will naturally open up, which is intentional. The relaxed tension in those sections is what creates the gentle A-line flare. Try on your dress periodically to ensure you’re getting the desired fit.
Simone Dress Pattern
Want to crochet this dress with no ads? CLICK HERE!
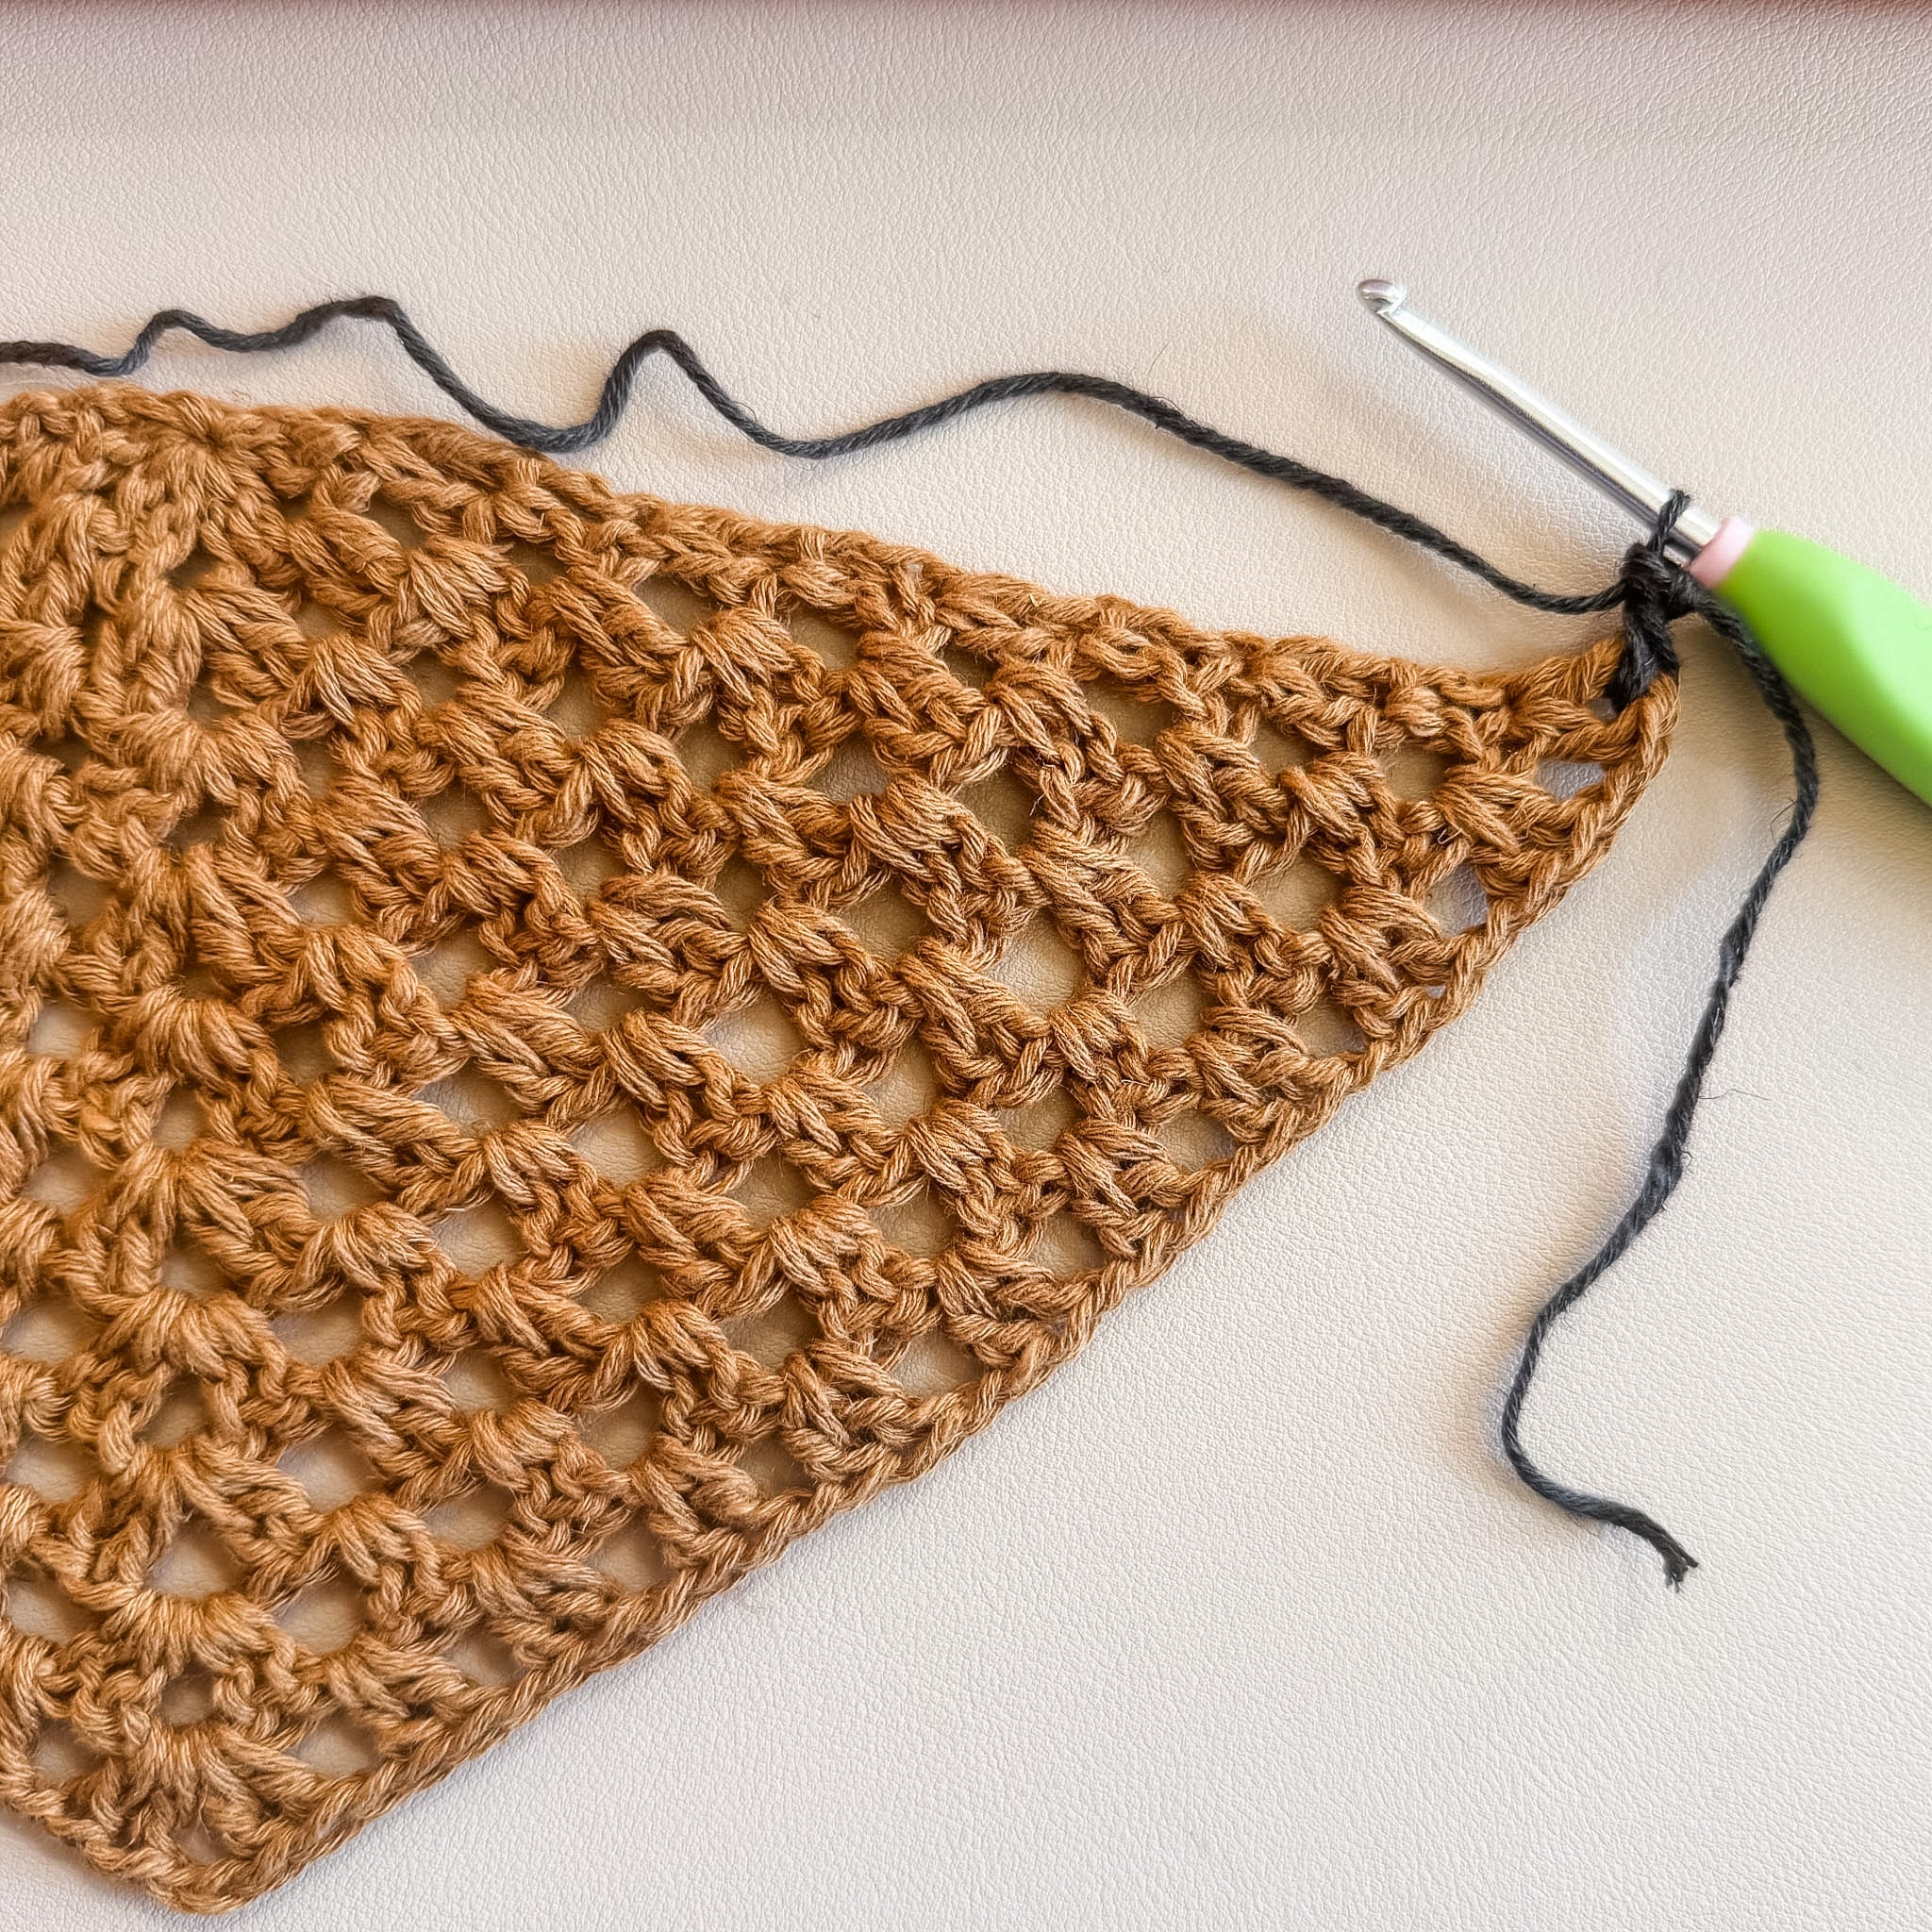
Step 1: Make 2 Cups
With A and 3.5mm hook, ch 4.
ROW 1: (Dc, ch 1, dc 2, ch 2, dc 2, ch 1, dc 2) in 4th ch from hook, turn. 4 clu
ROW 2: Ch 3, dc in st at base of ch, ch 1, clu in next ch-sp, ch 1, (clu, ch 2, clu) in ch-2 sp, ch 1, clu in next ch-sp, ch 1, clu in top of tch, turn. 6 clu
ROW 3: Ch 3, dc in st at base of ch, ch 1, (clu in next ch-sp, ch 1) 2 times, (clu, ch 2, clu) in ch-2 sp, ch 1, (clu in next ch-sp, ch 1) 2 times, clu in top of tch, turn. 8 clu
ROW 4: Ch 3, dc in st at base of ch, ch 1, (clu in next ch-sp, ch 1) to ch-2 sp, (clu, ch 2, clu) in ch-2 sp, ch 1, (clu in next ch-sp, ch 1) to last clu, clu in top of tch, turn. 10 clu
Rep Row 4 to 7 (7, 8, 9) (9, 10, 11) (12, 13) total rows. Fasten off. 16 (16, 18, 20) (20, 22, 24) (26, 28) clu
NOTE: Cups may start to bow upward for some sizes. This is remedied in the next section, and with blocking.
Step 2: Construct the Body
Rotate cup to work along the base with RS facing. The RS is dictated by the last row of the cup.
SETUP ROUND: With A and 3.5mm hook, working along the base of the first cup, s-dc in first row-end (Figure 1), dc in same st as join, (ch 1, clu in next row-end on base of cup) across cup [14 (14, 16, 18) (18, 20, 22) (24, 26) clu], ch 3, working along the base of the second cup, clu in the first row-end, (ch 1, clu in the next row-end on base of cup) across cup, ch 39 (51, 55, 59) (71, 75, 79) (83, 87), without twisting the ch, sl st in first dc of round, turn.
ROUND 1: Ch 3 (or starting dc method of choice), dc in next ch, (ch 1, sk 1, clu in next ch) across ch, (ch 1, clu in next ch-sp) across to ch-3 sp, ch 1, sk 1 ch, clu in next ch, sk next ch, (ch 1, clu in next ch-sp) across to end of round, ch 1, sl st in top of tch, turn. 49 (55, 61, 67) (73, 79, 85) (91, 97) clu
ROUND 2: Ch 3, dc in next ch-sp, ch 1, (clu in next ch-sp, ch 1) around, sl st in top of tch, turn.
- SIZE XS ONLY
ROUNDS 3-12: Rep Round 2.
ROUNDS 13-28: With 4.5mm, Rep Round 2.
ROUNDS 29-35: With 5.5mm, Rep Round 2. Cc to B at end of last round. Do not fasten off A – carry both colors until instructed to fasten off.
Use 5.5mm hook for remainder of section.
ROUND 36: With B, Rep Round 2. Cc to A.
ROUND 37: With A, Rep Round 2. Cc to B.
ROUNDS 38-41: Rep Rounds 36-37 two times. Cc to B at end of last round, fasten off A.
ROUND 42: With B, Rep Round 2.
ROW 1: Ch 3, dc in next ch-sp, (ch 1, clu in next ch-sp) around. Do not ch 1 at end of round, and do not join. Turn.
ROW 2: Ch 4, clu in next ch-sp, (ch 1, clu in next ch-sp) across to last clu, ch 1, sk next dc, dc in top of tch, turn.
ROW 3: Ch 3, dc in ch-sp at base of ch, (ch 1, clu in next ch-sp) across to last ch-sp, ch 1, dc in ch-sp, dc in 3rd ch of tch, turn.
ROWS 4-7: Rep Rows 2-3 two times. Fasten off at end of last row.
- SIZES S, M, L, AND 5XL
ROUNDS 3-12: Rep Round 2.
ROUNDS 13-28: With 4.5mm, Rep Round 2.
ROUNDS 29-36: With 5.5mm, Rep Round 2. Cc to B at end of last round. Do not fasten off A – carry both colors until instructed to fasten off.
Use 5.5mm hook for remainder of section.
ROUND 37: With B, Rep Round 2. Cc to A.
ROUND 38: With A, Rep Round 2. Cc to B.
ROUNDS 39-42: Rep Rounds 37-38 two times. Cc to B at end of last round, fasten off A.
ROUND 43: With B, Rep Round 2.
ROW 1: Ch 3, dc in next ch-sp, (ch 1, clu in next ch-sp) around. Do not ch 1 at end of round, and do not join. Turn.
ROW 2: Ch 4, clu in next ch-sp, (ch 1, clu in next ch-sp) across to last clu, ch 1, sk next dc, dc in top of tch, turn.
ROW 3: Ch 3, dc in ch-sp at base of ch, (ch 1, clu in next ch-sp) across to last ch-sp, ch 1, dc in ch-sp, dc in 3rd ch of tch, turn.
ROWS 4-8: Rep Rows 2-3 two times, then Row 2 once more. Fasten off at end of last row.
- SIZES XL, 2XL, 3XL, AND 4XL
ROUNDS 3-12: Rep Round 2.
ROUNDS 13-28: With 4.5mm, Rep Round 2.
ROUNDS 29-38: With 5.5mm, Rep Round 2. Cc to B at end of last round. Do not fasten off A – carry both colors until instructed to fasten off.
Use 5.5mm hook for remainder of section.
ROUND 39: With B, Rep Round 2. Cc to A.
ROUND 40: With A, Rep Round 2. Cc to B.
ROUNDS 41-44: Rep Rounds 39-40 two times. Cc to B at end of last round, fasten off A.
ROUND 45: With B, Rep Round 2.
ROW 1: Ch 3, dc in next ch-sp, (ch 1, clu in next ch-sp) around. Do not ch 1 at end of round, and do not join. Turn.
ROW 2: Ch 4, clu in next ch-sp, (ch 1, clu in next ch-sp) across to last clu, ch 1, sk next dc, dc in top of tch, turn.
ROW 3: Ch 3, dc in ch-sp at base of ch, (ch 1, clu in next ch-sp) across to last ch-sp, ch 1, dc in ch-sp, dc in 3rd ch of tch, turn.
ROWS 4-8: Rep Rows 2-3 two times, then Row 2 once more. Fasten off at end of last row.
Step 3: Add the Split Border
Turn to RS facing and prepare to work along the row-ends of the split.
With B and 5.5mm hook, join with a s-sc in the first dc of the split (Figure 2), sc in same st as join, 2sc in each row, sc in the dc and ch-sp at base of split, then 2sc in each row-end up the other side. Fasten off.
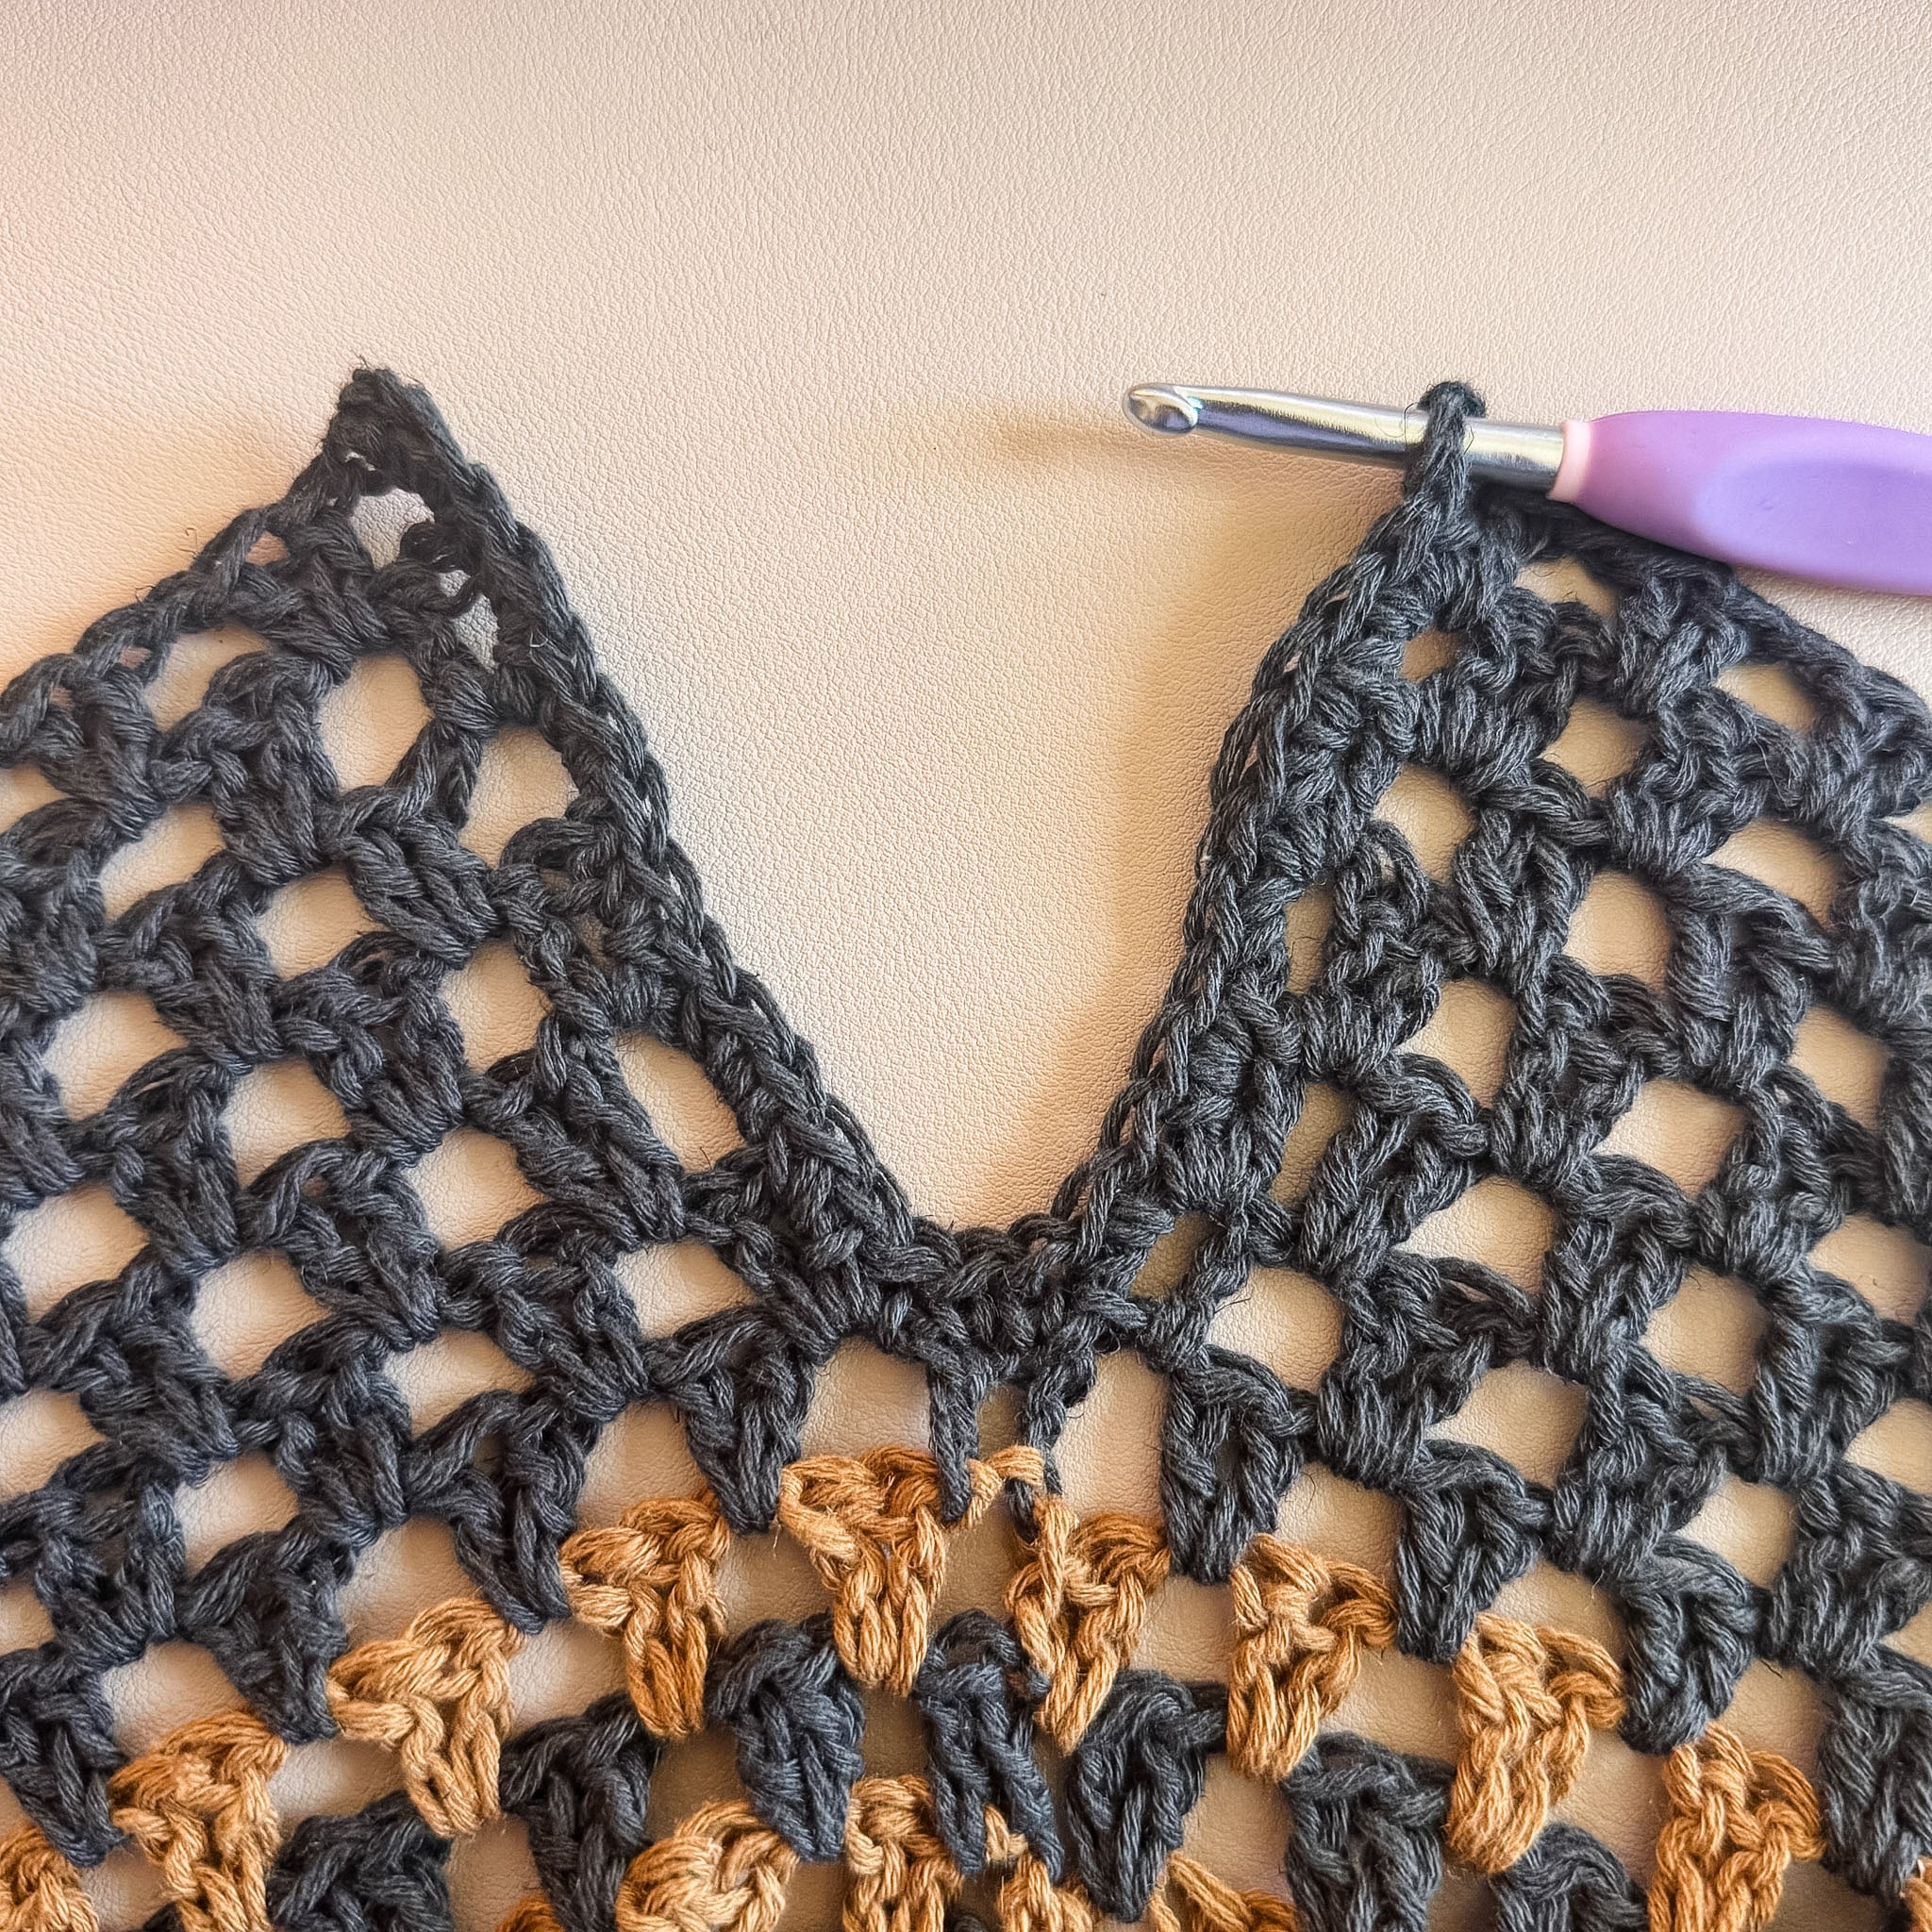
Step 4: Add the Back
Turn to RS facing and prepare to work along the chain of the back.
ROW 1: With A and 3.5mm hook, join with a s-dc in the 3rd (4th, 4th, 4th) (5th, 5th, 5th) (6th, 6th) unworked sp from the cup (Figure 3), (clu in next sp, ch 1) 14 (18, 20, 22) (26, 28, 30) (30, 32) times, dc in next sp, turn. 14 (18, 20, 22) (26, 28, 30) (30, 32 ) clu + 2 dc
ROW 2: Ch 3, sk dc at base of ch AND next clu, clu in next ch-sp, (ch 1, clu in next ch-sp) across to last clu, sk clu, dc in last dc, turn. 13 (17, 19, 21) (25, 27, 29) (29, 31) clu + 2 dc
ROW 3: Ch 3, sk dc at base of ch AND next clu, clu in next ch-sp, (ch 1, clu in next ch-sp) across to last clu, sk clu, dc in top of tch, turn. 12 (16, 18, 20) (24, 26, 28) (28, 30) clu + 2 dc
ROWS 4-5: Rep Row 3. Fasten off at the end of the last row. 10 (14, 16, 18) (22, 24, 26) (26, 28) clu + 2 dc
Step 5: Trim the Top Border
Turn to RS facing and prepare to work along the stitches at the top of the dress.
With B and 3.5mm hook, join with a s-sc in a ch-sp at center of back, sc in same sp, 2sc in each sp across row, 2sc in each row-end of back, 2sc in each sp of under arm, 2sc in each sp of cups, 2sc in each sp of under arm, 2sc in each row-end of back, and 2sc in each sp of back until you reach the starting sc, sl st in first sc. Fasten off.
Step 6: Pick Your Ideal Strap
Choose your favorite option of the three Straps included. I’ve included notes to help inform your decision. The sample uses Option 2. Adjust the length of the strap as needed.
OPTION 1 – Chain Strap
This option is the easiest of the three, but provides the least amount of support and could be prone to breaking. Complete instructions for both straps.
ROW 1: With B and 3.5mm hook, sl st in corner of Back panel, ch your desired length, sl st in top corner of cup. Turn.
ROW 2: Sl st in each ch across, sl st in corner of Back, fasten off.
OPTION 2 – Cluster Strap
This option is more decorative and sturdier, but might stretch over time. Keep same side of strap facing you while stitching. Complete instructions for both straps.
Strap Instructions: With B and 3.5mm hook, s-dc in corner of Back panel, dc in same sp as join, (ch 3, dc in sp between previous 2 sts) to desired length, sl st in top corner of cup.
OPTION 3 – Thermal Strap
This option is the sturdiest but also the thickest and uses the most yarn (you should have plenty left). Adjust the width as desired.
ROW 1: With B and 3.5mm hook, leave an 8” tail for seaming, ch 5, sc in the 2nd ch from hook and each ch across. 4 sc
ROW 2: Ch 1, sc across row by catching the back loop + the free loop of the stitch 1 row below (thermal stitch tutorial), turn.
Rep Row 2 to desired length. Fasten off, leaving an 8” tail for seaming. Use tails to seam strap to corner of back and top corner of cup.
Step 7: Create a Belt (Optional)
Choose Strap Option 1 or Option 2. Sample made with Option 2.
Using 3.5mm hook and Color B, create a band with short tails on each end that is your waist measurement + 8-10”. Fasten off and weave in the ends. Weave the belt through the ch-sps at your waist and tie as desired.
Step 8: The Final Finishing
- Weave in remaining ends.
- Pin to preferred measurements.
- Steam block thoroughly. I steamed my dress three times over two days, allowing it to dry thoroughly between each steaming.
And just like that, you just finished the crochet granny dress of your dreams. I’m super proud of this design, but prouder of YOU – pat yourself on the back, honey! Slip on your finished Simone Dress and watch the compliments roll in.
Let your crochet hooks cool off and come share your Simone Dress far and wide. Start by tagging @TLYarnCrafts on Instagram and #TLYCMakers so we can all see your hard work. Then flaunt your latest achievement inside The Yarn Hive, my private membership with over 1,000 of your new crochet besties.
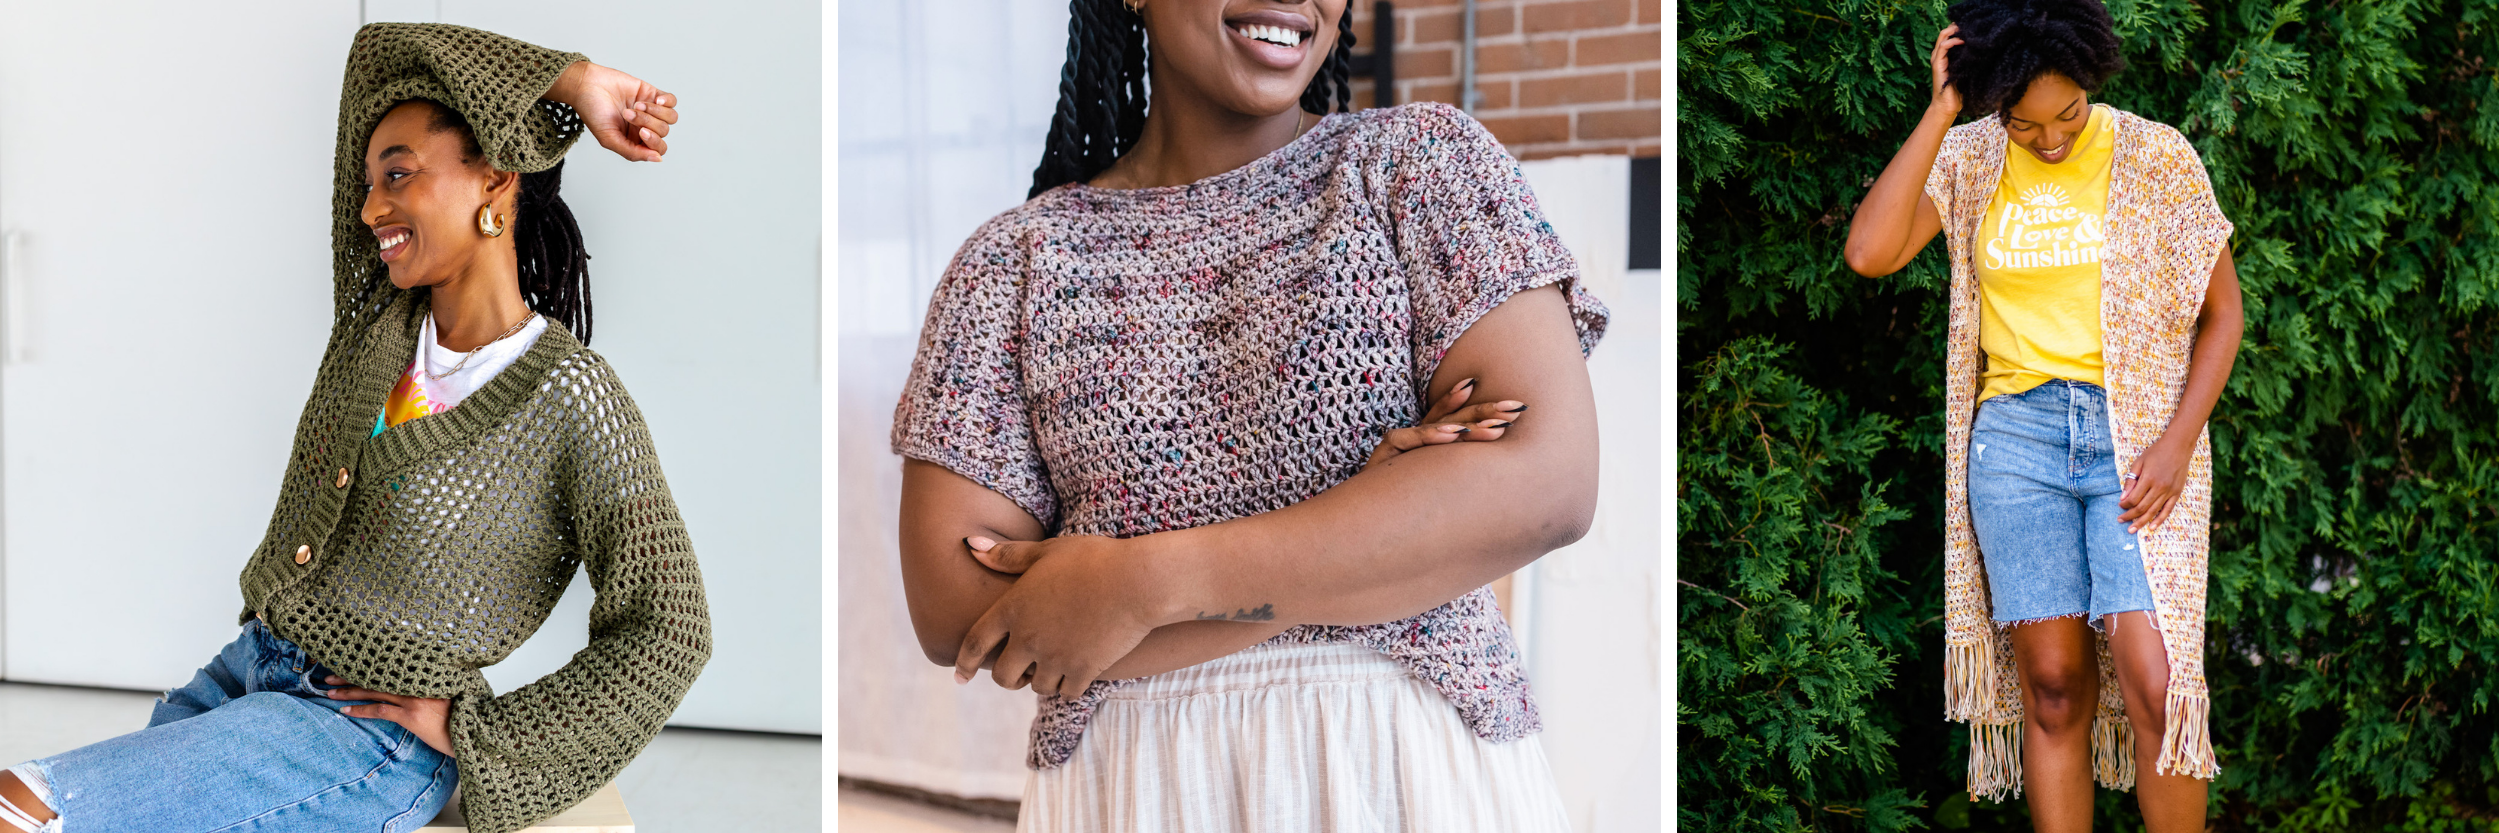
Even more FREE crochet garment patterns for summer:


Beautiful dress 👗
Hey there, Genita 🙂 Thank you so much for your love and support! We appreciate you
This is so beautiful! I can’t wait to make it.I got a few questions. When is a video going to drop for this pattern? Can you make the cups a different size than the body measurements? Like if you have a bigger or smaller bust than the rest of your body. For example follow the Large instructions for the bust and 1X or 2X for the body. Is that possible?
Hey there, Kelin 🙂 A video for the pattern is not currently planned, but if you have any questions, please feel free to reach out to us at [email protected]! And yes, you can make modifications to match the size of your bust and body, like doing one size for the bust and one for the body, though we do suggest testing it by trying it on as you go along. I would also suggest to cross reference the stitch counts to make sure you can continue in your desired size without doing too much extra math!