Dutchess Cardigan, a FREE crochet granny square cardigan pattern + tutorial
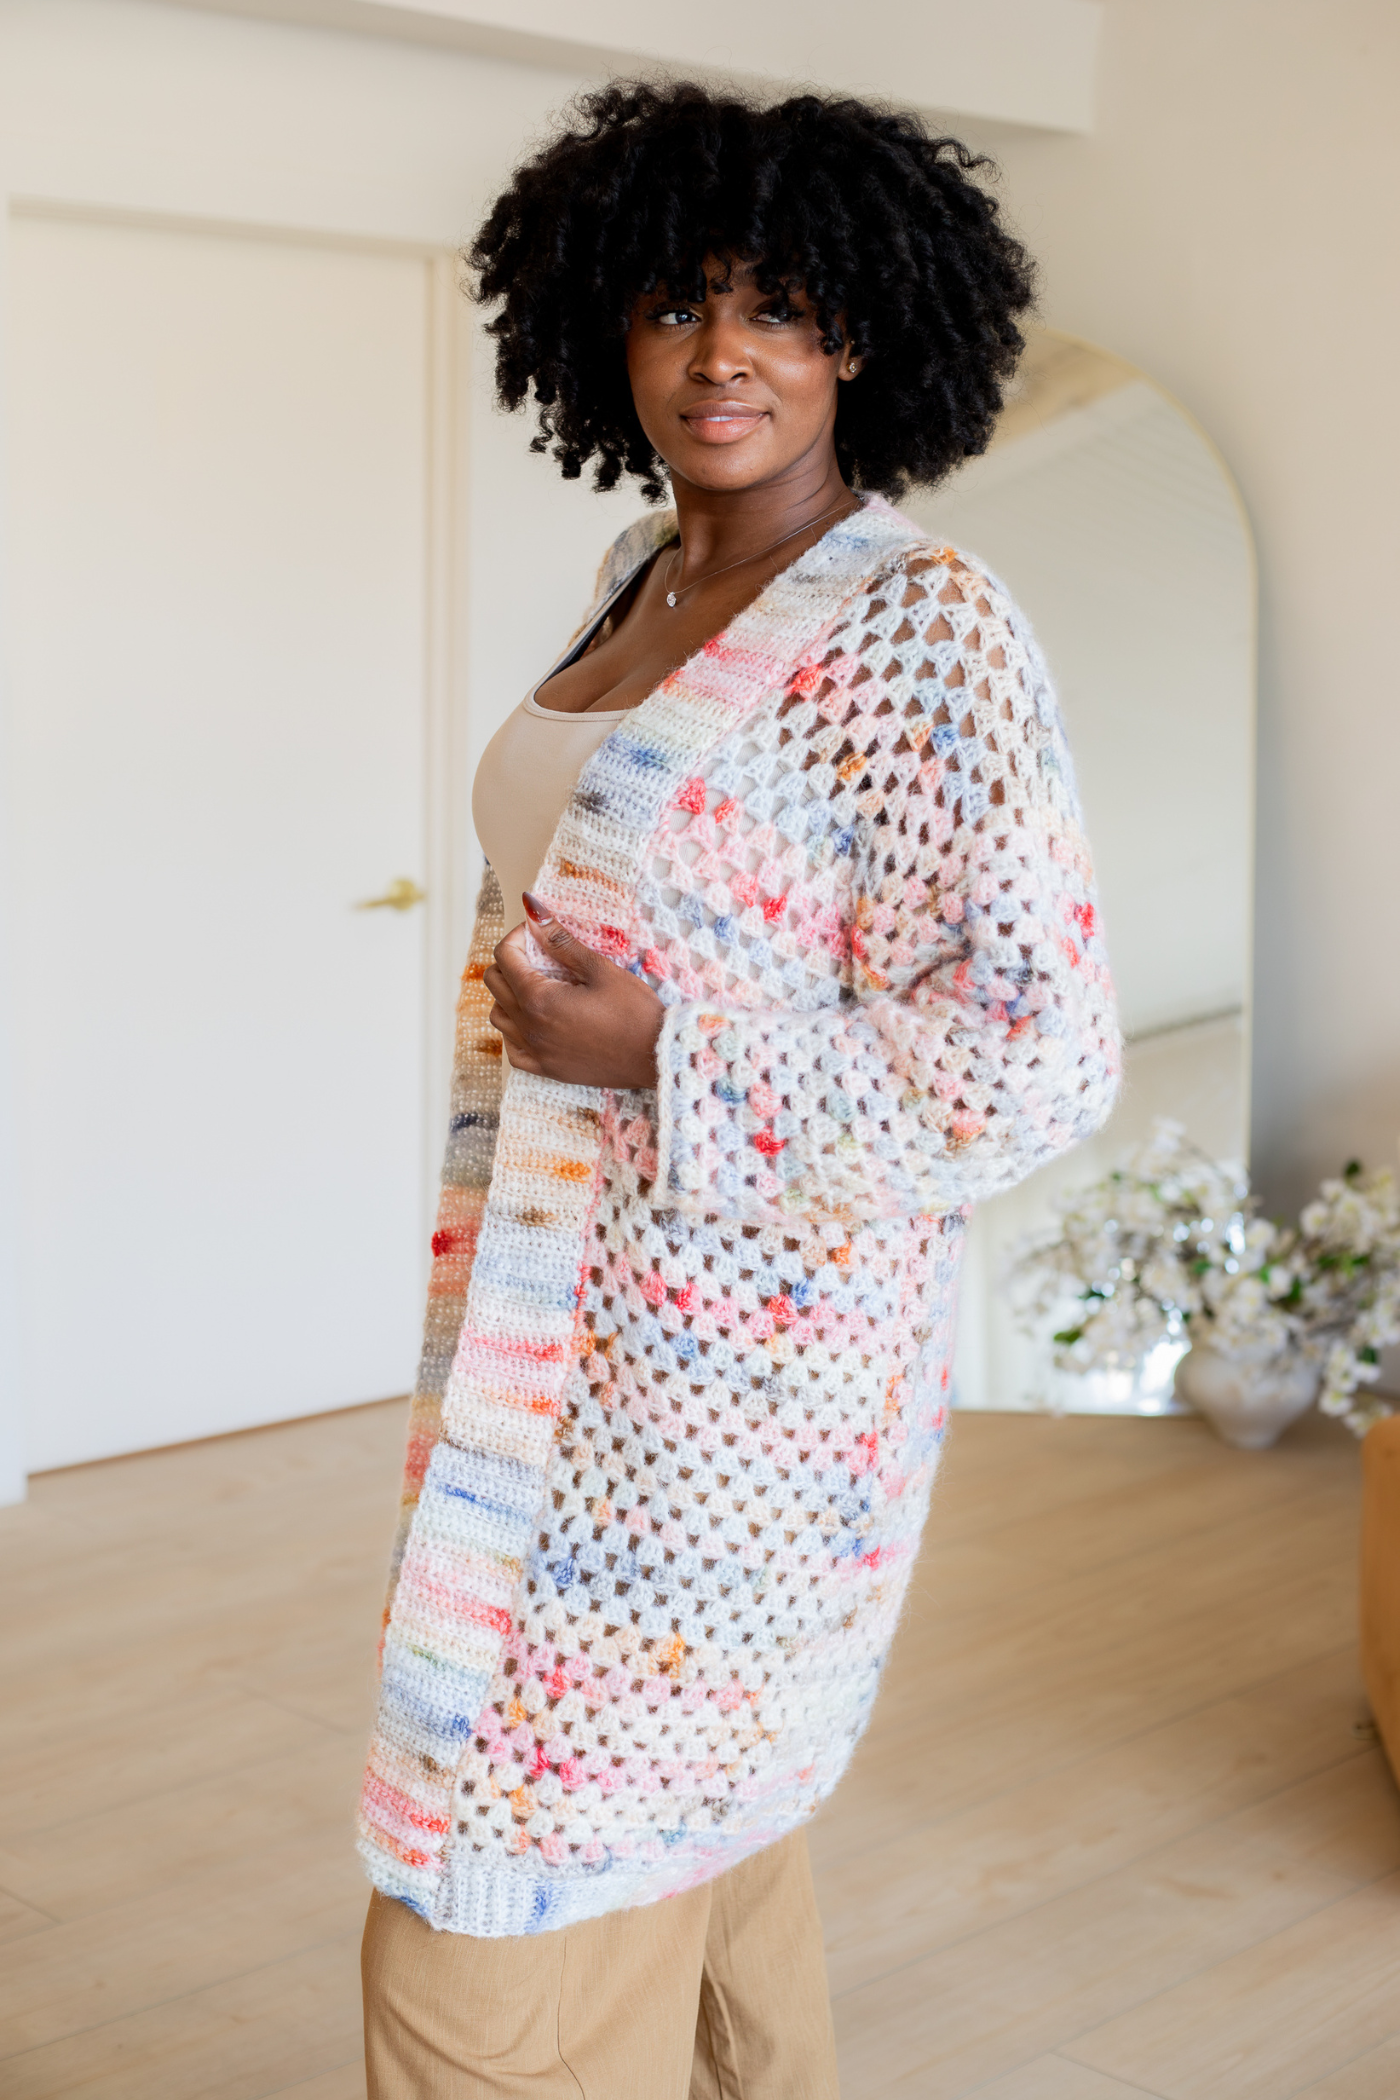
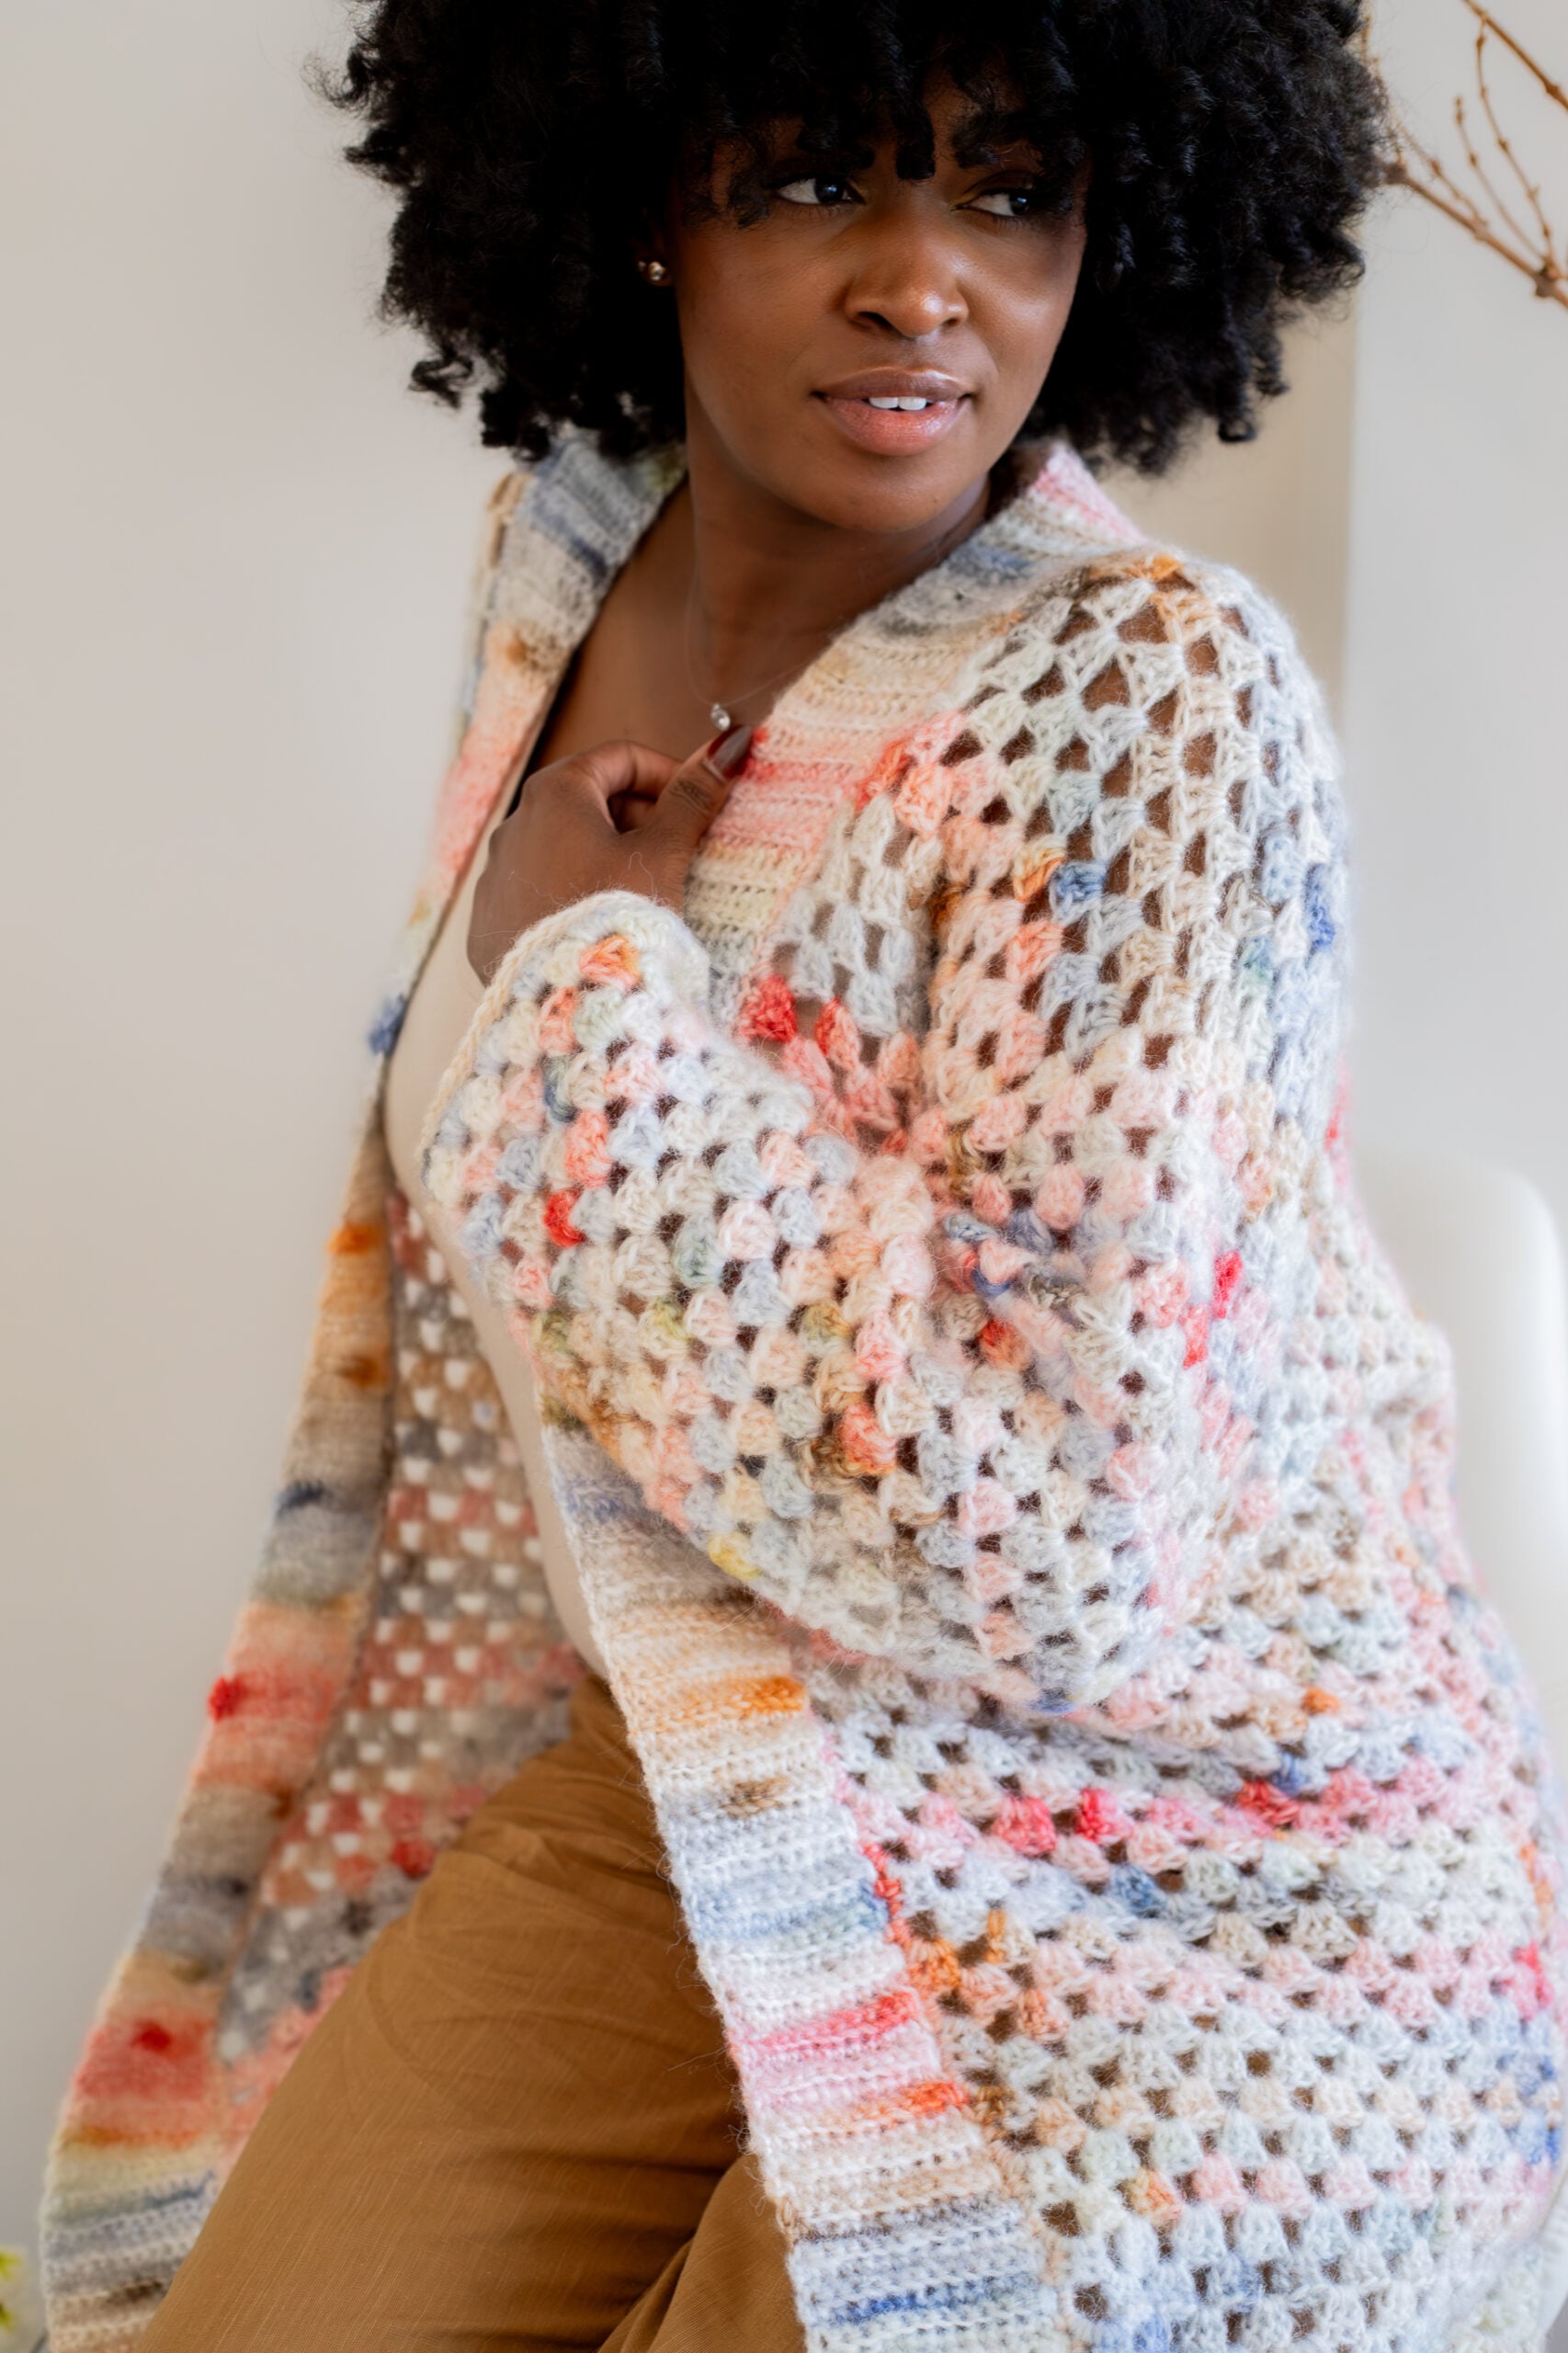
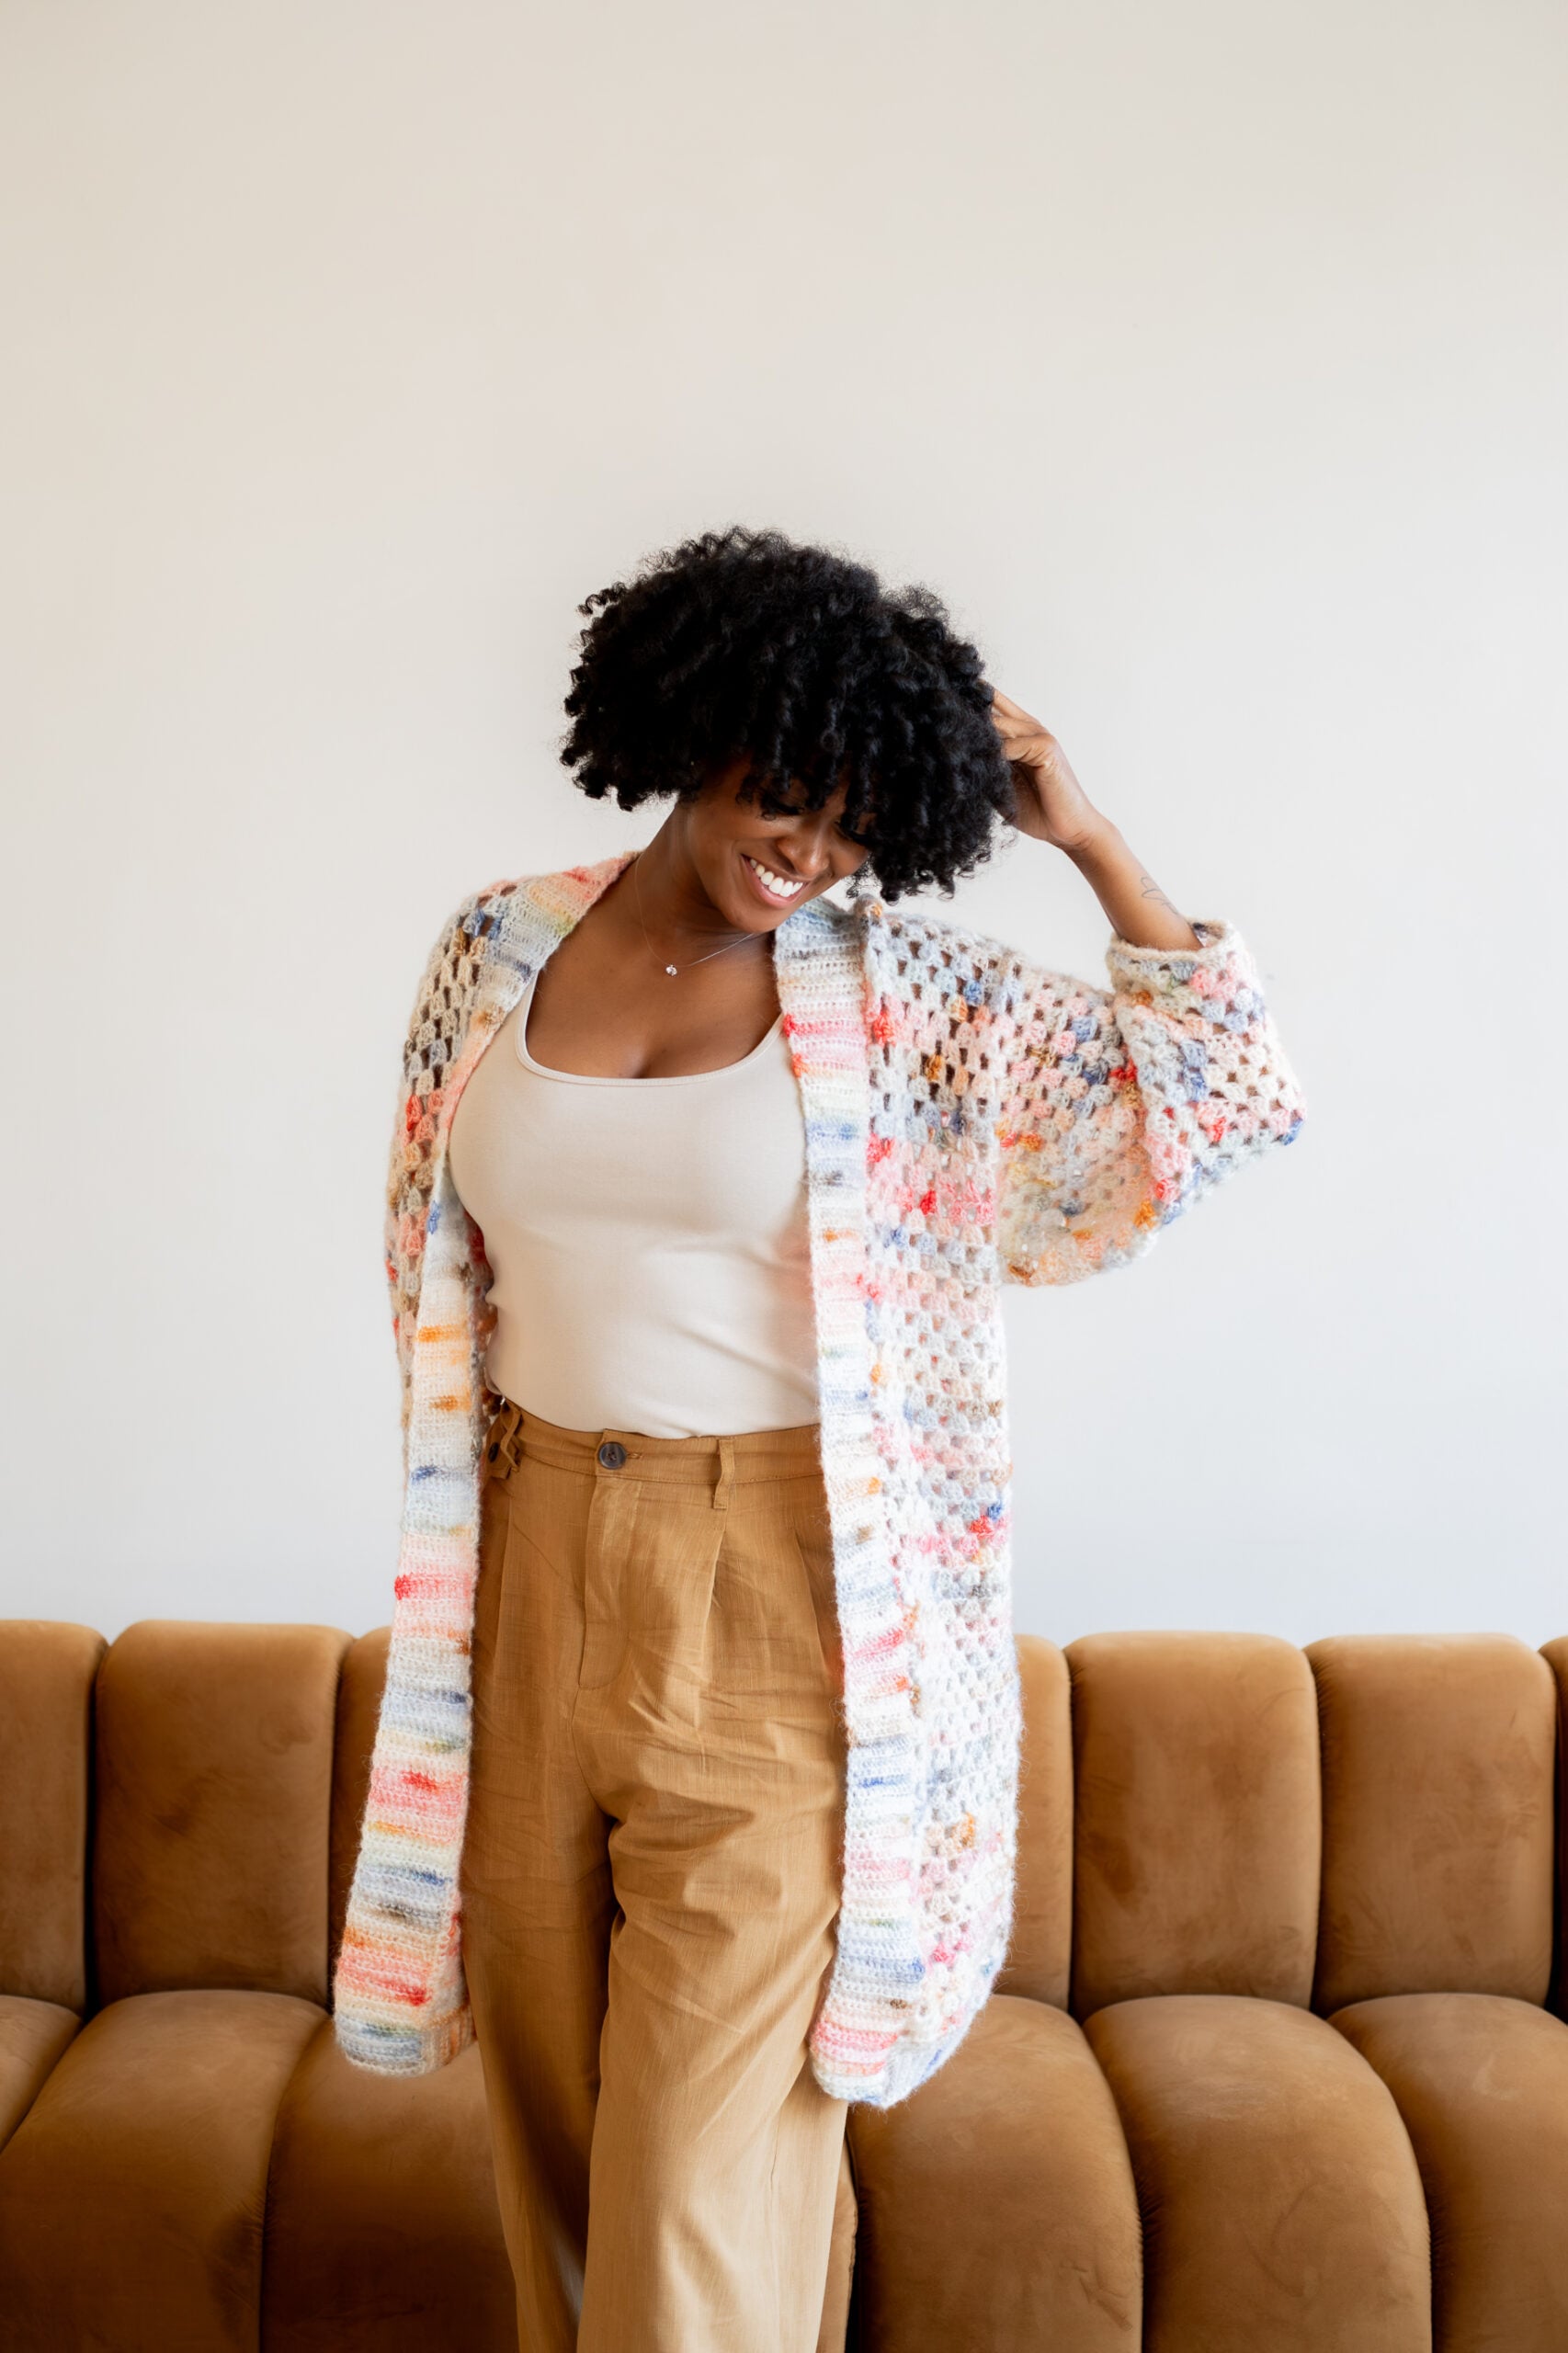
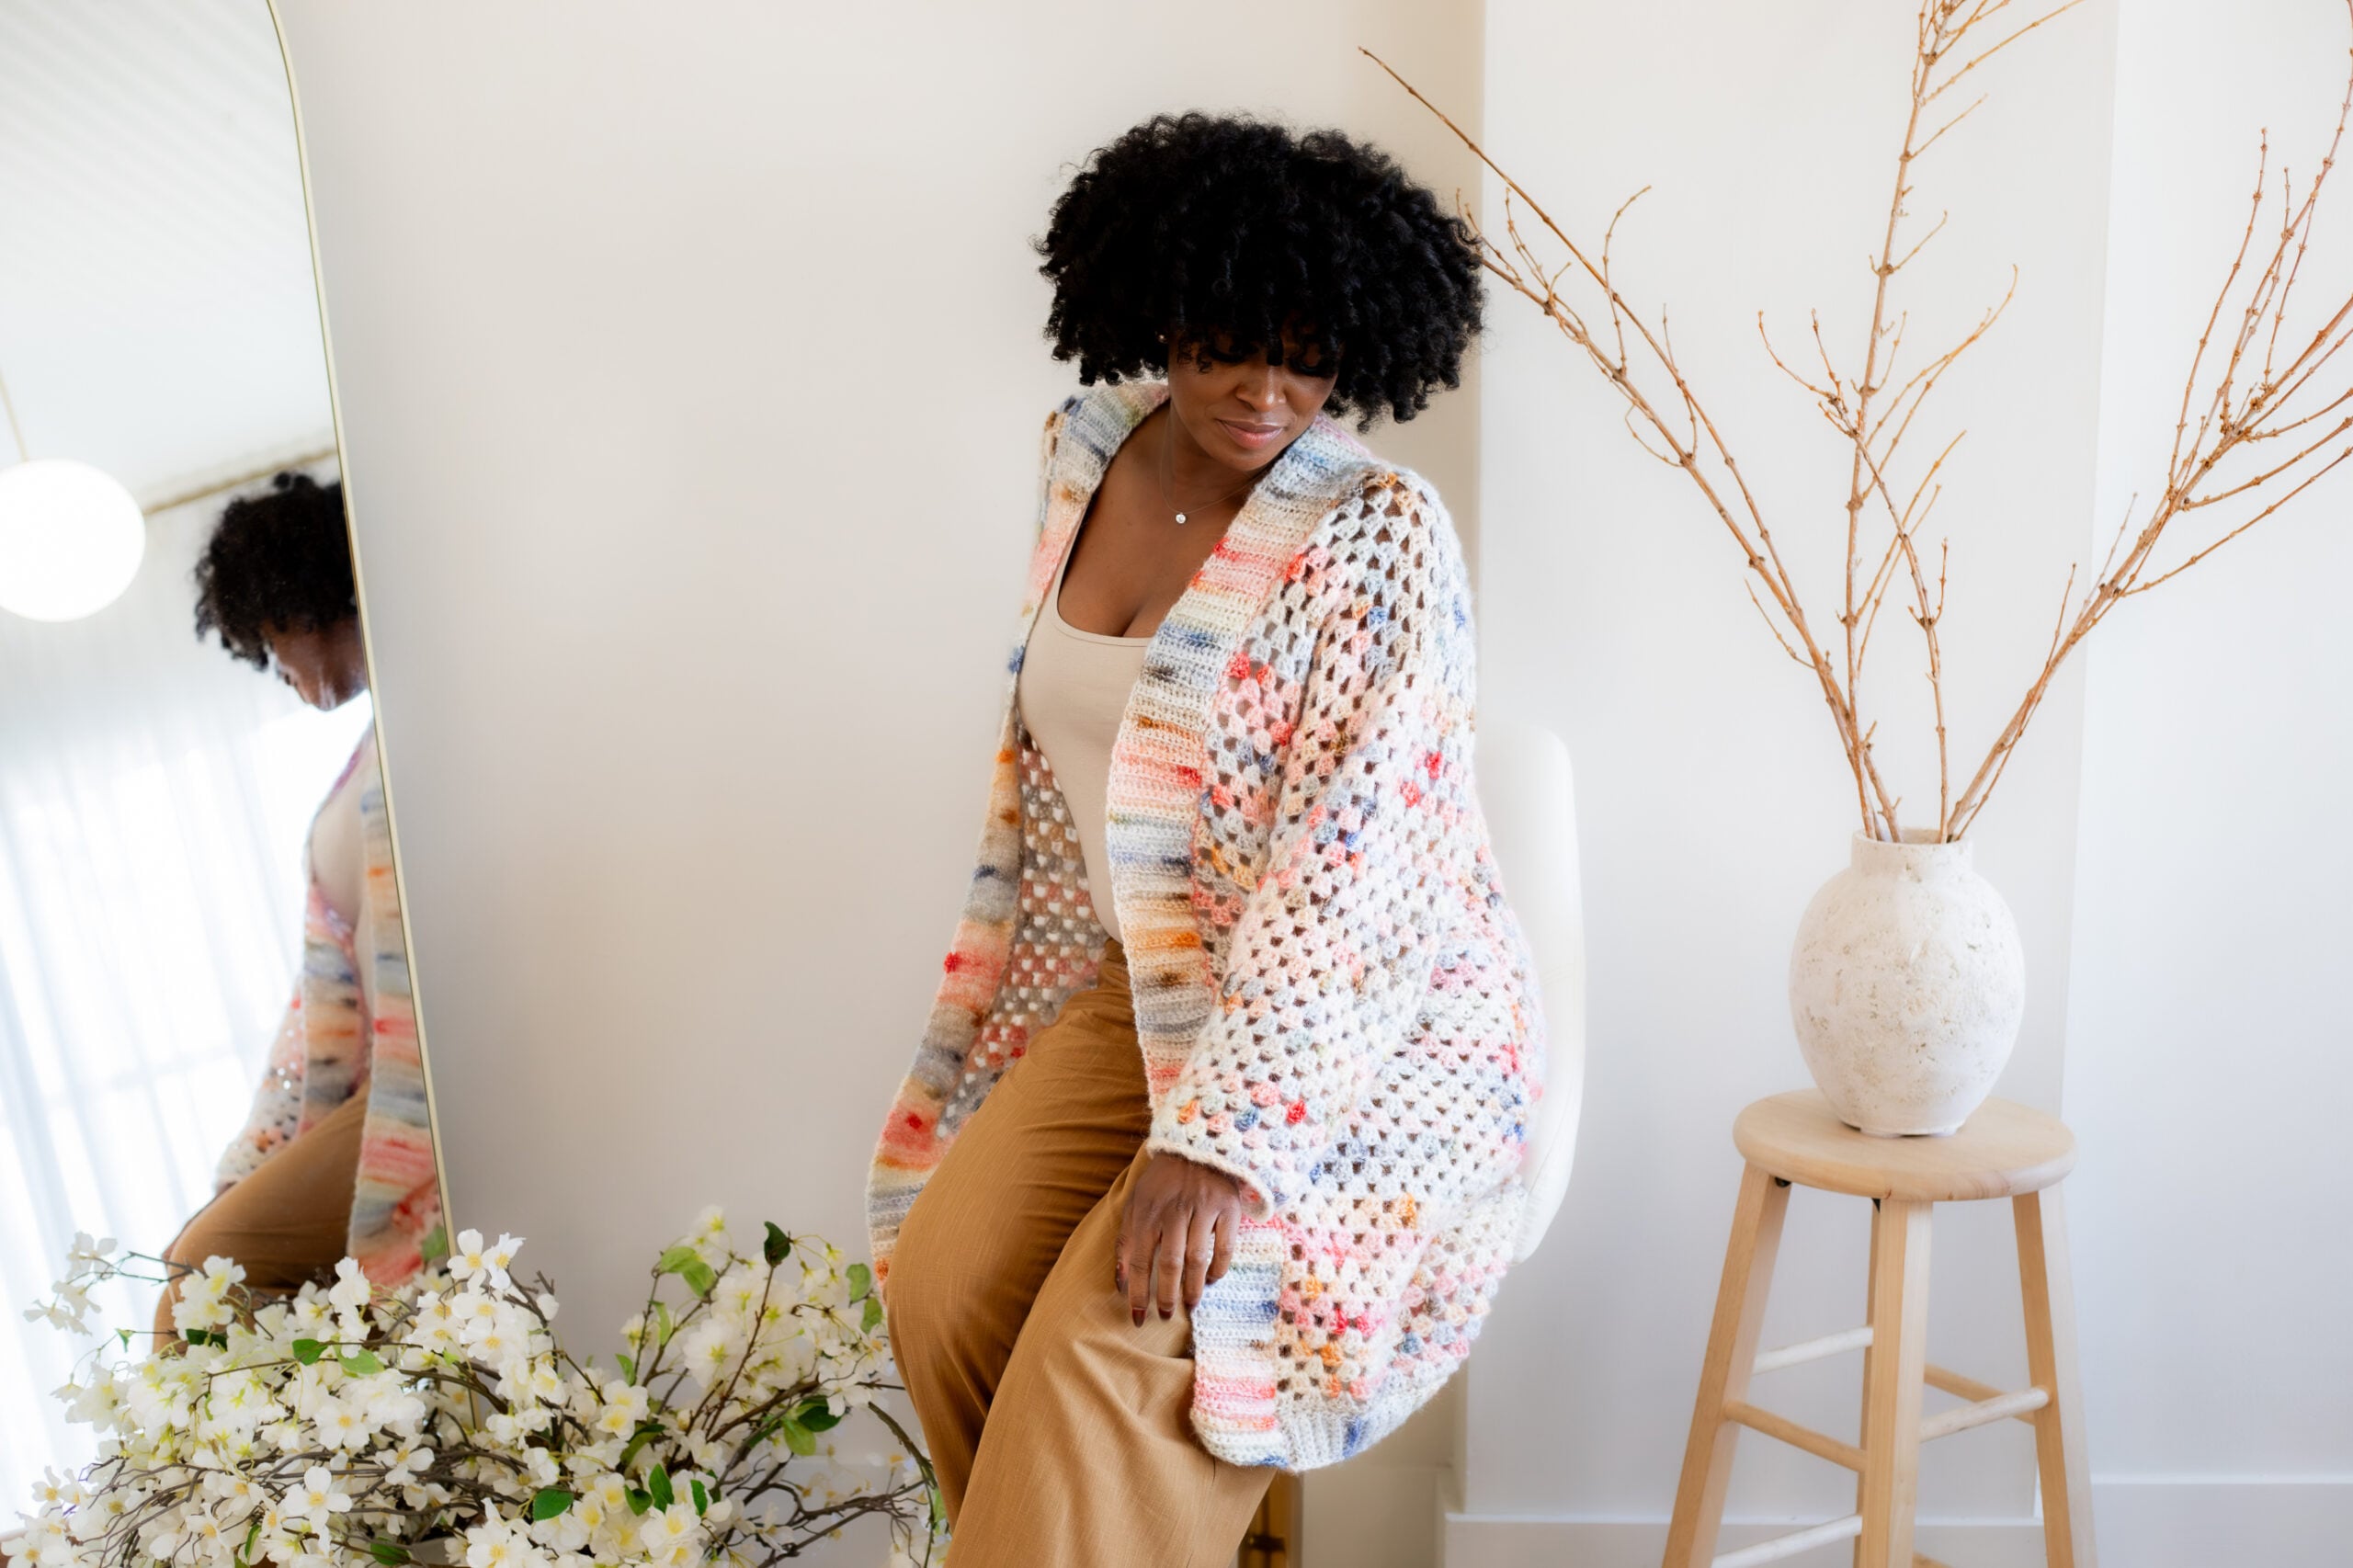
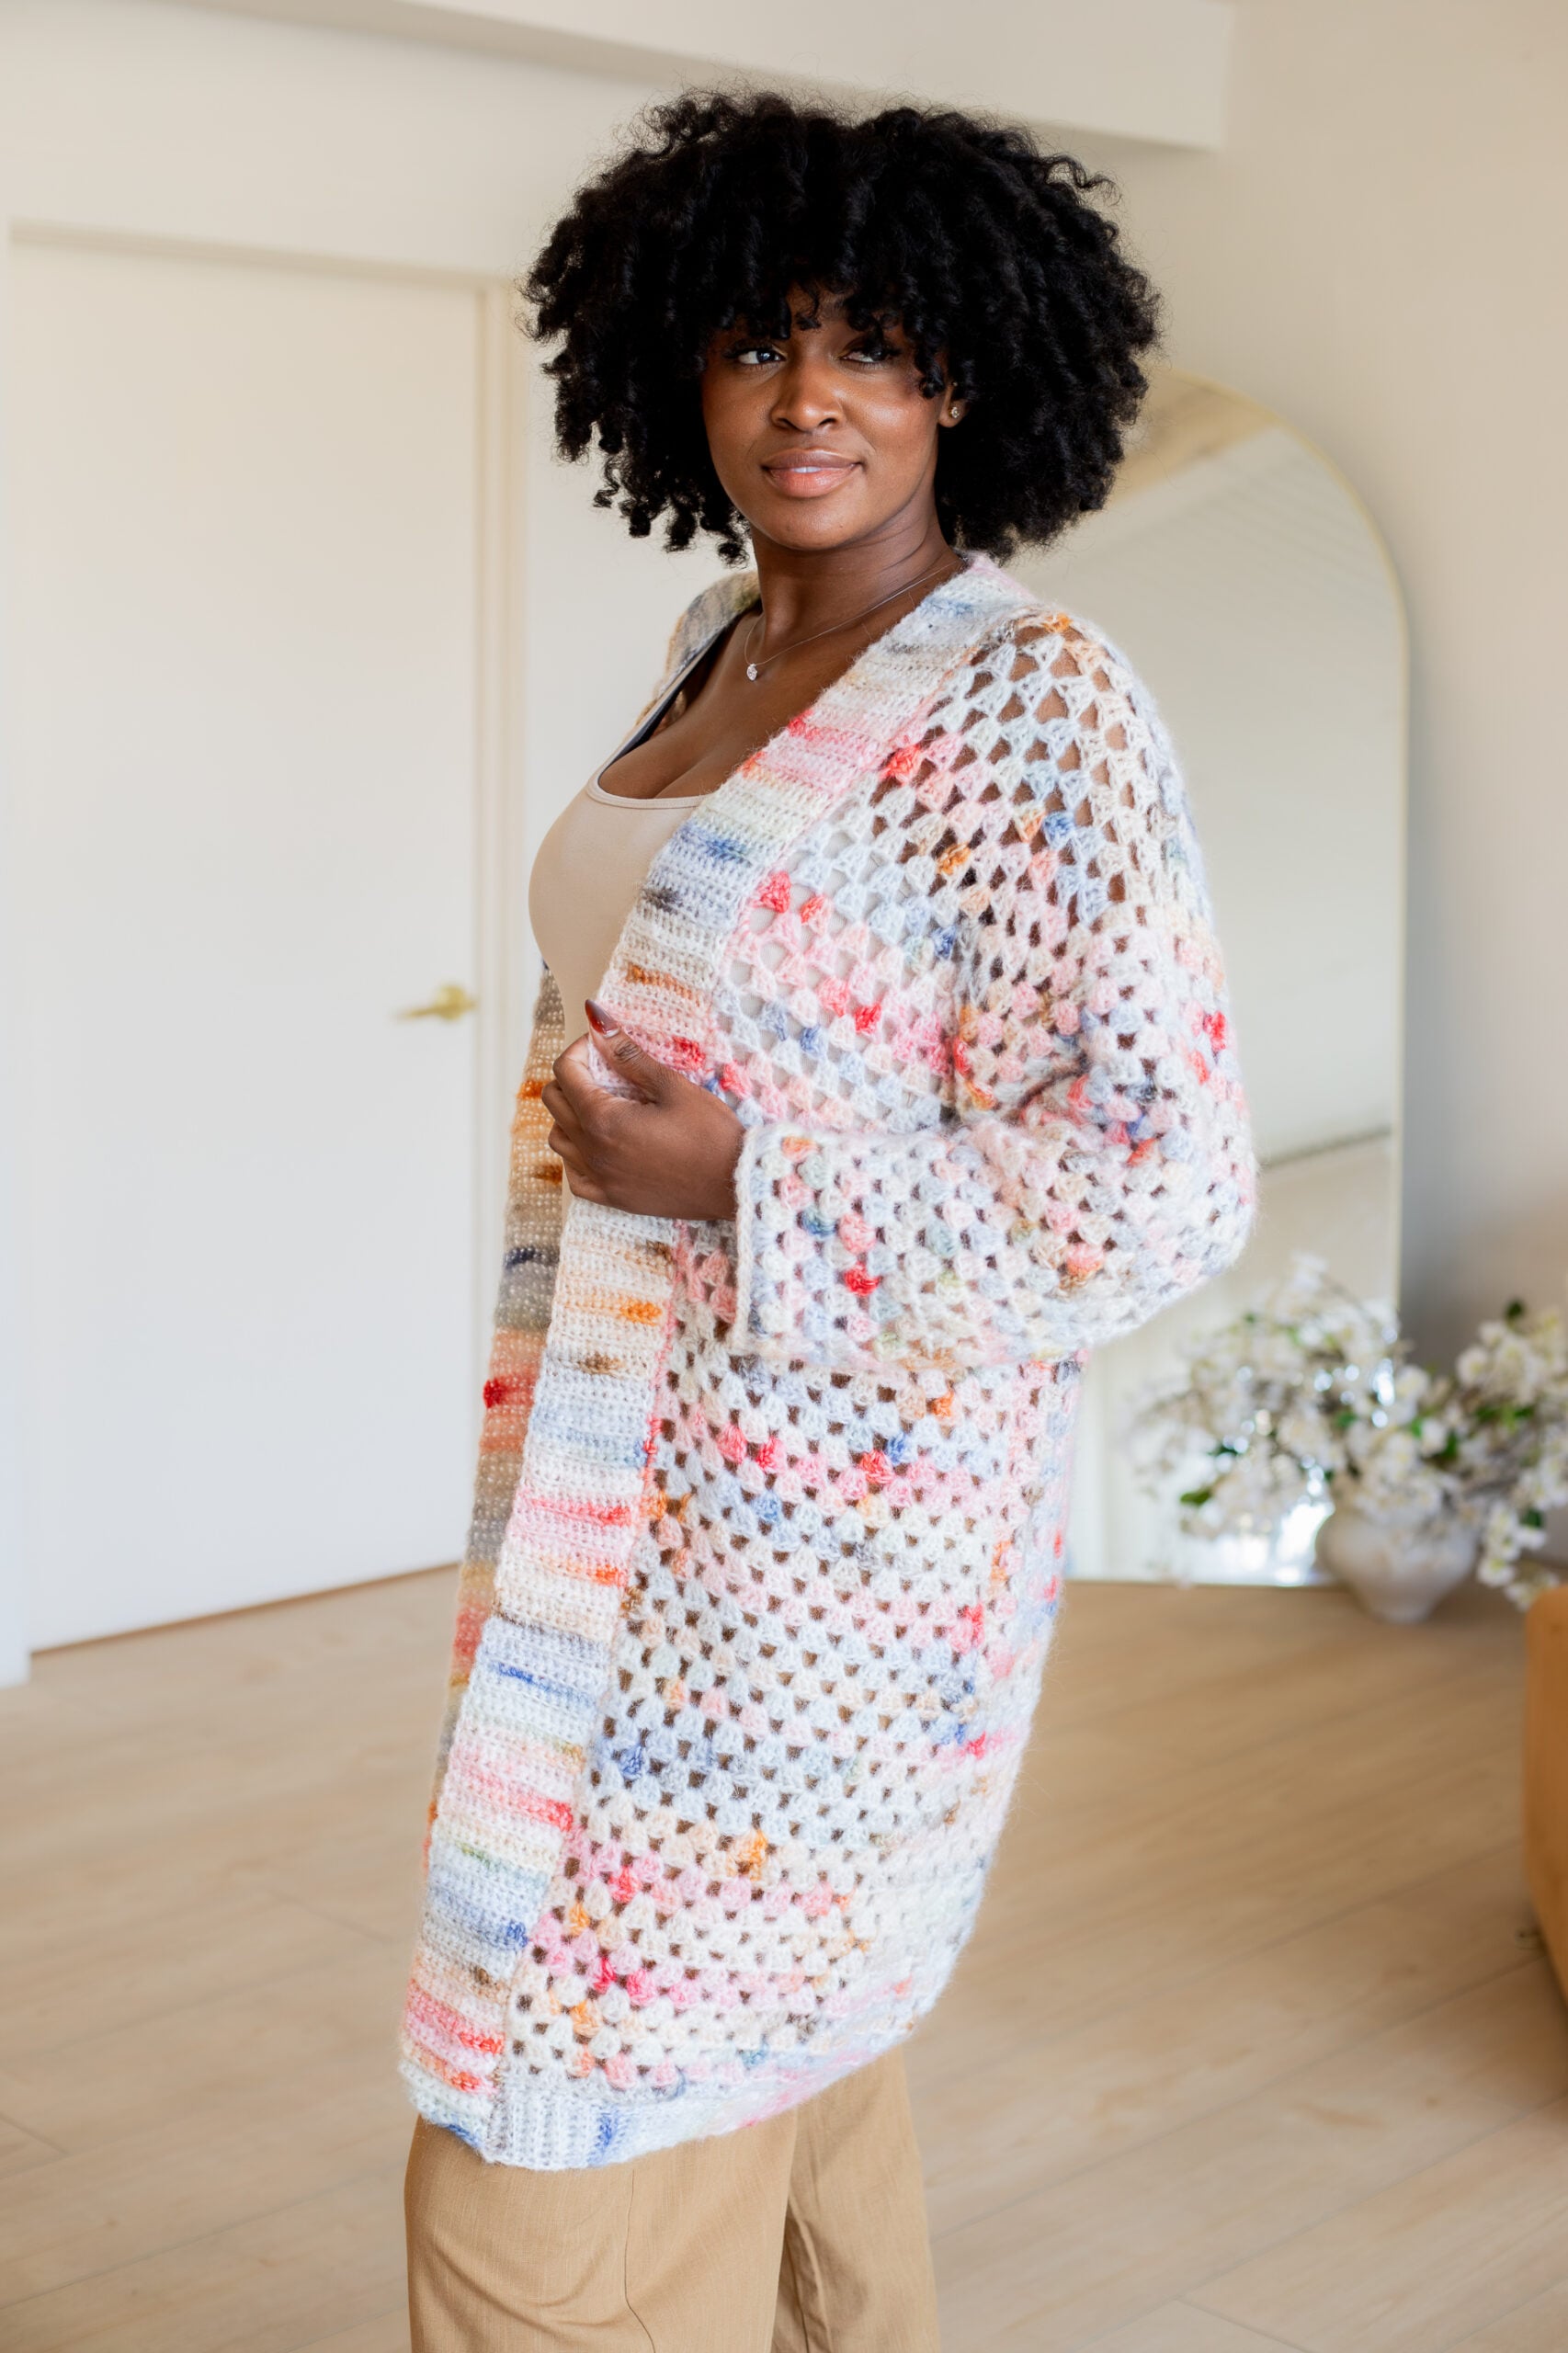
Consider this your official invitation to your granny square cardigan era. The Dutchess Cardigan is the cozy, go-everywhere layer you’ve been missing — the kind you reach for on morning drop-offs, afternoon dog walks, and every adventure in between.
Fall has my calendar in a chokehold — football games, apple picking, birthday parties for all my Virgo queens — and the weather can’t make up its mind to save its life. You need a layer that’s ready for all of it. The Dutchess Cardigan is exactly that, and with a free pattern and full tutorial video, even beginners can pull this one off.
This post contains affiliate links that support the content on TLYCBlog.com. All opinions are my own. Find my Privacy & Disclosures Policy here.
PIN IT NOW, MAKE IT LATER!
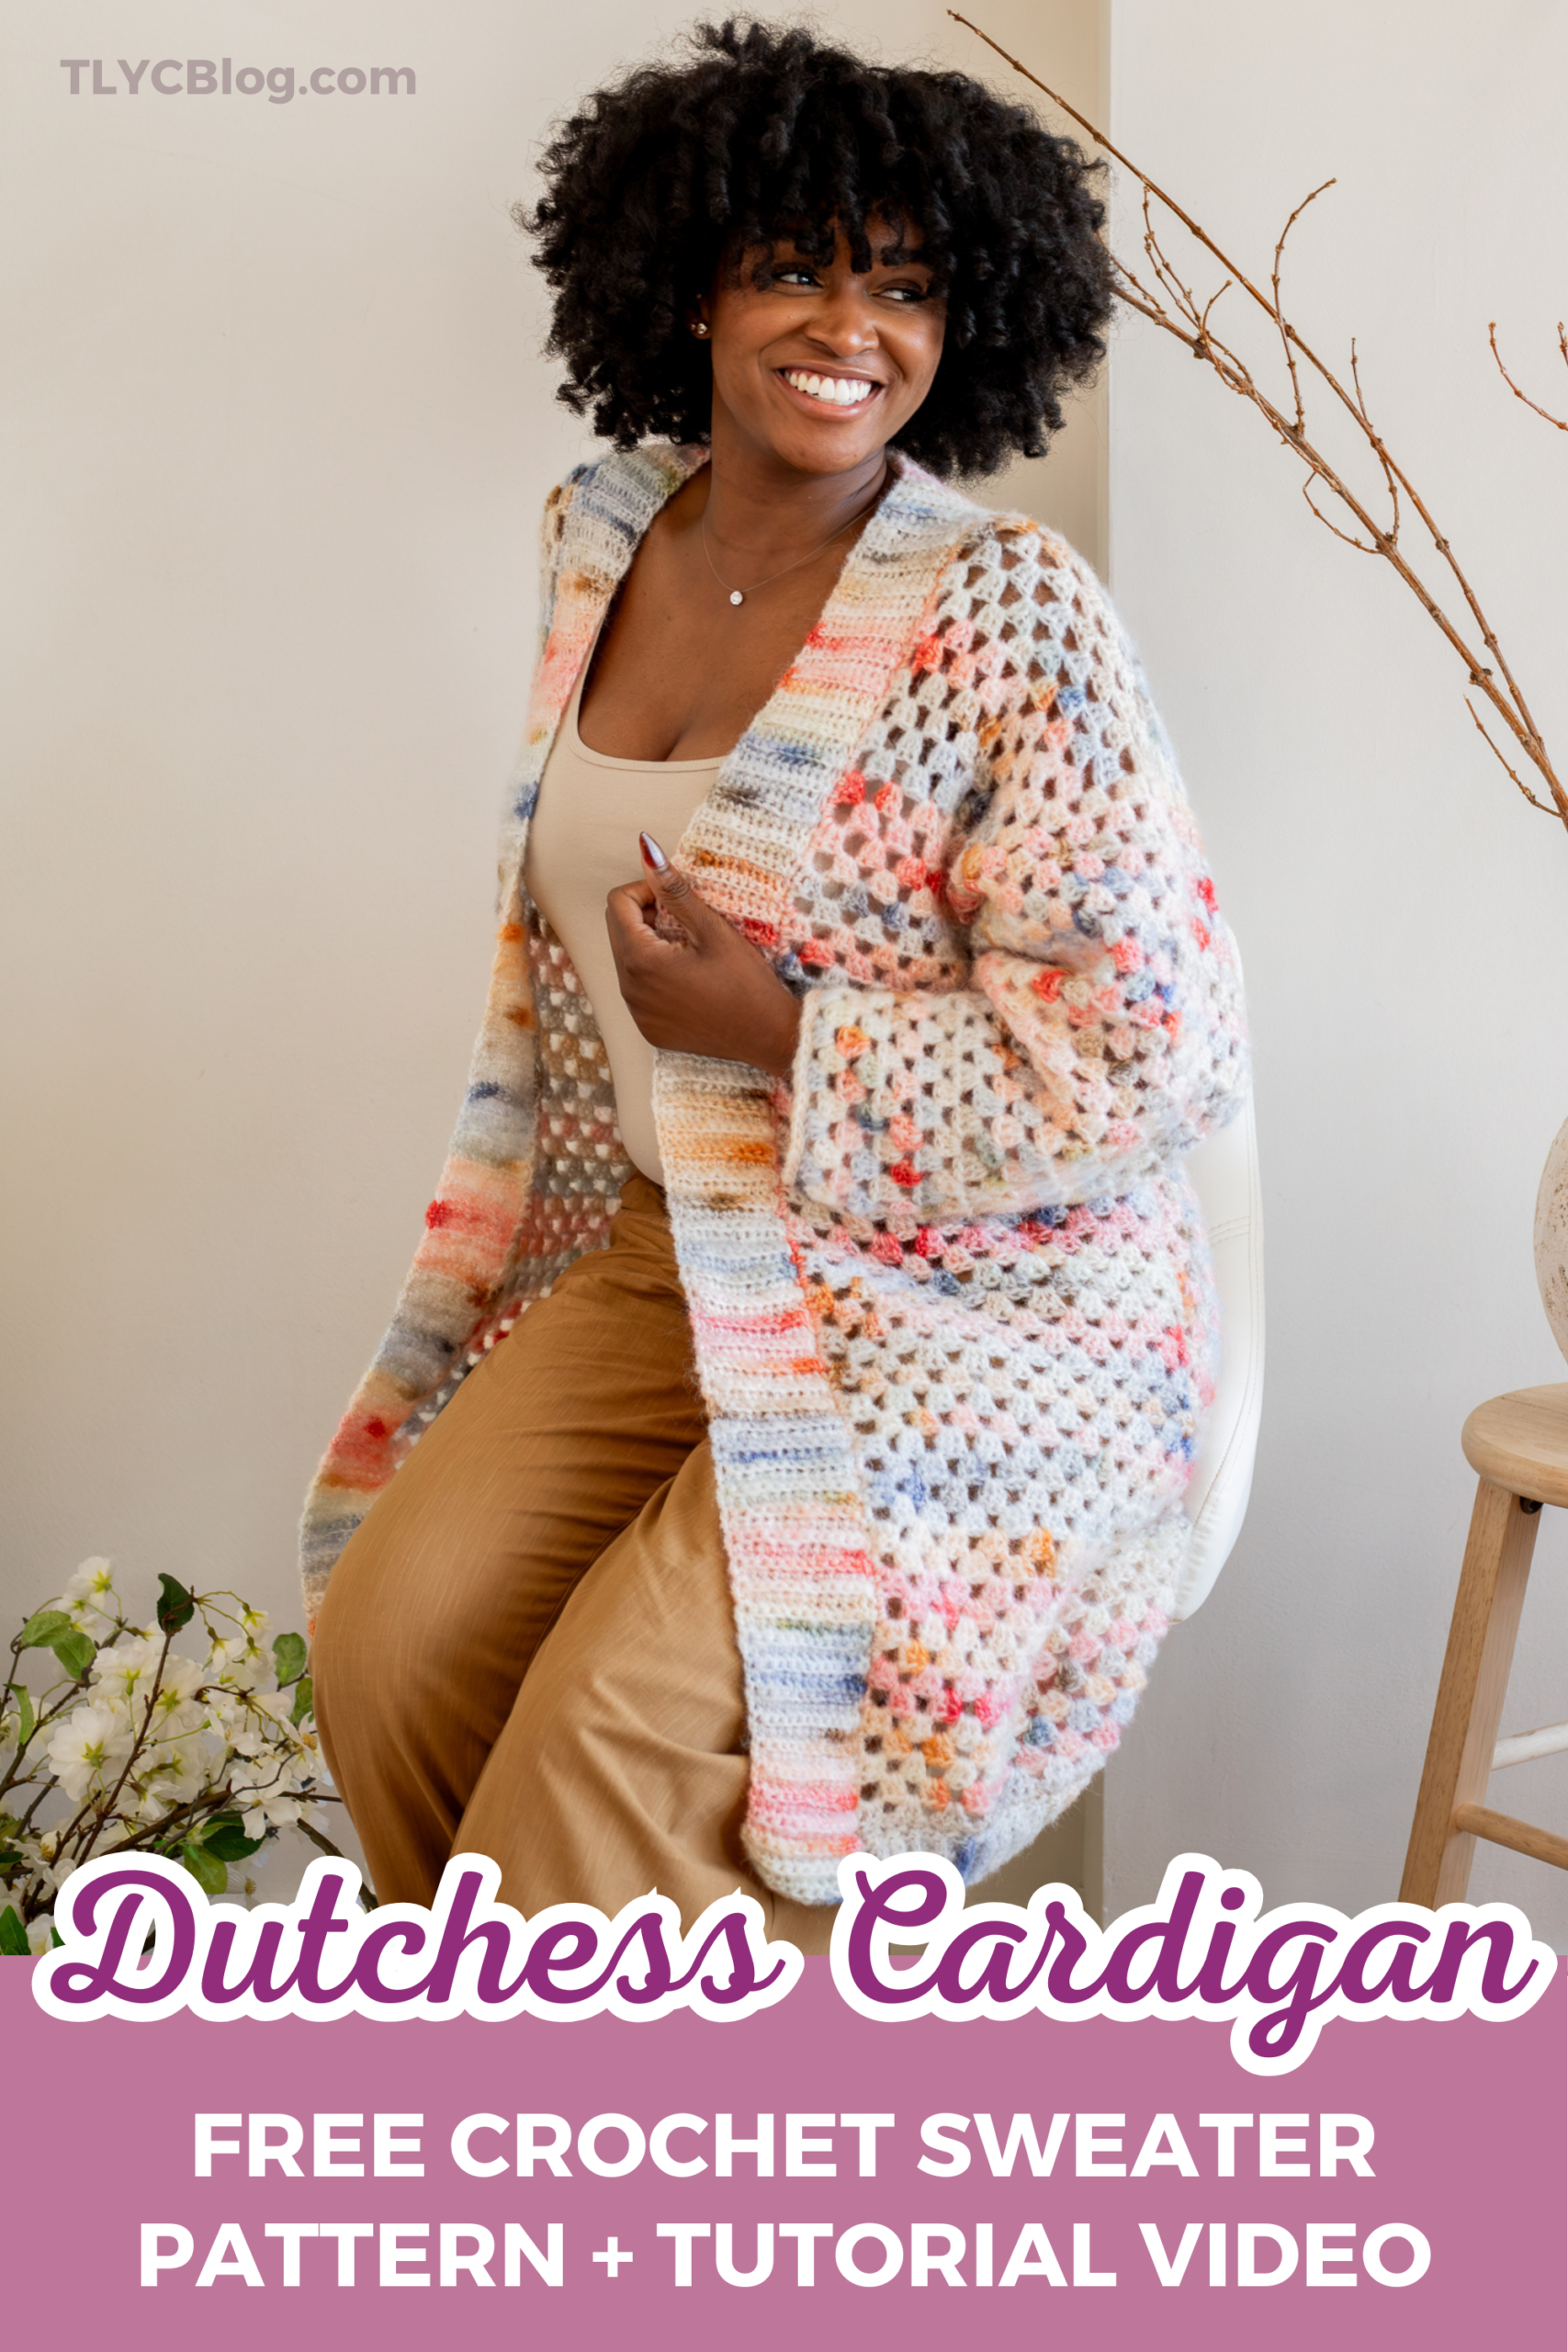
Make the Dutchess Cardigan!
- FREE PATTERN: Keep scrolling for the FREE version of the Dutchess Cardigan
- PRINTABLE PDF: Get a printer-friendly, ad-free PDF version of the Dutchess Cardigan from Ravelry and TLYarnCrafts.com
- PROJECT KIT: Customize your Dutchess Cardigan project kit from Lion Brand HERE
Crocheting a Granny Square Cardigan
I love a granny square cardigan — my Rose Cardigan is proof of that. But as a designer, granny squares come with a built-in headache: they’re a fixed unit. You can’t split them, stretch them, or sweet-talk them into fitting differently. Scaling a granny square design across sizes without losing the integrity of the motif is one of those problems that sounds simple until you’re deep in the math, wondering where it all went wrong.
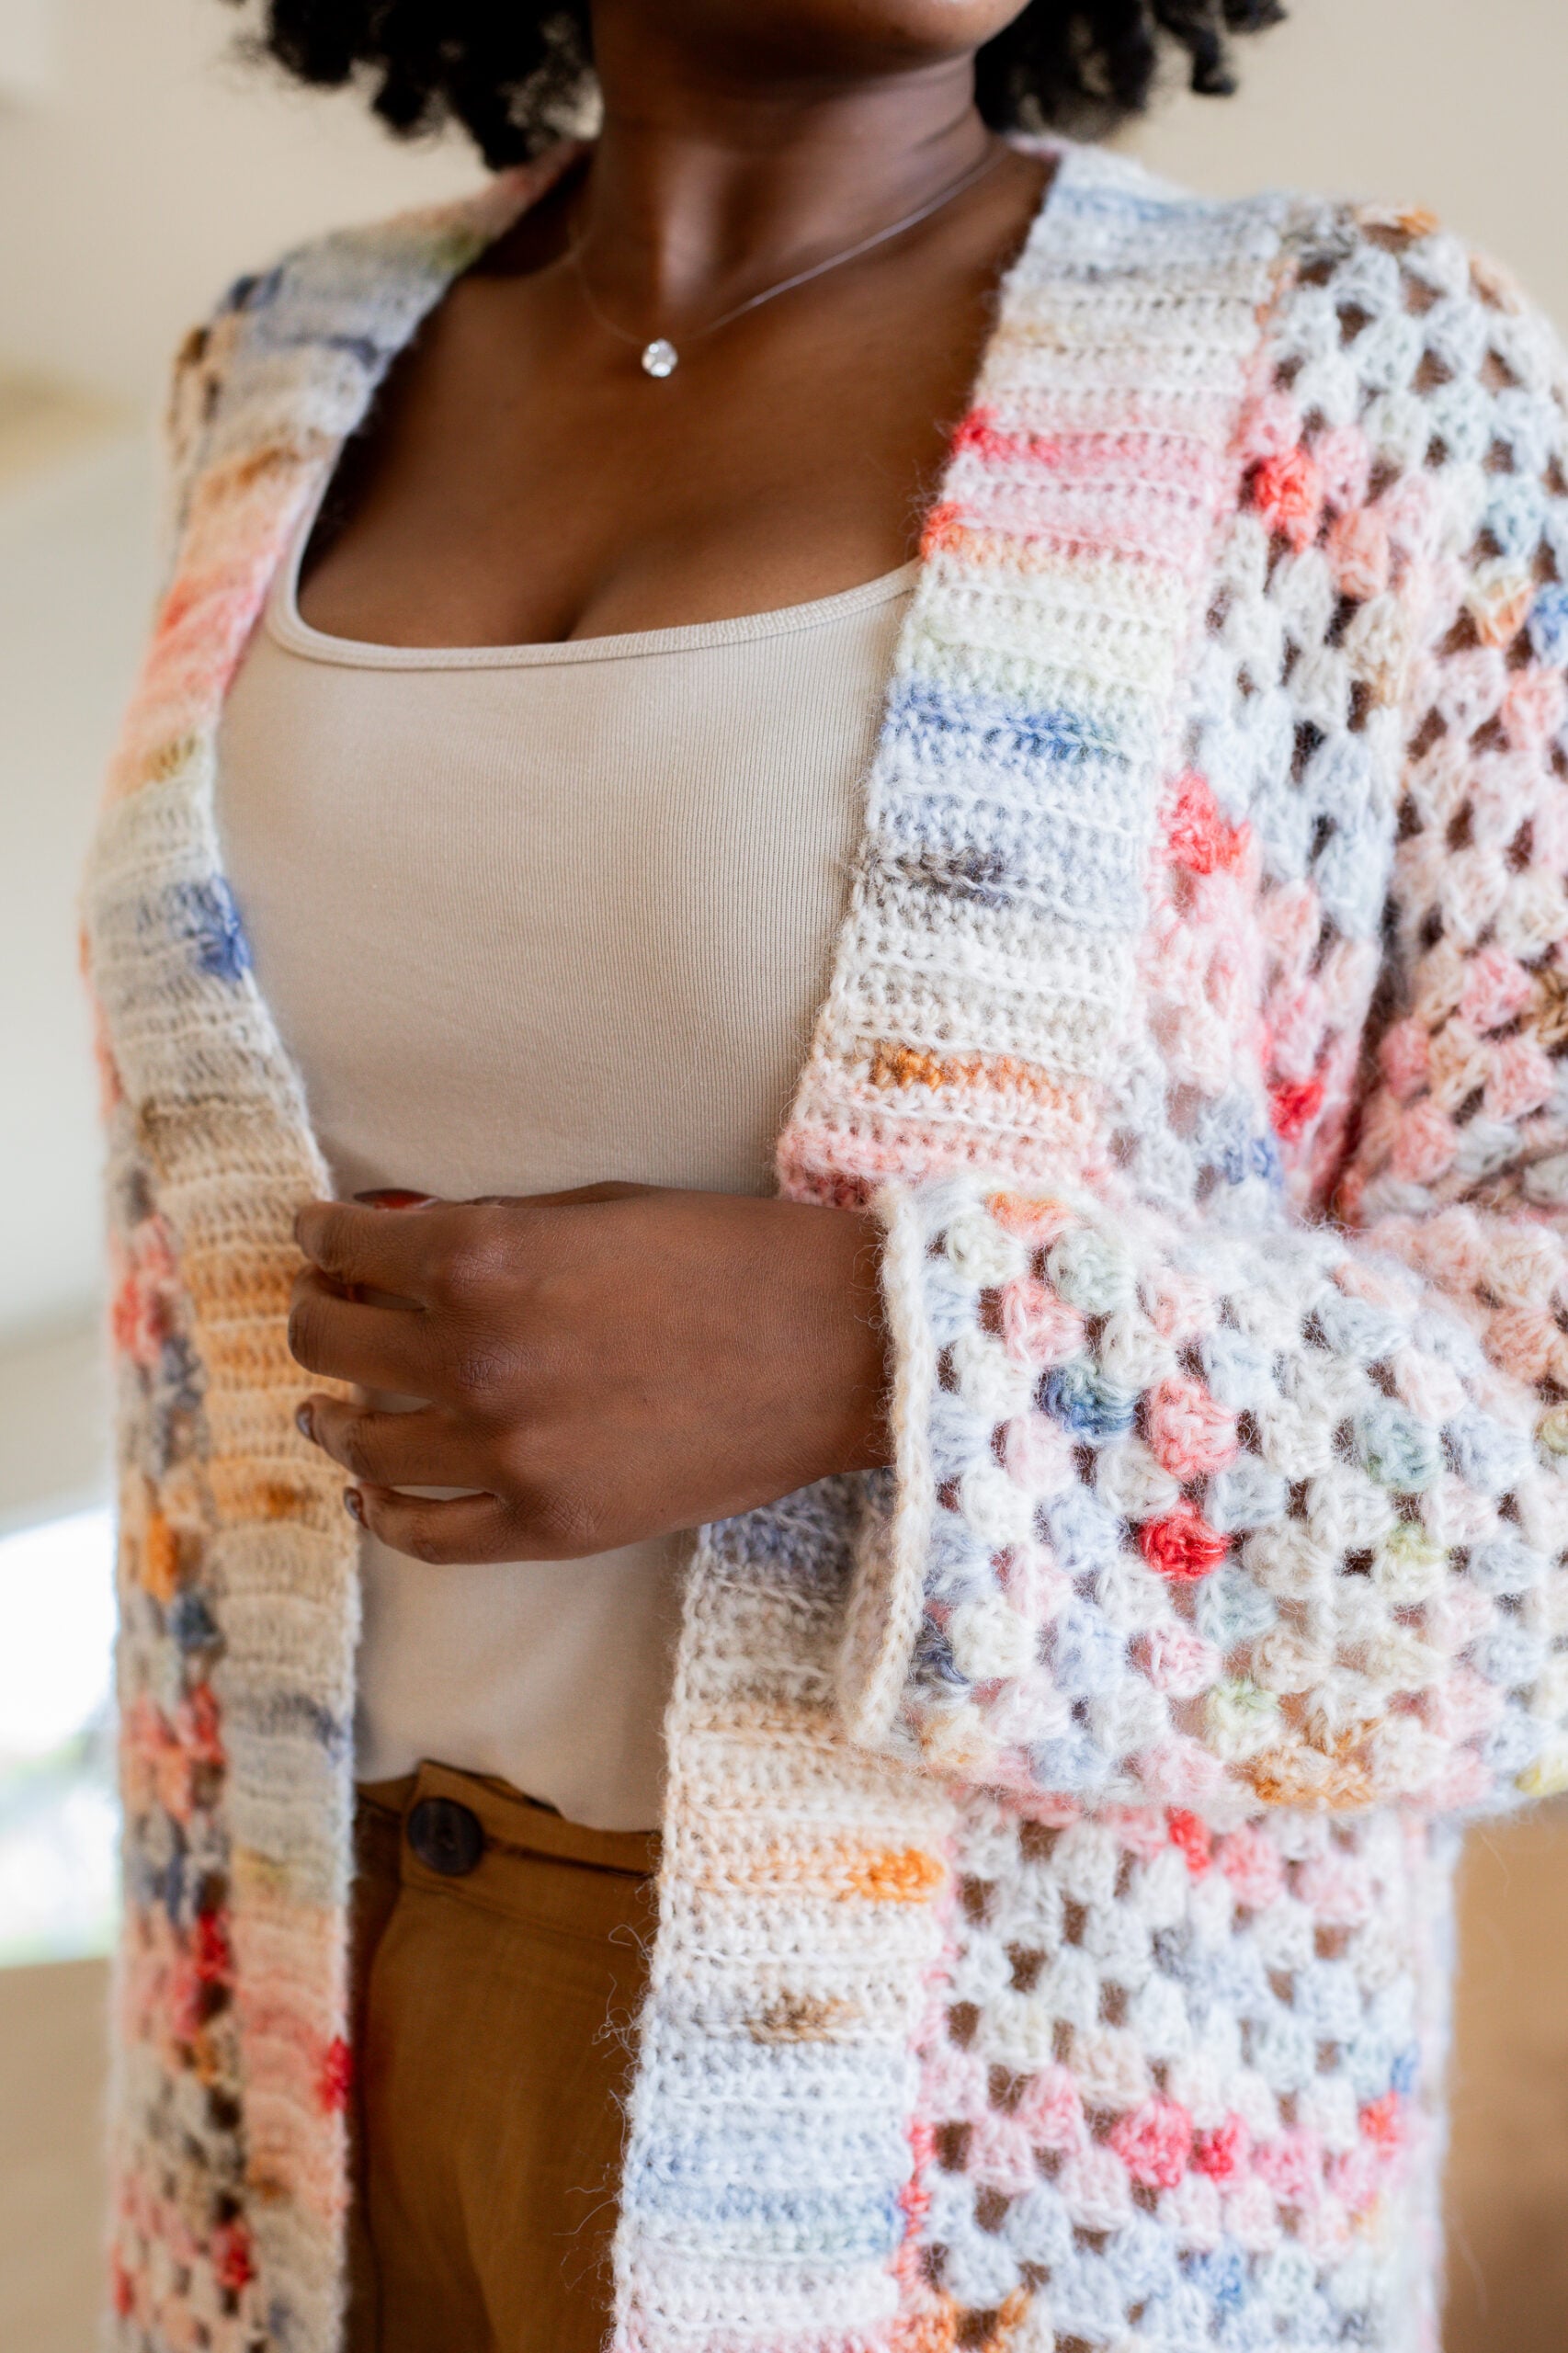
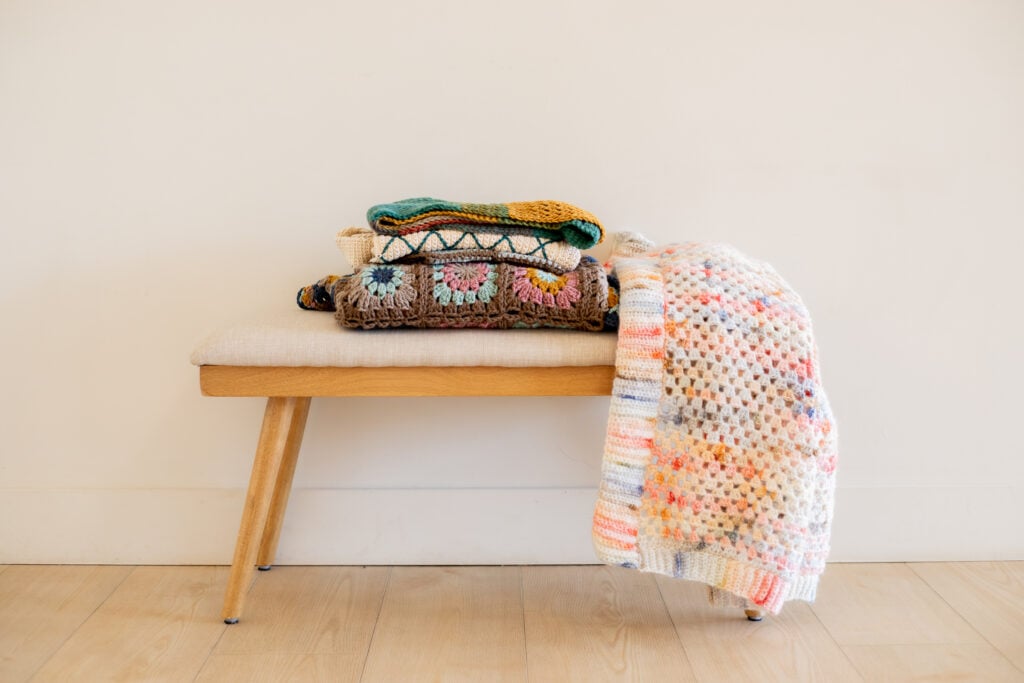
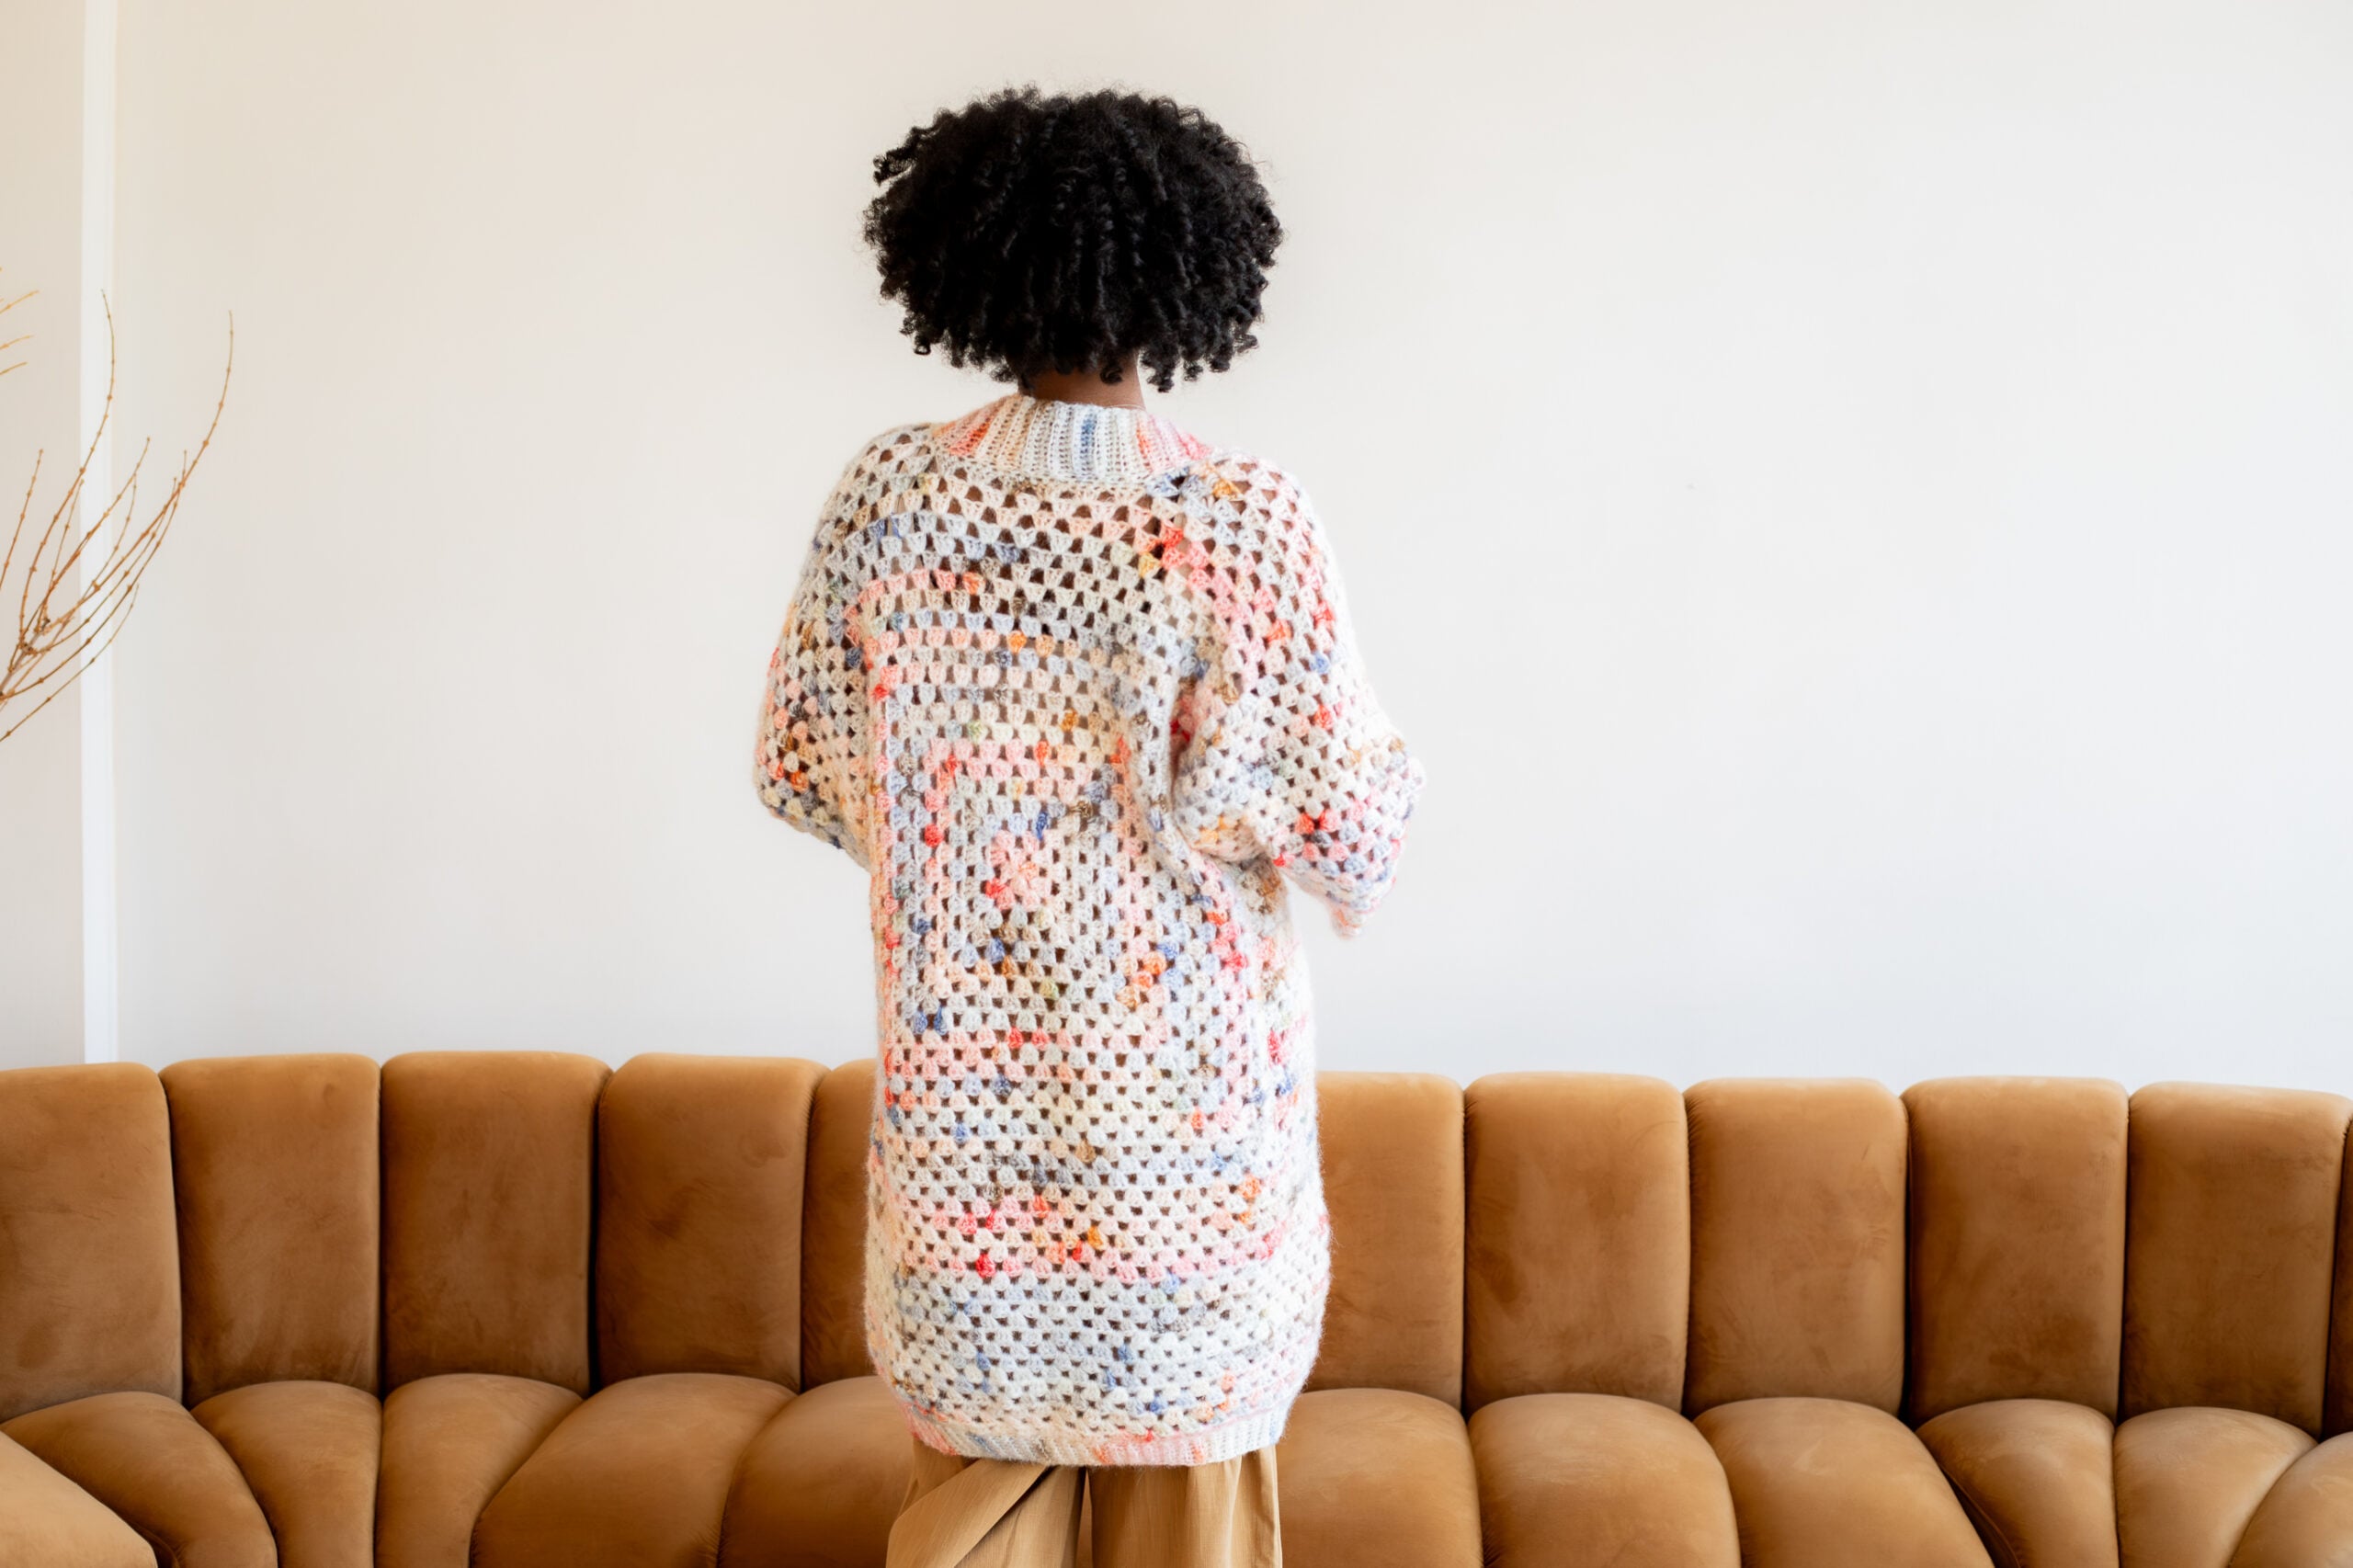
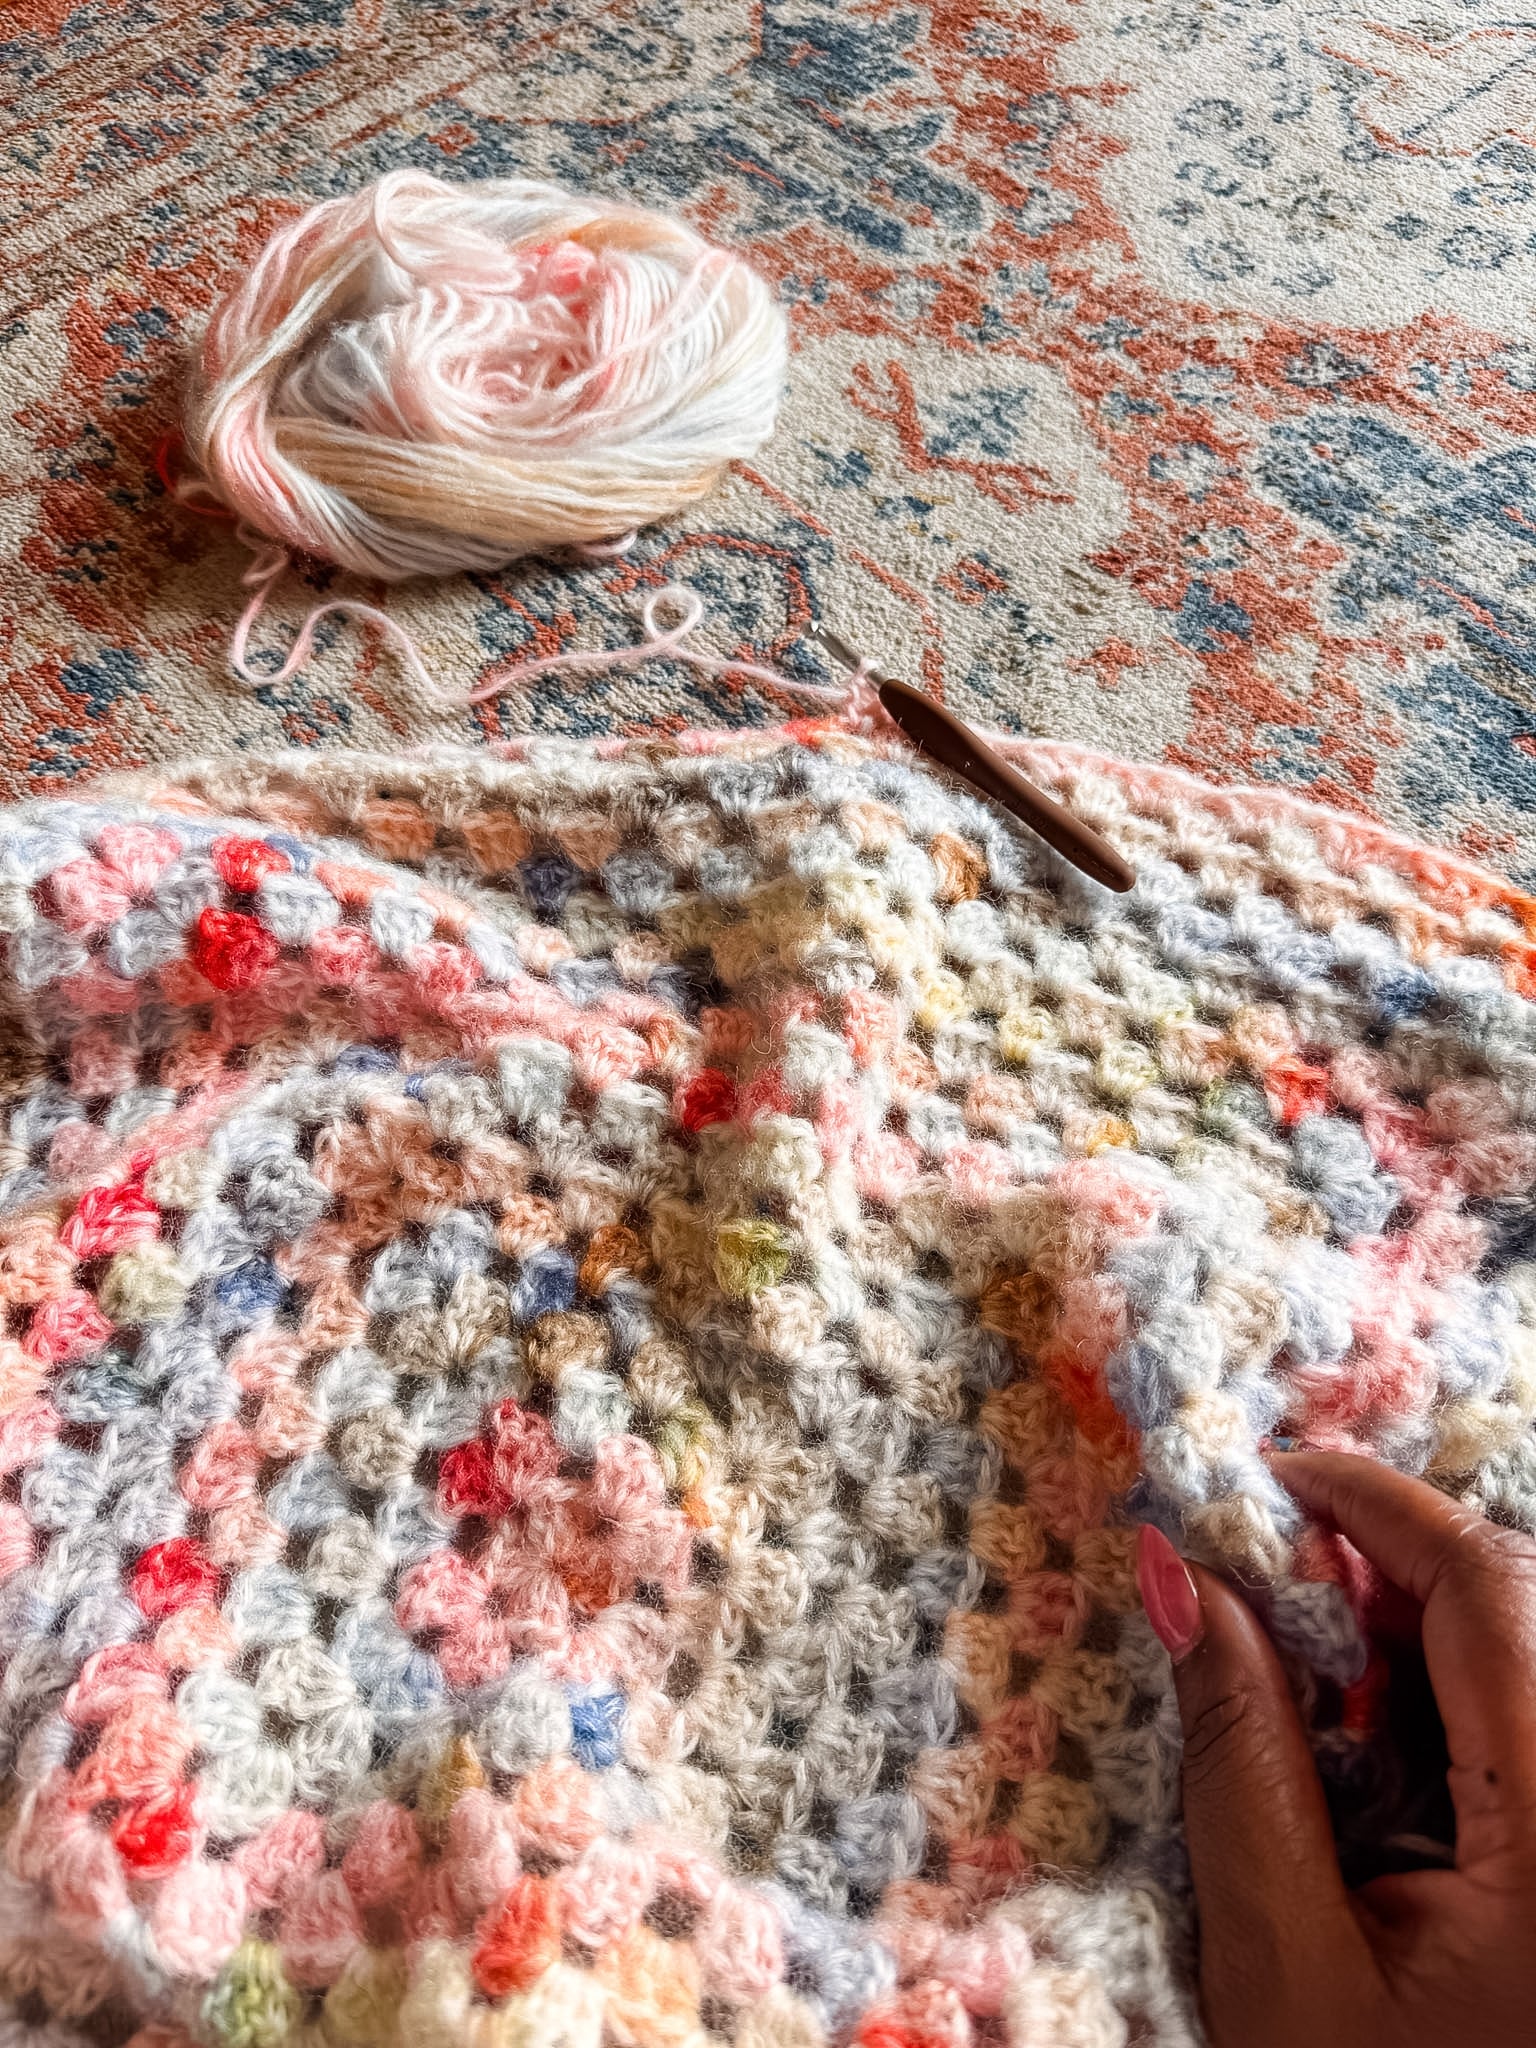
I wanted all the charm of a granny square cardigan without the sizing headache — so I redesigned the construction from the ground up. The Dutchess Cardigan starts with a single classic granny square at the back, then builds outward with panels of granny stripes. Working in rows instead of fixed motifs means the fabric grows with you, making it endlessly customizable across sizes. Add in the luxurious length and ribbed details, and you’ve got a cardigan that’s as dramatic as it is wearable.
Luxury Yarn on an Acrylic Budget
There’s a misconception in the yarn world that a luxurious feel has to come with a luxurious price tag. Fibers like mohair and brushed alpaca feel like pillowy clouds on the skin, but they carry a cost that sends most makers running in the opposite direction. Thankfully, the yarn market has caught up, and cost-conscious crocheters have more options than ever to get that high-end feel without the financial regret.
When shopping for a luxury-feel yarn on a budget, look for:
- Soft acrylic blends, technology has come a long way, and some of these are genuinely indistinguishable from natural fiber
- Bamboo or viscose blends, naturally silky with beautiful drape at a fraction of the cost
- Recycled or upcycled fibers, often surprisingly soft and a great sustainable choice
- Brushed or fluffy finishes, the texture does the heavy lifting, regardless of fiber content
The Dutchess Cardigan was designed with exactly this in mind — you deserve to feel like a million bucks without spending it.
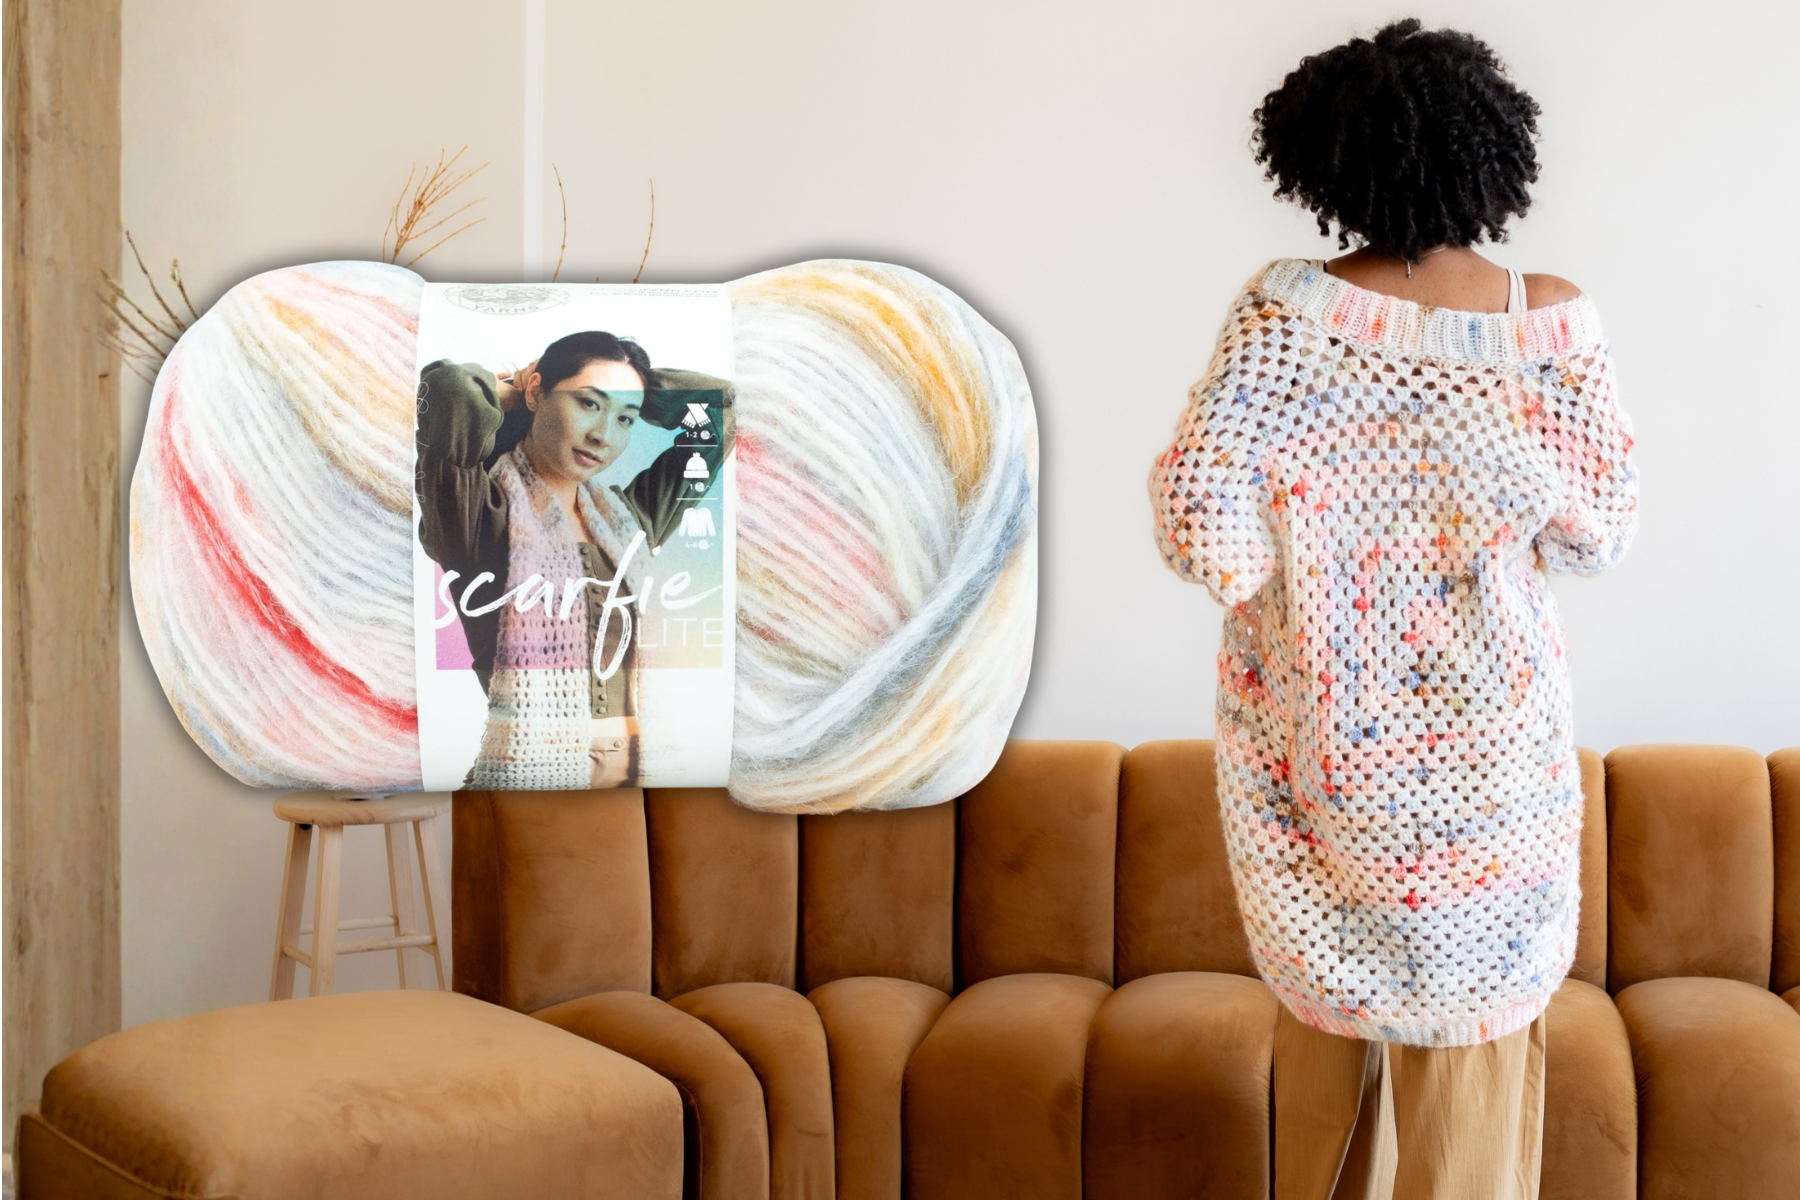
Lion Brand Scarfie Lite has been on my radar since it dropped, and the Dutchess Cardigan finally gave me the excuse I needed to use it. This super-soft acrylic blend has an almost ethereal quality — light, airy, and surprisingly easy to use. That lightness is exactly what makes it perfect for an oversized, calf-length granny square cardigan.
Nobody wants to feel like they’re being swallowed by their crochet project, and Scarfie Lite makes sure you won’t. The 6 colorways each have this whipped, cotton candy sweetness that makes choosing just one genuinely difficult. And at $10 a skein, you can build an entire wardrobe with this yarn without an ounce of guilt.
Does Scarfie Lite tick all the luxury boxes for you? Give it a try!
Make the Dutchess Cardigan!
- FREE PATTERN: Keep scrolling for the FREE version of the Dutchess Cardigan
- PRINTABLE PDF: Get a printer-friendly, ad-free PDF version of the Dutchess Cardigan from Ravelry and TLYarnCrafts.com
- PROJECT KIT: Customize your Dutchess Cardigan project kit from Lion Brand HERE
Dutchess Cardigan Details
DESCRIPTION
Feel like royalty the moment you slip into the Dutchess Cardigan. Built from a classic granny square, this deceptively simple cardigan grows with your vision – customize the length, sleeves, and front ribbing to make it entirely your own. From early morning drop-offs to date nights that stretch well into the evening, Dutchess is the granny square cardigan that goes everywhere you do.
MATERIALS
- Lion Brand Scarfie Lite yarn, 4-6 skeins depending on your size (see Sizes below). Sample made in the color Tartan. Substitute the DK/ wosted weight yarn of your choice. CHECK YOUR GAUGE!
- 6.0mm and 5.5mm crochet hooks (try this set!)
- Scissors
- Tape measure
- Tapestry needle
- Locking stitch markers
- Garment steamer
- T-pins and/or Knit Blockers
SIZES
All sizes are intended to have 4-8″ positive ease. Size down if you are between sizes. Photos show a model with a 35″ bust in size M.
- XS, intended for bust 28-30″; 4 skeins needed
- S, intended for bust 32-34″; 4 skeins needed
- M, intended for bust 36-38″; 5 skeins needed
- L, intended for bust 40-42″; 6 skeins needed
- XL, intended for bust 44-46″; 6 skeins needed
- 2XL, intended for bust 48-50″; 6 skeins needed
- 3XL, intended for bust 52-54″; 7 skeins needed
- 4XL, intended for bust 56-58″; 7 skeins needed
- 5XL, intended for bust 60-62″; 8 skeins needed
Use the following chart for the specific dimensions of each section of your cardigan. These measurements are for your final blocked cardigan. All dimensions are in inches.
| XS | S | M | L | XL | 2XL | 3XL | 4XL | 5XL | |
| Finished Bust | 36 | 40 | 45 | 48 | 52 | 54 | 58 | 62 | 66 |
| To Fit Bust | 28-30 | 32-34 | 36-38 | 40-42 | 44-46 | 48-50 | 52-54 | 56-58 | 60-62 |
| Full Length | 33 | 33 | 35 | 35 | 36 | 36 | 37 | 37 | 37 |
| Sleeve Length | 16 | 16 | 16 | 16 | 16 | 16 | 16 | 16 | 16 |
| Sleeve Circumference | 16 | 16 | 18 | 18 | 21 | 21 | 23 | 23 | 23 |
| Wrist Circumference | 9.5 | 9.5 | 10 | 10 | 10 | 12 | 12 | 12 | 12 |
DIMENSION DEFINITIONS:
- Finished Bust – The cardigan will fit oversized, with positive ease of 4-8” larger than your full bust measurement, depending on the size you choose.
- To Fit Bust – This number should reflect your actual bust measurement.
- Full Length – Length measured from the top of the shoulder, just beyond the neckline, to the bottom of the ribbing
- Sleeve Length – Length measured from the underarm to the bottom of the last row.
- Sleeve Circumference – Length measured around the fullest part of the arm at the shoulder.
- Wrist Circumference – Length measured around the bottom of the sleeve opening.
GAUGE
6” = 6 clusters + ch-1 sps x 12 rows in granny stitch with 6mm crochet hook, blocked
ABBREVIATIONS
BLO = back loop only
Ch = chain
Ch-sp = chain space
Clu = cluster
Clu-dec = cluster decrease
Dc = double crochet
MR = magic ring (learn it here!)
Rep = repeat
RS = right side
S-dc = standing double crochet
Sc = single crochet
Sc2tog = single crochet 2 together
Sk = skip
Sl St = slip stitch
Sp = space
Tch-sp = turning chain space
SPECIAL STITCHES
- Cluster (clu): 3 double crochet in the same space.
- Cluster Decrease (clu-dec): Double crochet in the first chain-space, single crochet 2 together over the same space and the next space, double crochet in the 2nd space. This decrease counts as one cluster.
- Standing Double Crochet (s-dc): Place a slipknot on the hook. Yarn over and hold both loops on hook, pull up a loop where directed, (yarn over, pull through 2 loops) 2 times.
NOTES
- Construction: This cardigan begins with a granny square worked to the width of your back, not including the sleeves. From there, stitches are picked up to extend the back upward. Split for the neck and work the front panels. Once the front panels can accommodate the sleeves, they are extended to reach the final bust. Continue working the front panels until they reach the length of the granny square. From here, begin working the remainder of the cardigan length in one long row. Next, complete ribbing along the bottom and front neck opening. Finally, add the sleeves and finish with a slip stitch border.
- Hook sizes: Continue working with the hook in the previous section until instructed to change.
- Turning chains: Starting ch-4 counts as dc + ch 1.
- Crochet Shorthand: This pattern uses crochet shorthand in some places. For example, “2sc” means to place two single crochet stitches where indicated.
Dutchess Cardigan Pattern
Ready to stitch this granny square cardigan pattern? I’ll show you how, step by step:
Granny Square
ROUND 1: Make MR with 6mm hook. In MR, ch 1, (dc 3, ch 2) 4 times, pull tail to close ring, join with a sl st in the first dc of the ring, turn. (4 clu)
ROUND 2: Sl st in the ch-2 sp, ch 1, 3dc in the ch-2 sp, ch 1, [(3dc, ch 2, 3dc, ch 1) in the next ch-2 sp] 3 times, 3dc in the starting sp, ch 2, join with a sl st in the first dc of the round, turn. (8 clu)
ROUND 3: Sl st into the ch-2 sp, ch 1, 3dc in the ch-2 sp, ch 1, [3dc in the next ch-1 sp, ch 1*, (3dc, ch 2, 3dc, ch 1) in the next ch-2 sp] around, ending the last rep at *, 3dc in the starting sp, ch 2, join with a sl st in the first dc of the round, turn. (12 clu)
ROUND 4: Sl st into the ch-2 sp, ch 1, 3dc in the ch-2 sp, ch 1, [(3dc in the next ch-1 sp, ch 1) to the next ch-2 sp*, (3dc, ch 2, 3dc, ch 1) in the ch-2 sp] around, ending the last rep at *, 3dc in the starting sp, ch 2, join with a sl st in the first dc of the round, turn. (16 clu)
Rep Round 4 until your square measures 16 (18, 19, 21) (23, 23, 25) (27, 29) inches when lightly stretched flat. This should take 15 (17, 18, 20) (21, 21, 23) (25, 27) rounds, +/- 1 round.
Top of Back
SECTION NOTES:
- Continue working in rows on one side of the granny square.
- From here on, I will refer to 3dc groups as clusters (clu).
ROW 1: Ch 4, sk the sp and the clu at the base of the ch, (clu in the next sp, ch 1) across row to last clu, sk clu, clu in the corner ch-2 sp, turn. (The number of clusters will be equal to the number of rounds in your granny square)
ROW 2: Ch 4, sk the clu at the base of the ch, (clu in the next sp, ch 1) across row to last clu, sk clu, clu in the tch-sp, turn.
ROWS 3-4 (4, 4, 4) (4, 6, 6) (6, 6): Rep Row 2.
Front Panel – 1
Locate the center 7” of the last row. This will be your back neck. Place a locking stitch marker in the ch-sp on either side of this measurement.
UPPER PANEL
ROW 1: Ch 4, sk the clu at the base of the ch, (clu in the next sp, ch 1) across row to marked sp, clu in sp, turn. Remove marker from last sp worked.
ROW 2: Ch 4, sk the clu at the base of the ch, (clu in the next sp, ch 1) across row to last clu, sk clu, clu in the tch-sp, turn.
ROW 3: Rep Row 2. Mark the beginning and end of this row. This will be the last row of the back, and will be the fold line for your shoulders.
ROW 4: Ch 4, sk the clu at the base of the ch, (clu in the next sp, ch 1) across row to last clu, sk clu, clu in the tch-sp, turn.
Rep Row 4 until front panel measures 6.5 (6.5, 7.5, 7.5) (8.5, 8.5, 9.5) (9.5, 9.5)” when lightly stretched, with the last row ending at the armhole. Measure the FRONT ONLY – remember Row 1-3 are part of the back. DO NOT FASTEN OFF.
LOWER PANEL
ROW 1: Ch 10 (10, 13, 13) (13, 16, 16) (16, 16), clu in the 7th ch from the hook, (ch 1, sk 2 chs, clu in the next ch) 1 (1, 2, 2) (2, 3, 3) (3, 3) times, ch 1, (clu in next ch-sp, ch 1) across row to last clu, sk clu, clu in the tch-sp, turn. [2 (2, 3, 3) (3, 4, 4) (4, 4) clu added]
ROW 2: Ch 4, sk the clu at the base of the ch, (clu in the next sp, ch 1) across row to last clu, sk clu, clu in the tch-sp, turn.
Rep Row 2 until the front panel is the same length as the back when the shoulder is folded at the fold line, with the last row ending at the side of the cardigan. Be careful to line up your rows. Fasten off.
Front Panel – 2
Leaving an 8” tail, make a slipknot. Place the slipknot on the hook. Ch 4 (4, 7, 7) (7, 10, 10) (10, 10). Fasten off, leaving an 8” tail. Set chain aside. This will be used to extend your panel later.
UPPER PANEL
Return to the marked sp from the beginning of Front Panel – 1. Join with a sl st in this sp.
ROW 1: Ch 4, sk the clu at the base of the ch, (clu in the next sp, ch 1) across row to last clu, sk clu, clu in the tch-sp, turn.
STOP! Count the clusters in your row and ensure they match the number of clusters in Front Panel – 1, Upper Panel. If not, move back one space to add a cluster, or move up one space to remove a cluster.
ROW 2: Ch 4, sk the clu at the base of the ch, (clu in the next sp, ch 1) across row to last clu, sk clu, clu in the tch-sp, turn.
ROW 3: Rep Row 2. Mark the beginning and end of this row. This will be the last row of the back, and will be the fold line for your shoulders.
ROW 4: Ch 4, sk the clu at the base of the ch, (clu in the next sp, ch 1) across row to last clu, sk clu, clu in the tch-sp, turn.
Rep Row 4 until front panel contains the same number of rows as Front Panel 1 – Upper Panel, with the last row ending at the center of the cardigan. Measure the FRONT ONLY – remember Row 1-3 are part of the back.
LOWER PANEL
Have the chain made at the beginning of this section handy.
ROW 1: Ch 4, sk the clu at the base of the ch, (clu in the next sp, ch 1) across row to last clu, sk clu, clu in the tch-sp, ch 1, begin working into the chain – clu in the back bump of the first ch, (ch 1, sk 2 chs, clu in the next ch) 1 (1, 2, 2) (2, 3, 3) (3, 3) times, turn. [2 (2, 3, 3) (3, 4, 4) (4, 4) clu added]
ROW 2: Ch 4, sk the clu at the base of the ch, (clu in the next sp, ch 1) across row to last clu, sk clu, clu in the tch-sp, turn.
Rep Row 2 until the front panel is the same length as the back when the shoulder is folded at the fold line, with the last row ending at the front of the cardigan. Both front panels should be the same length at this point. Take a moment to count your rows and make sure they are equal. DO NOT FASTEN OFF.
Body
SECTION NOTE: From here, you will work in one long row to extend the body of the cardigan. Start along the front panel where the yarn is attached, then work along the back panel, and finally pick up the remaining front panel.
ROW 1: Ch 4, sk the clu at the base of the ch, (clu in the next sp, ch 1) across row to last clu, sk clu, clu in the tch-sp, ch 1. Bring back of cardigan to meet the end of the row. Clu in the corner ch-2 sp of the square, ch 1, (clu in next sp, ch 1) across row to last clu, sk last clu, clu in the corner ch-2 sp of the square, ch 1. Bring the remaining front panel to meet the end of the row. Sk the first clu on the front, (clu in the next sp, ch 1) to the last clu, sk last clu, clu in the tch-sp, turn.
ROW 2: Ch 4, sk the clu at the base of the ch, (clu in the next sp, ch 1) across row to last clu, sk clu, clu in the tch-sp, turn.
Rep Row 2 to 30.5 (30.5, 32.5, 32.5) (33.5, 33.5, 34.5) (34.5, 34.5)” long when lightly stretched. DO NOT FASTEN OFF. Place a locking stitch marker in the live loop.
ASSEMBLY: Use locking stitch markers to align the back granny square with the front panel along the side of the cardigan. Whip stitch the back to the front, stopping at the underarm. Fasten off and weave in the end. Repeat for the other side.
Border
SETUP
ROUND 1: Return to the marked st at the end of Body section. Change to 5.5mm hook and remove maker, ch 1, sc in the dc at base of ch, sc in each dc (skip the ch-sps) across the bottom to tch, sc in the tch-sp, sc in the 3rd ch of the tch, ch 2, sc in the same ch. Rotate to work along the front opening. 2sc in each row end to back neck, sc in each dc across back neck, 2sc in each row end along the other side of the front opening, sc in the same place as the first st of the setup round, ch 2, sl st in first st of round.
BOTTOM RIBBING
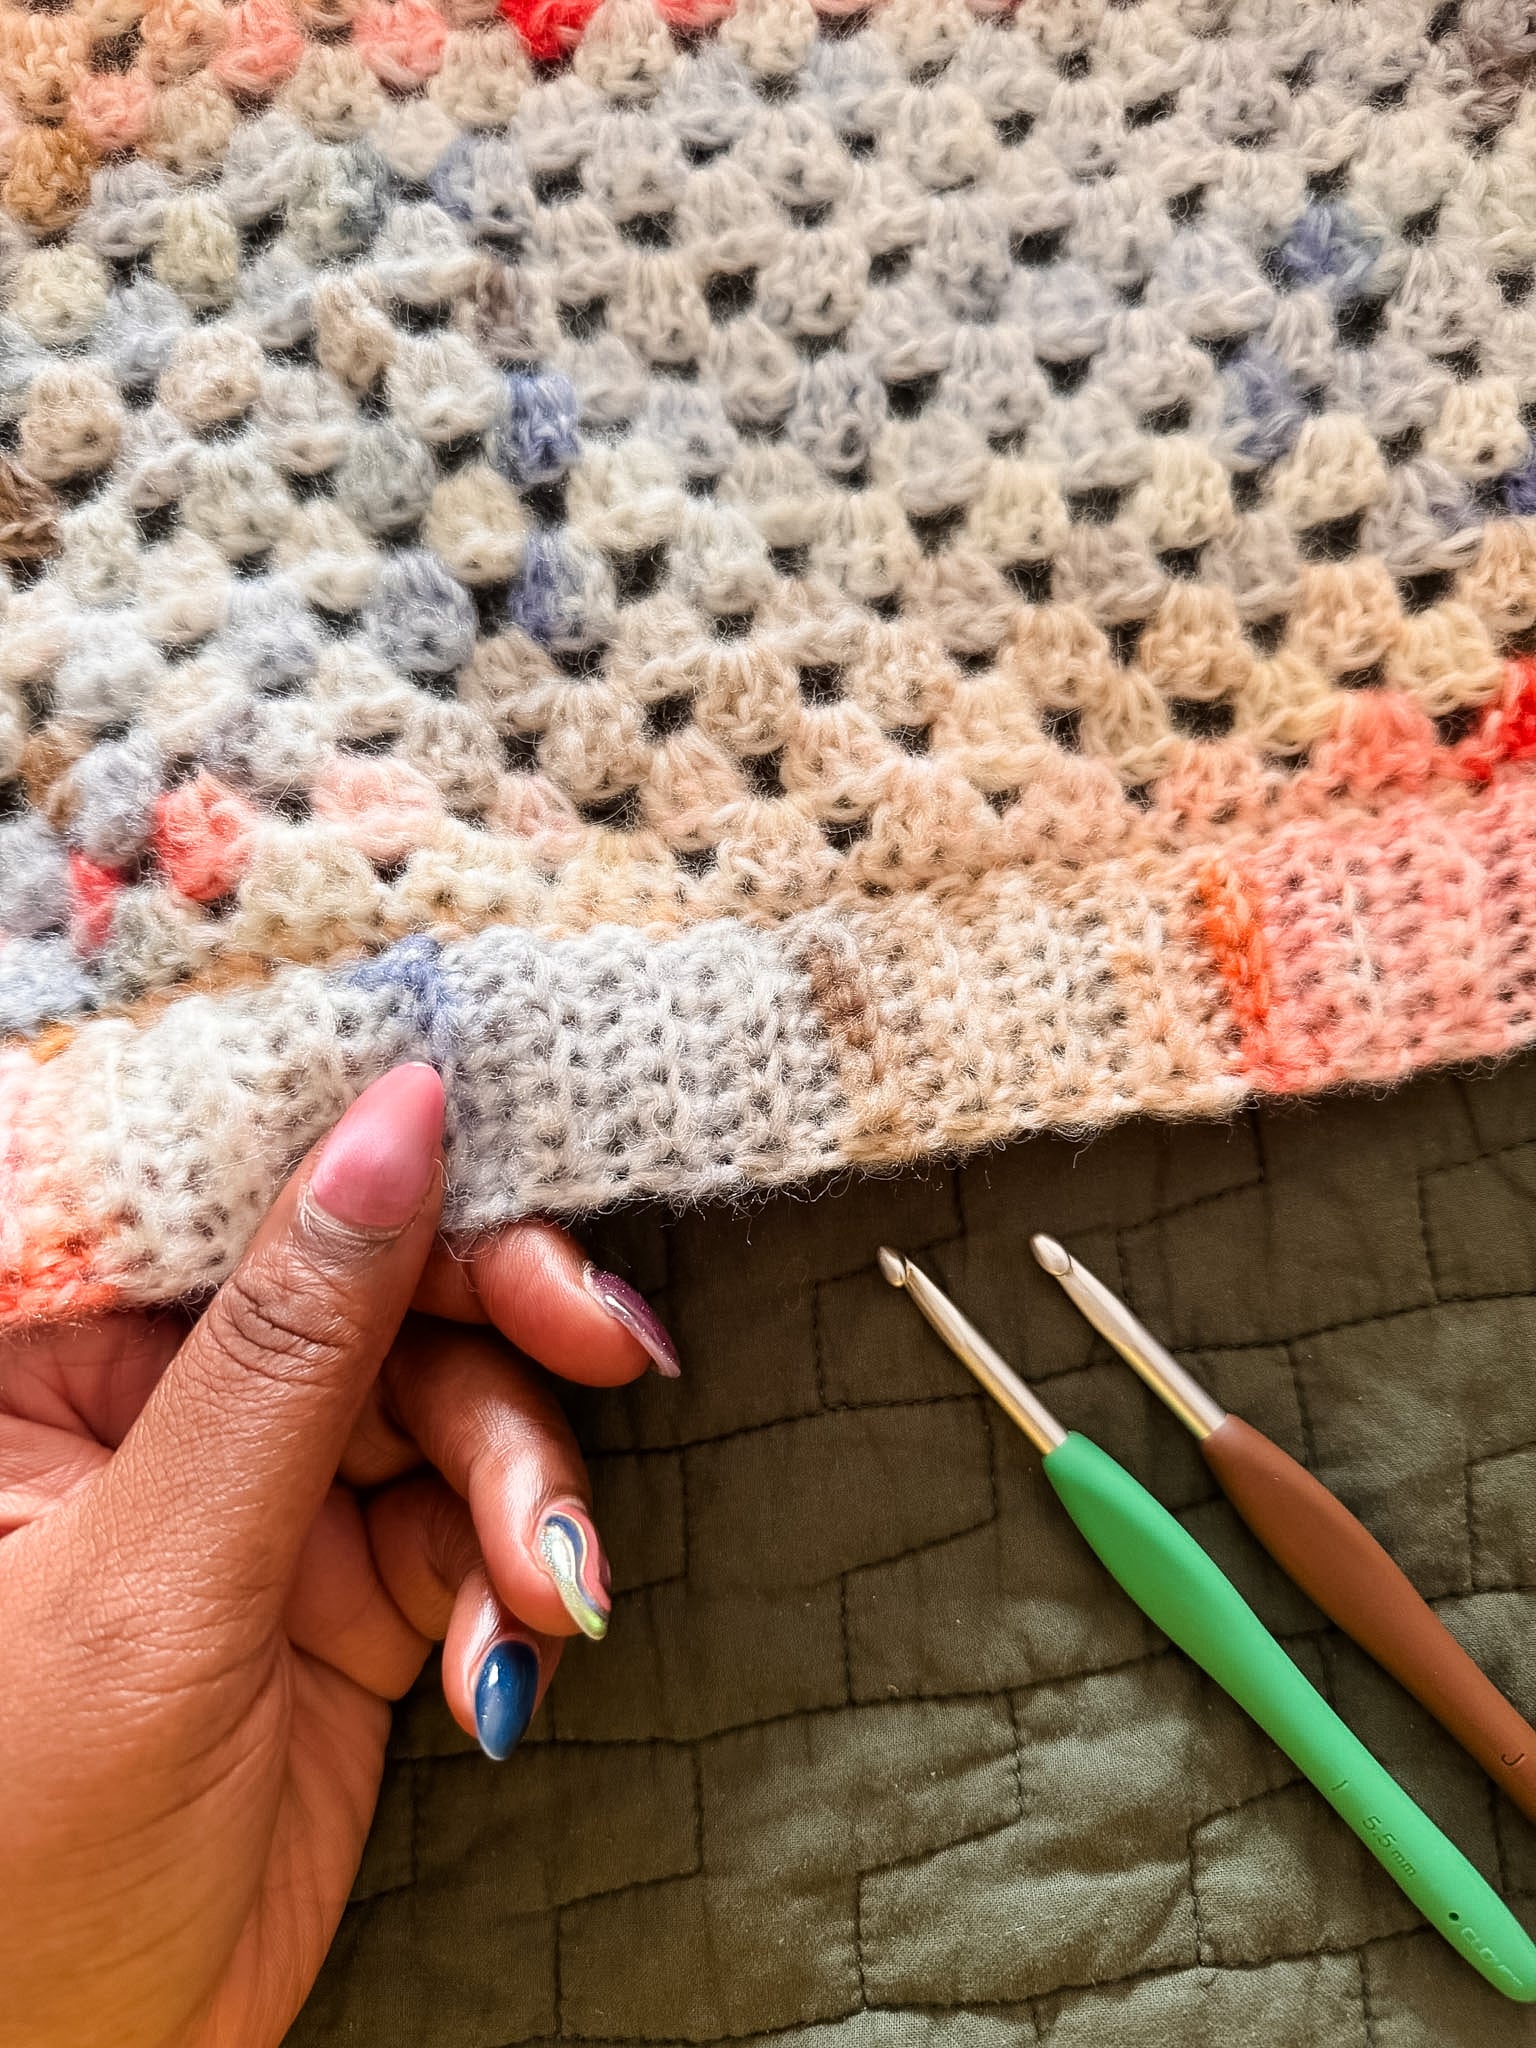
ROW 1: Ch 8, sc in the 2nd ch from the hook and each ch across row, sl st in the sc at the base of ch AND the next sc on the bottom, turn. (7 sc)
ROW 2: Sk 2 sl sts, sc BLO in each sc across row, turn.
ROW 3: Ch 1, sc BLO across row, sl st in each of the next 2 sc on bottom, turn.
Rep Rows 2-3 across bottom of cardigan, ending with a Row 2 rep. Rotate to work along the front opening.
FRONT RIBBING
ROW 1: Ch 13, sc in the 2nd ch from the hook and each ch across row, sl st in the sc at the base of ch AND the next sc on the bottom, turn. (12 sc)
ROW 2: Sk 2 sl sts, sc BLO in each sc across row, turn.
ROW 3: Ch 1, sc BLO across row, sl st in each of the next 2 sc on front, turn.
Rep Rows 2-3 up one side, across the neck, and down the other side. Fasten off after last row.
Sleeve (complete for both sleeves)
SECTION NOTE: I found it extremely helpful to use locking stitch markers to mark my rows, especially when I got to the decrease section. This helps prevent losing your place and frogging later.
ROUND 1: With RS facing and 6mm hook, join with a s-dc in a ch-sp near the center of the underarm. 2dc in same sp, ch 1 (counts as first clu). Working in the ch-sps between clu and in the row ends between clu, evenly place 17 (17, 19, 19) (22, 22, 24) (24, 24) (clu + ch 1) around the armhole, join with a sl st in the first dc, turn. [18 (18, 20, 20) (23, 23, 25) (25, 25)]
SIZES XS AND S
ROUNDS 2-12: Ch 1, clu in sp at base of ch, ch 1, (clu in next sp, ch 1) around, join with a sl st in the first dc, turn.
ROUND 13: Ch 1, clu-dec over sp at base of ch and next sp, ch 1, (clu in next sp, ch 1) around, join with a sl st in the first dc, turn. [17 (17, X, X) (X, X, X) (X, X)]
ROUND 14: Ch 1, clu in sp at base of ch, ch 1, (clu in next sp, ch 1) around, join with a sl st in the first dc, turn.
ROUND 15: Ch 1, (clu in next sp, ch 1) around to last 2 sps, clu-dec over next 2 sps, join with a sl st in the first dc, turn. [16 (16, X, X) (X, X, X) (X, X)]
ROUND 16: Ch 1, clu in sp at base of ch, ch 1, (clu in next sp, ch 1) around, join with a sl st in the first dc, turn.
ROUNDS 17-28: Rep Rows 13-16 three more times. [10 (10, X, X) (X, X, X) (X, X)]
ROUND 29-30: Ch 1, clu in sp at base of ch, ch 1, (clu in next sp, ch 1) around, join with a sl st in the first dc, turn.
ROUND 31 (RS): With 5.5mm hook, sl st in each dc around (sk the ch-sps), continue to work in a spiral.
ROUND 32 (RS): Sl st BLO around. Fasten off.
SIZES M AND L
ROUNDS 2-8: Ch 1, clu in sp at base of ch, ch 1, (clu in next sp, ch 1) around, join with a sl st in the first dc, turn.
ROUND 9: Ch 1, clu-dec over sp at base of ch and next sp, ch 1, (clu in next sp, ch 1) around, join with a sl st in the first dc, turn. [X (X, 19, 19) (X, X, X) (X, X)]
ROUND 10: Ch 1, clu in sp at base of ch, ch 1, (clu in next sp, ch 1) around, join with a sl st in the first dc, turn.
ROUND 11: (Ch 1, clu in next sp, ch 1) around to last 2 sps, clu-dec over next 2 sps, join with a sl st in the first dc, turn. [X (X, 18, 18) (X, X, X) (X, X)]
ROUND 12: Ch 1, clu in sp at base of ch, ch 1, (clu in next sp, ch 1) around, join with a sl st in the first dc, turn.
ROUNDS 13-28: Rep Rows 9-12 four more times. [X (X, 10, 10) (X, X, X) (X, X)]
ROUND 29-30: Ch 1, clu in sp at base of ch, ch 1, (clu in next sp, ch 1) around, join with a sl st in the first dc, turn.
ROUND 31 (RS): With 5.5mm hook, sl st in each dc around (sk the ch-sps), continue to work in a spiral.
ROUND 32 (RS): Sl st BLO around. Fasten off.
SIZE XL
ROUNDS 2-4: Ch 1, clu in sp at base of ch, ch 1, (clu in next sp, ch 1) around, join with a sl st in the first dc, turn.
ROUND 5: Ch 1, clu-dec over sp at base of ch and next sp, ch 1, (clu in next sp, ch 1) around, join with a sl st in the first dc, turn. [X (X, X, X) (22, X, X) (X, X)]
ROUND 6: Ch 1, clu in sp at base of ch, ch 1, (clu in next sp, ch 1) around, join with a sl st in the first dc, turn.
ROUND 7: Ch 1, (clu in next sp, ch 1) around to last 2 sps, clu-dec over next 2 sps, join with a sl st in the first dc, turn. [X (X, X, X) (21, X, X) (X, X)]
ROUND 8: Ch 1, clu in sp at base of ch, ch 1, (clu in next sp, ch 1) around, join with a sl st in the first dc, turn.
ROUNDS 9-28: Rep Rows 5-8 five more times. [X (X, X, X) (11, X, X) (X, X)]
ROUNDS 29-30: Rep Rows 5-6. [X (X, X, X) (10, X, X) (X, X)]
ROUND 31 (RS): With 5.5mm hook, sl st in each dc around (sk the ch-sps), continue to work in a spiral.
ROUND 32 (RS): Sl st BLO around. Fasten off.
SIZE 2XL
ROUNDS 2-4: Ch 1, clu in sp at base of ch, ch 1, (clu in next sp, ch 1) around, join with a sl st in the first dc, turn.
ROUND 5: Ch 1, clu-dec over sp at base of ch and next sp, ch 1, (clu in next sp, ch 1) around, join with a sl st in the first dc, turn. [X (X, X, X) (X, 22, X) (X, X)]
ROUND 6: Ch 1, clu in sp at base of ch, ch 1, (clu in next sp, ch 1) around, join with a sl st in the first dc, turn.
ROUND 7: Ch 1, (clu in next sp, ch 1) around to last 2 sps, clu-dec over next 2 sps, join with a sl st in the first dc, turn. [X (X, X, X) (X, 21, X) (X, X)]
ROUND 8: Ch 1, clu in sp at base of ch, ch 1, (clu in next sp, ch 1) around, join with a sl st in the first dc, turn.
ROUNDS 9-24: Rep Rows 5-8 four more times. [X (X, X, X) (X, 13, X) (X, X)]
ROUNDS 25-26: Rep Rows 5-6. [X (X, X, X) (X, 12, X) (X, X)]
ROUNDS 27-30: Ch 1, clu in sp at base of ch, ch 1, (clu in next sp, ch 1) around, join with a sl st in the first dc, turn.
ROUND 31 (RS): With 5.5mm hook, sl st in each dc around (sk the ch-sps), continue to work in a spiral.
ROUND 32 (RS): Sl st BLO around. Fasten off.
SIZE 3XL, 4XL, AND 5XL
ROUNDS 2-4: Ch 1, clu in sp at base of ch, ch 1, (clu in next sp, ch 1) around, join with a sl st in the first dc, turn.
ROUND 5: Ch 1, clu-dec over sp at base of ch and next sp, ch 1, (clu in next sp, ch 1) around, join with a sl st in the first dc, turn. [X (X, X, X) (X, X, 24) (24, 24)]
ROUND 6: Ch 1, clu in sp at base of ch, ch 1, (clu in next sp, ch 1) around, join with a sl st in the first dc, turn.
ROUND 7: Ch 1, (clu in next sp, ch 1) around to last 2 sps, clu-dec over next 2 sps, join with a sl st in the first dc, turn. [X (X, X, X) (X, X, 23) (23, 23)]
ROUND 8: Ch 1, clu in sp at base of ch, ch 1, (clu in next sp, ch 1) around, join with a sl st in the first dc, turn.
ROUNDS 9-28: Rep Rows 5-8 five more times. [X (X, X, X) (X, X, 13) (13, 13)]
ROUNDS 29-30: Rep Rows 5-6. [X (X, X, X) (X, X, 12) (12, 12)]
ROUND 31 (RS): With 5.5mm hook, sl st in each dc around (sk the ch-sps), continue to work in a spiral.
ROUND 32 (RS): Sl st BLO around. Fasten off.
Finishing
- Remove all markers.
- Weave in all ends.
- Lay flat and pin to desired dimensions. Steam block thoroughly. I steam blocked my sweater 3 times over 2 days, allowing it to dry thoroughly between each steaming.
Prefer an ad-free, printable version of this pattern? I got you!
Crocheting your first granny square cardigan is a canon event for most crocheters. It’s the tipping point between “maybe I can” and “YES, I DID!”. I’m stitching a Dutchess Cardigan for my visit to the New York Sheep & Wool Festival 2026, a.k.a. Rhinebeck. Hopefully I’ll see yours there, too!
Before you dive into your next WIP, be sure to share your project on Instagram and Ravelry. Then come show off in the Yarn Hive – we can’t wait to see what you made!
MORE FREE CROCHET PATTERNS FOR YOU: