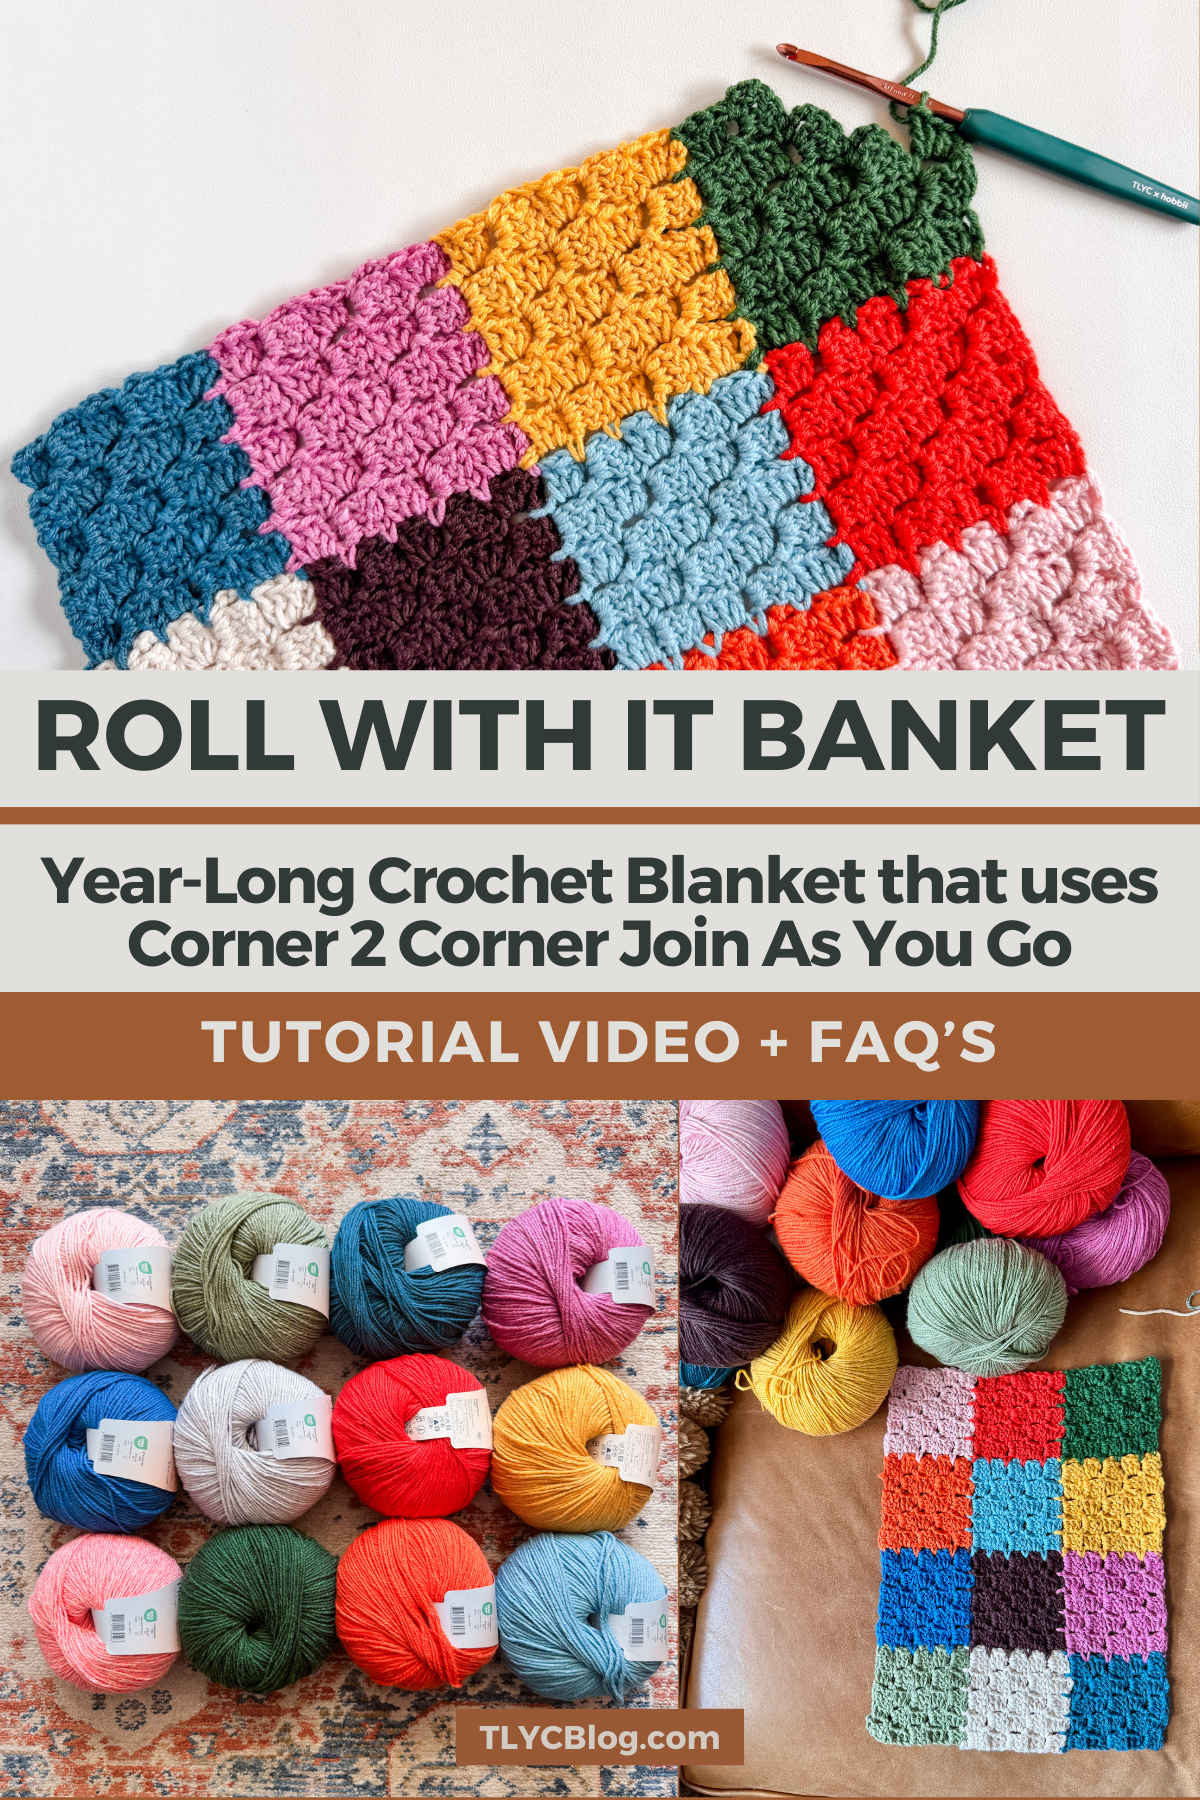
Roll With It Blanket: A Stress-Free Year-Long Crochet Project
")
An annual year-long crochet blanket is part of TL Yarn Crafts’ DNA at this point. Since making my first one in 2019, I’ve been hooked on temperature blankets, and even threw in a mood blanket that had me deep in my feelings in 2025. For 2026, I decided to calm things down.
Introducing the Roll With It Blanket, my newest year-long project, where every color added is chosen by a 12-sided die. No overthinking, no micromanaging. Just color and vibes. If you want to join in on the fun, keep scrolling for full details.
This post contains affiliate links that support TLYCBlog content. All opinions are my own. For more information, see my Privacy & Disclosures policy here.
PIN IT NOW, MAKE IT LATER
Why Join-As-You-Go Is Top Tier
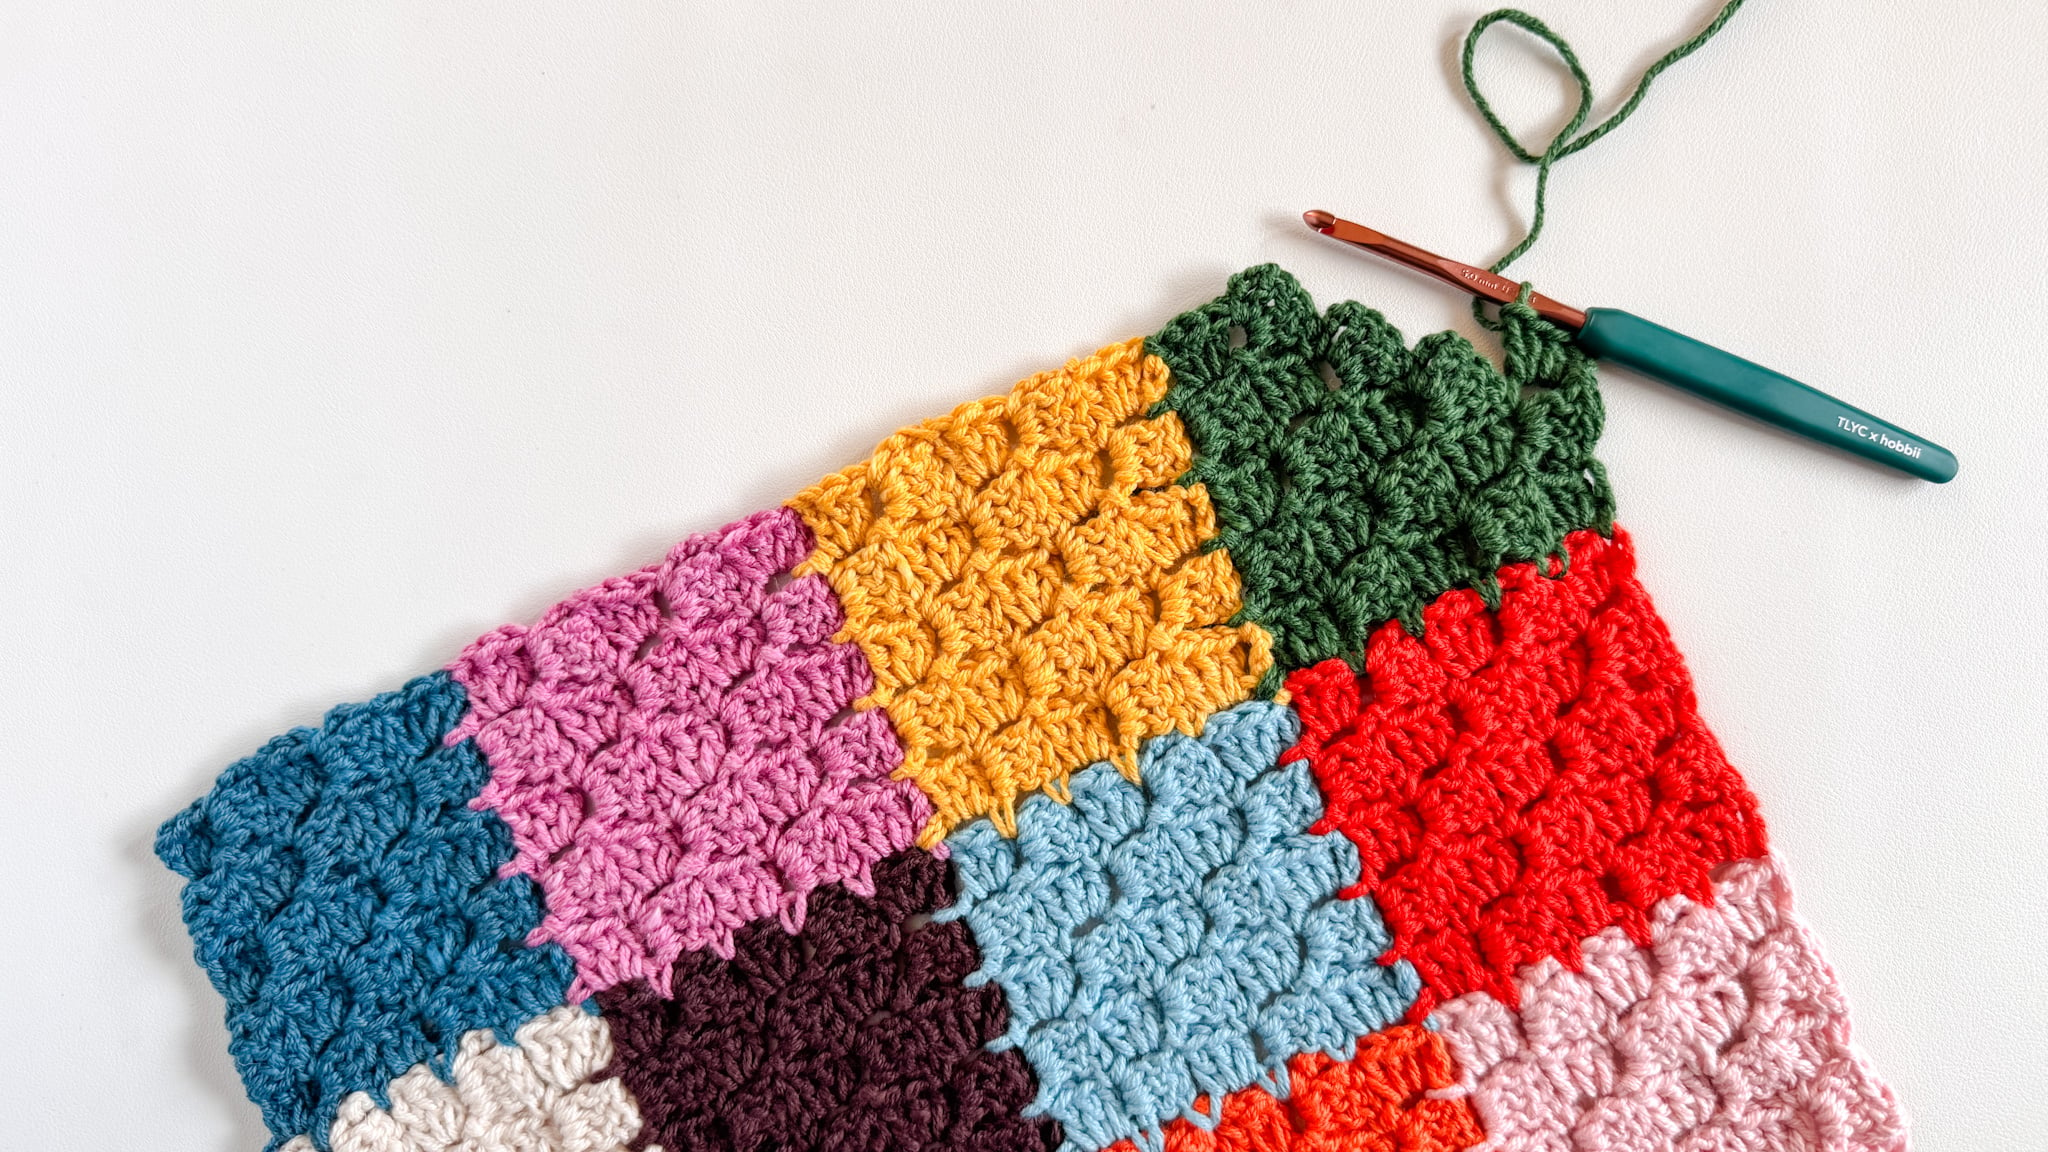
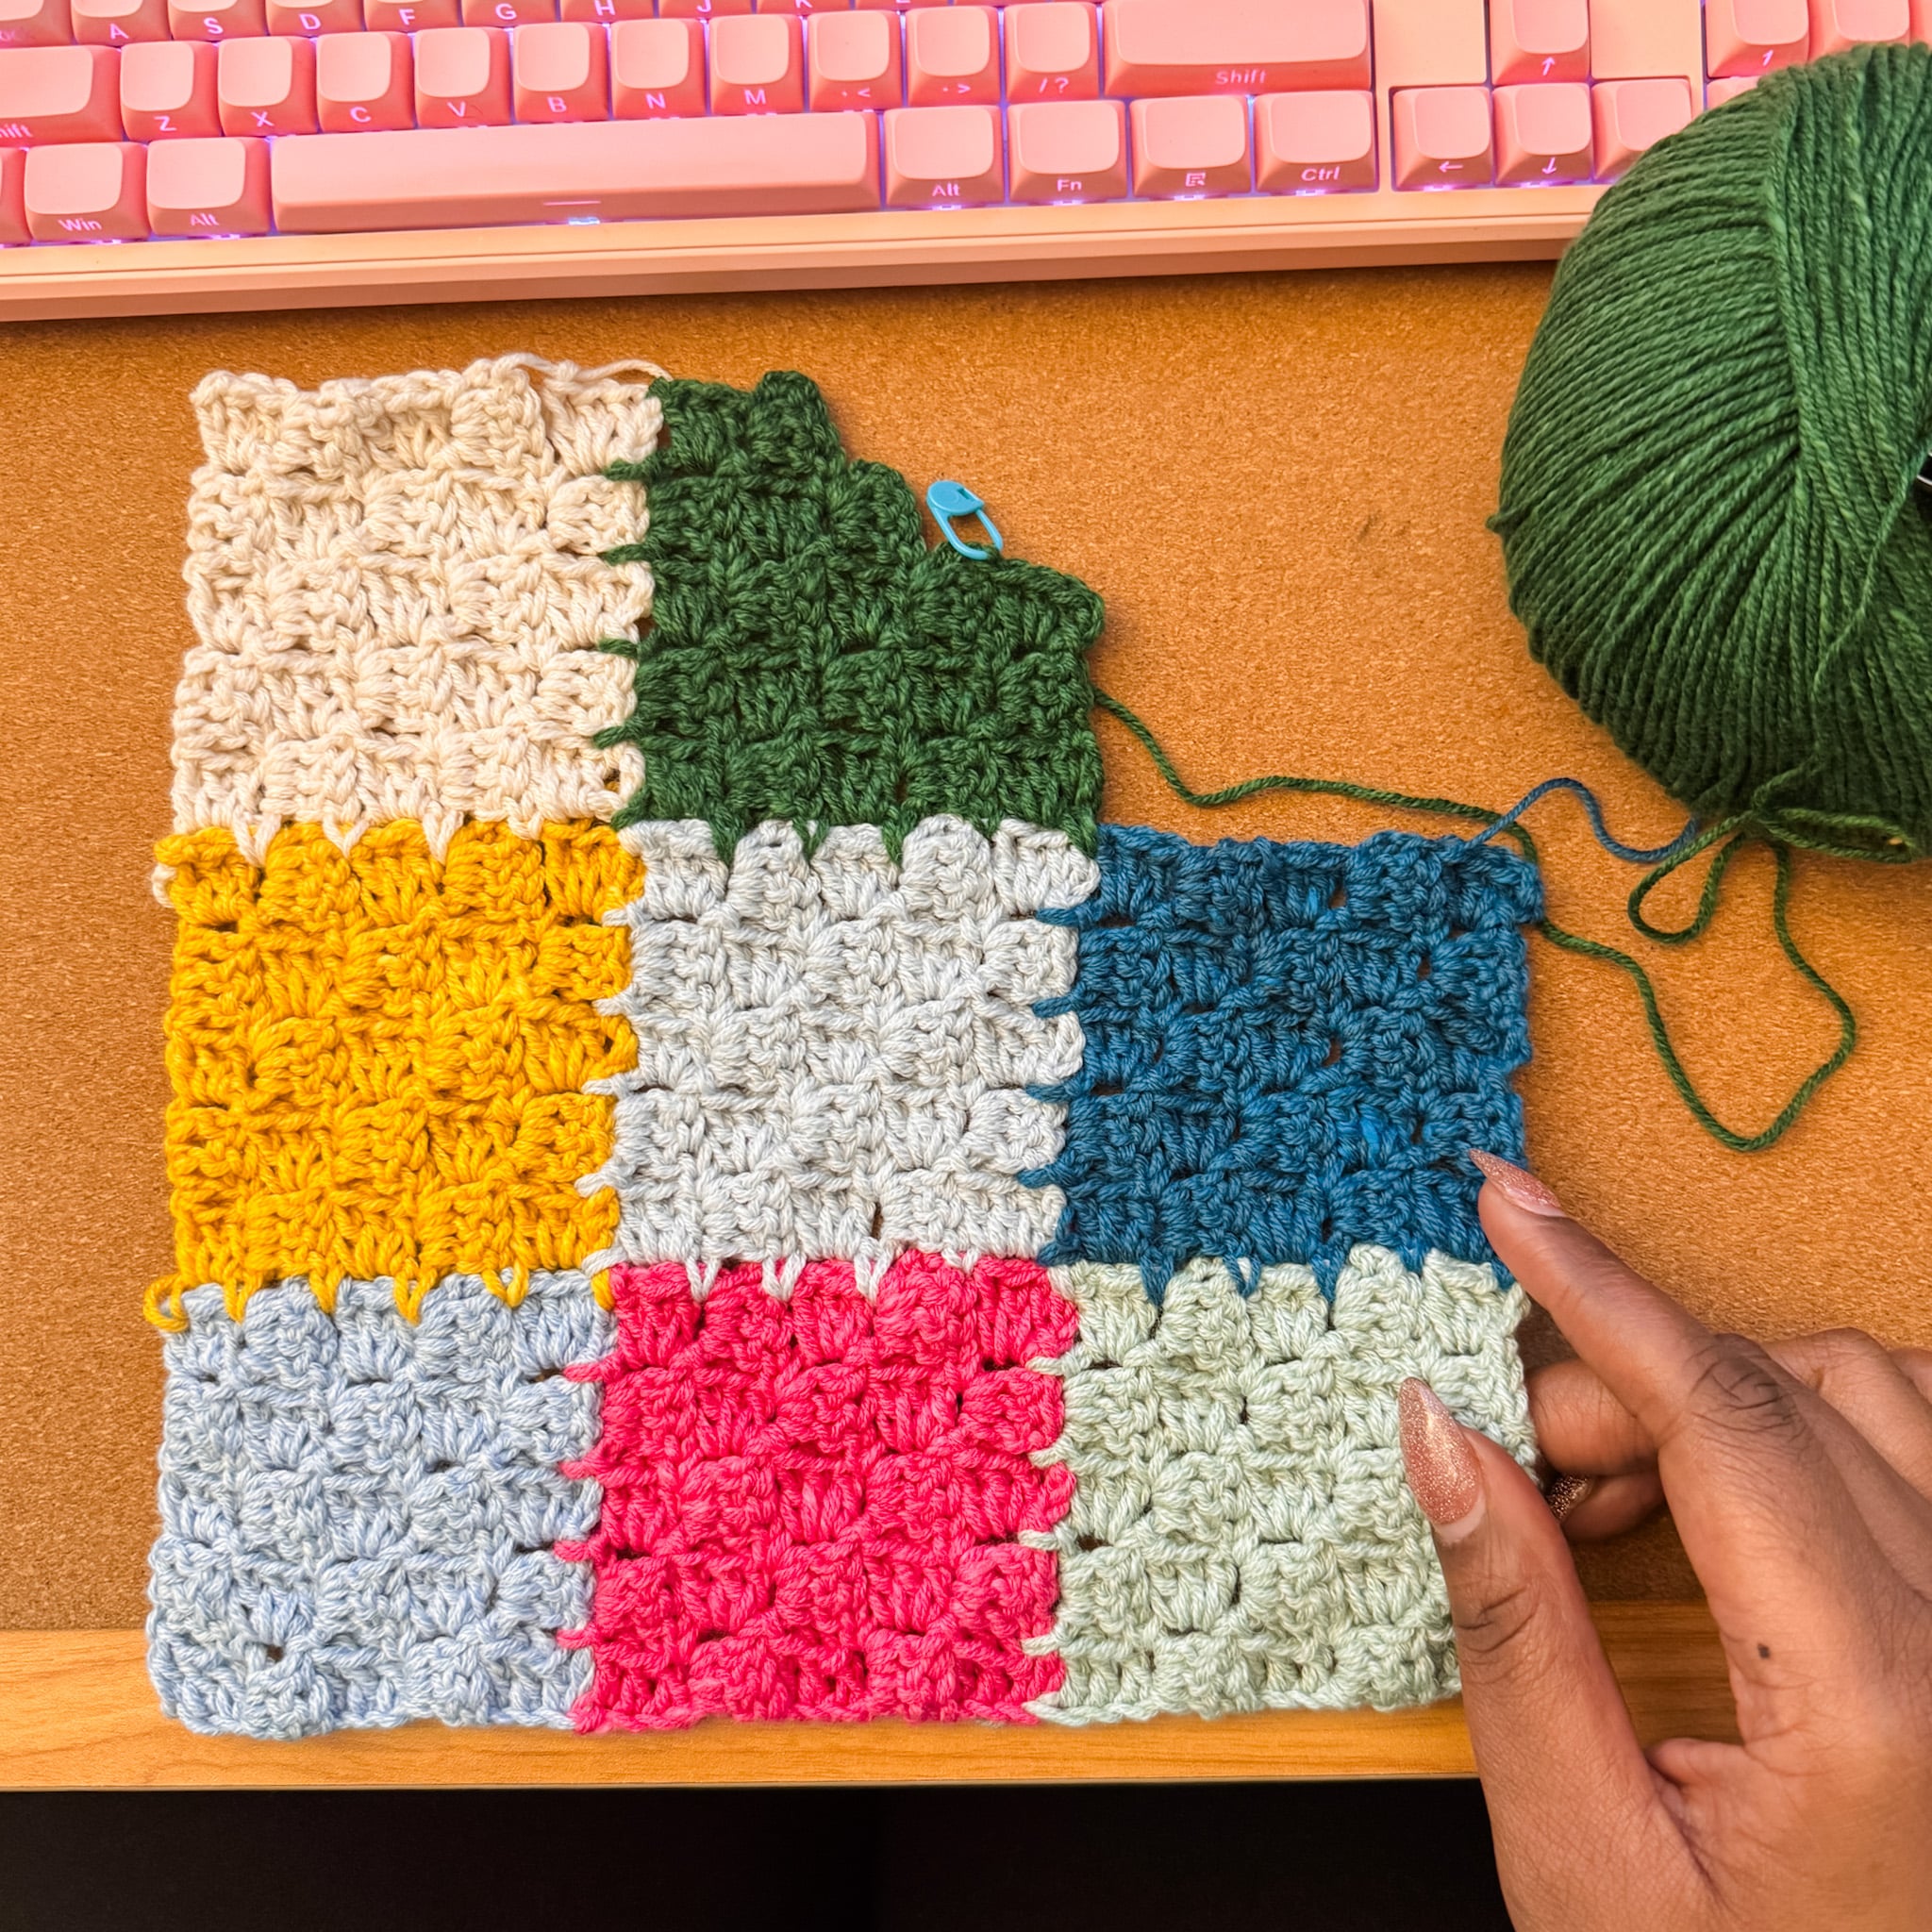
If you’ve ever finished a stack of crochet motifs and dreaded joining them all together, this is the crochet blanket for you. I’ve had the corner-to-corner (also known as “C2C”) technique on the brain for a while, and this is the perfect application for it. For the Roll With It Blanket, we’ll add one C2C square to the blanket for each day of the year and connect them using a join-as-you-go (JAYG) technique. This way, we’ll join squares as we make them, allowing you to skip the sewing step entirely.
In short, JAYG saves time, energy, and your patience.
This is the exact technique I’m using for my 2026 year-long crochet blanket, and once you see it in action, it just clicks.
Learn the C2C JAYG Technique
I’ve got an entire tutorial video ready to teach you the technique that I’m obsessed with. In this video, you’ll learn:
- How the join works structurally.
- The different square placements you’ll need throughout the year.
- Where and how the joins happen so everything lines up cleanly.
- How to change color and manage ends throughout the project.
Bookmark this video so you can come back to it if you need it. And why not subscribe to my channel for even more crochet tutorials and product reviews?
How to Make the Roll With It Blanket
Now that you know the technique, how do we apply it to a year-long crochet blanket? I thought you’d never ask! Here’s a full breakdown of how I plan to make my 2026 Roll With It Blanket.
The Big Picture
Here’s the big picture plan for the Roll With It Blanket:
- Layout: 19 squares wide x 19 rows tall
- Coverage: 361 days worked into the body of the blanket
- Border: Encompasses the last 4 days (design TBD)
- Finished Size: About 70″ square, NOT including the border.
Each square is worked in the C2C JAYG technique to 5×5 blocks. This allows the blanket to grow slowly throughout the year, without leaving you with a pile of squares to put together.
Yarn, Hook, and Notions
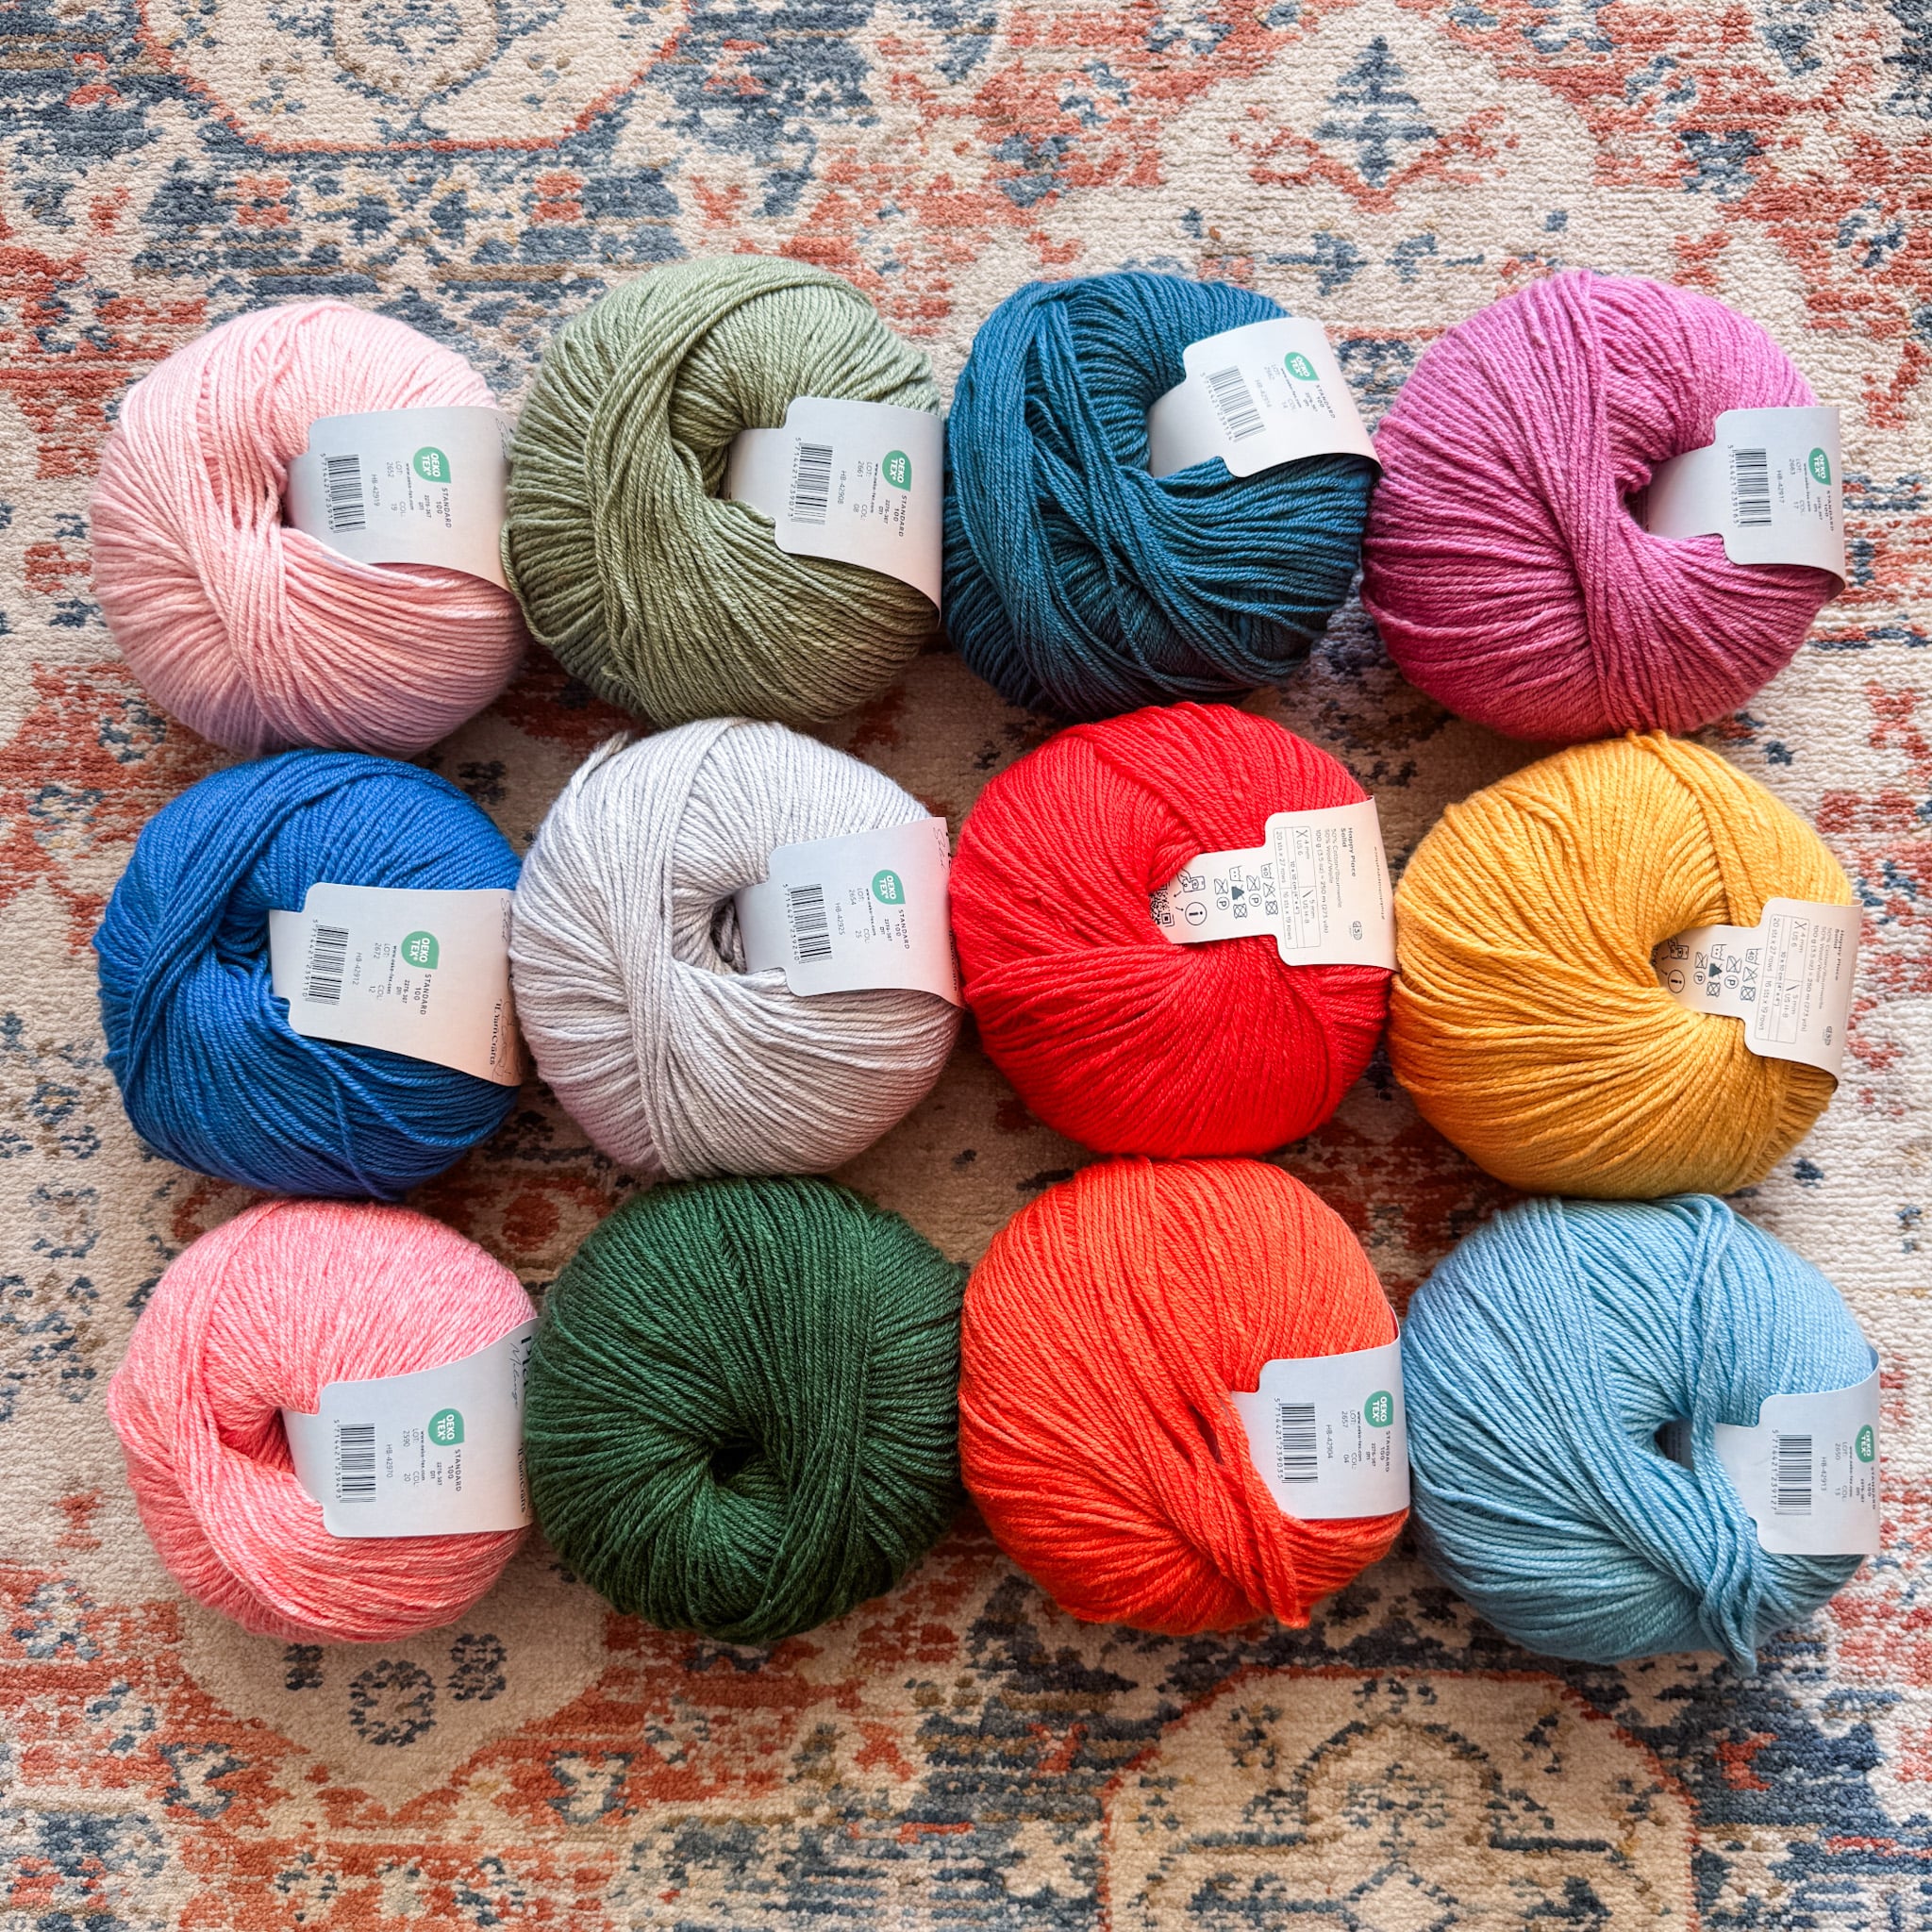
I’m using my very own yarn, Happy Place, for my year-long crochet blanket. It’s a DK-weight blend of cotton and wool in a 30-color palette to make you swoon. The variation of light, medium, and dark shades makes Happy Place tailor-made for a project like this. Don’t forget to blend a combination of Solid and Melange shades to add depth to your palette.
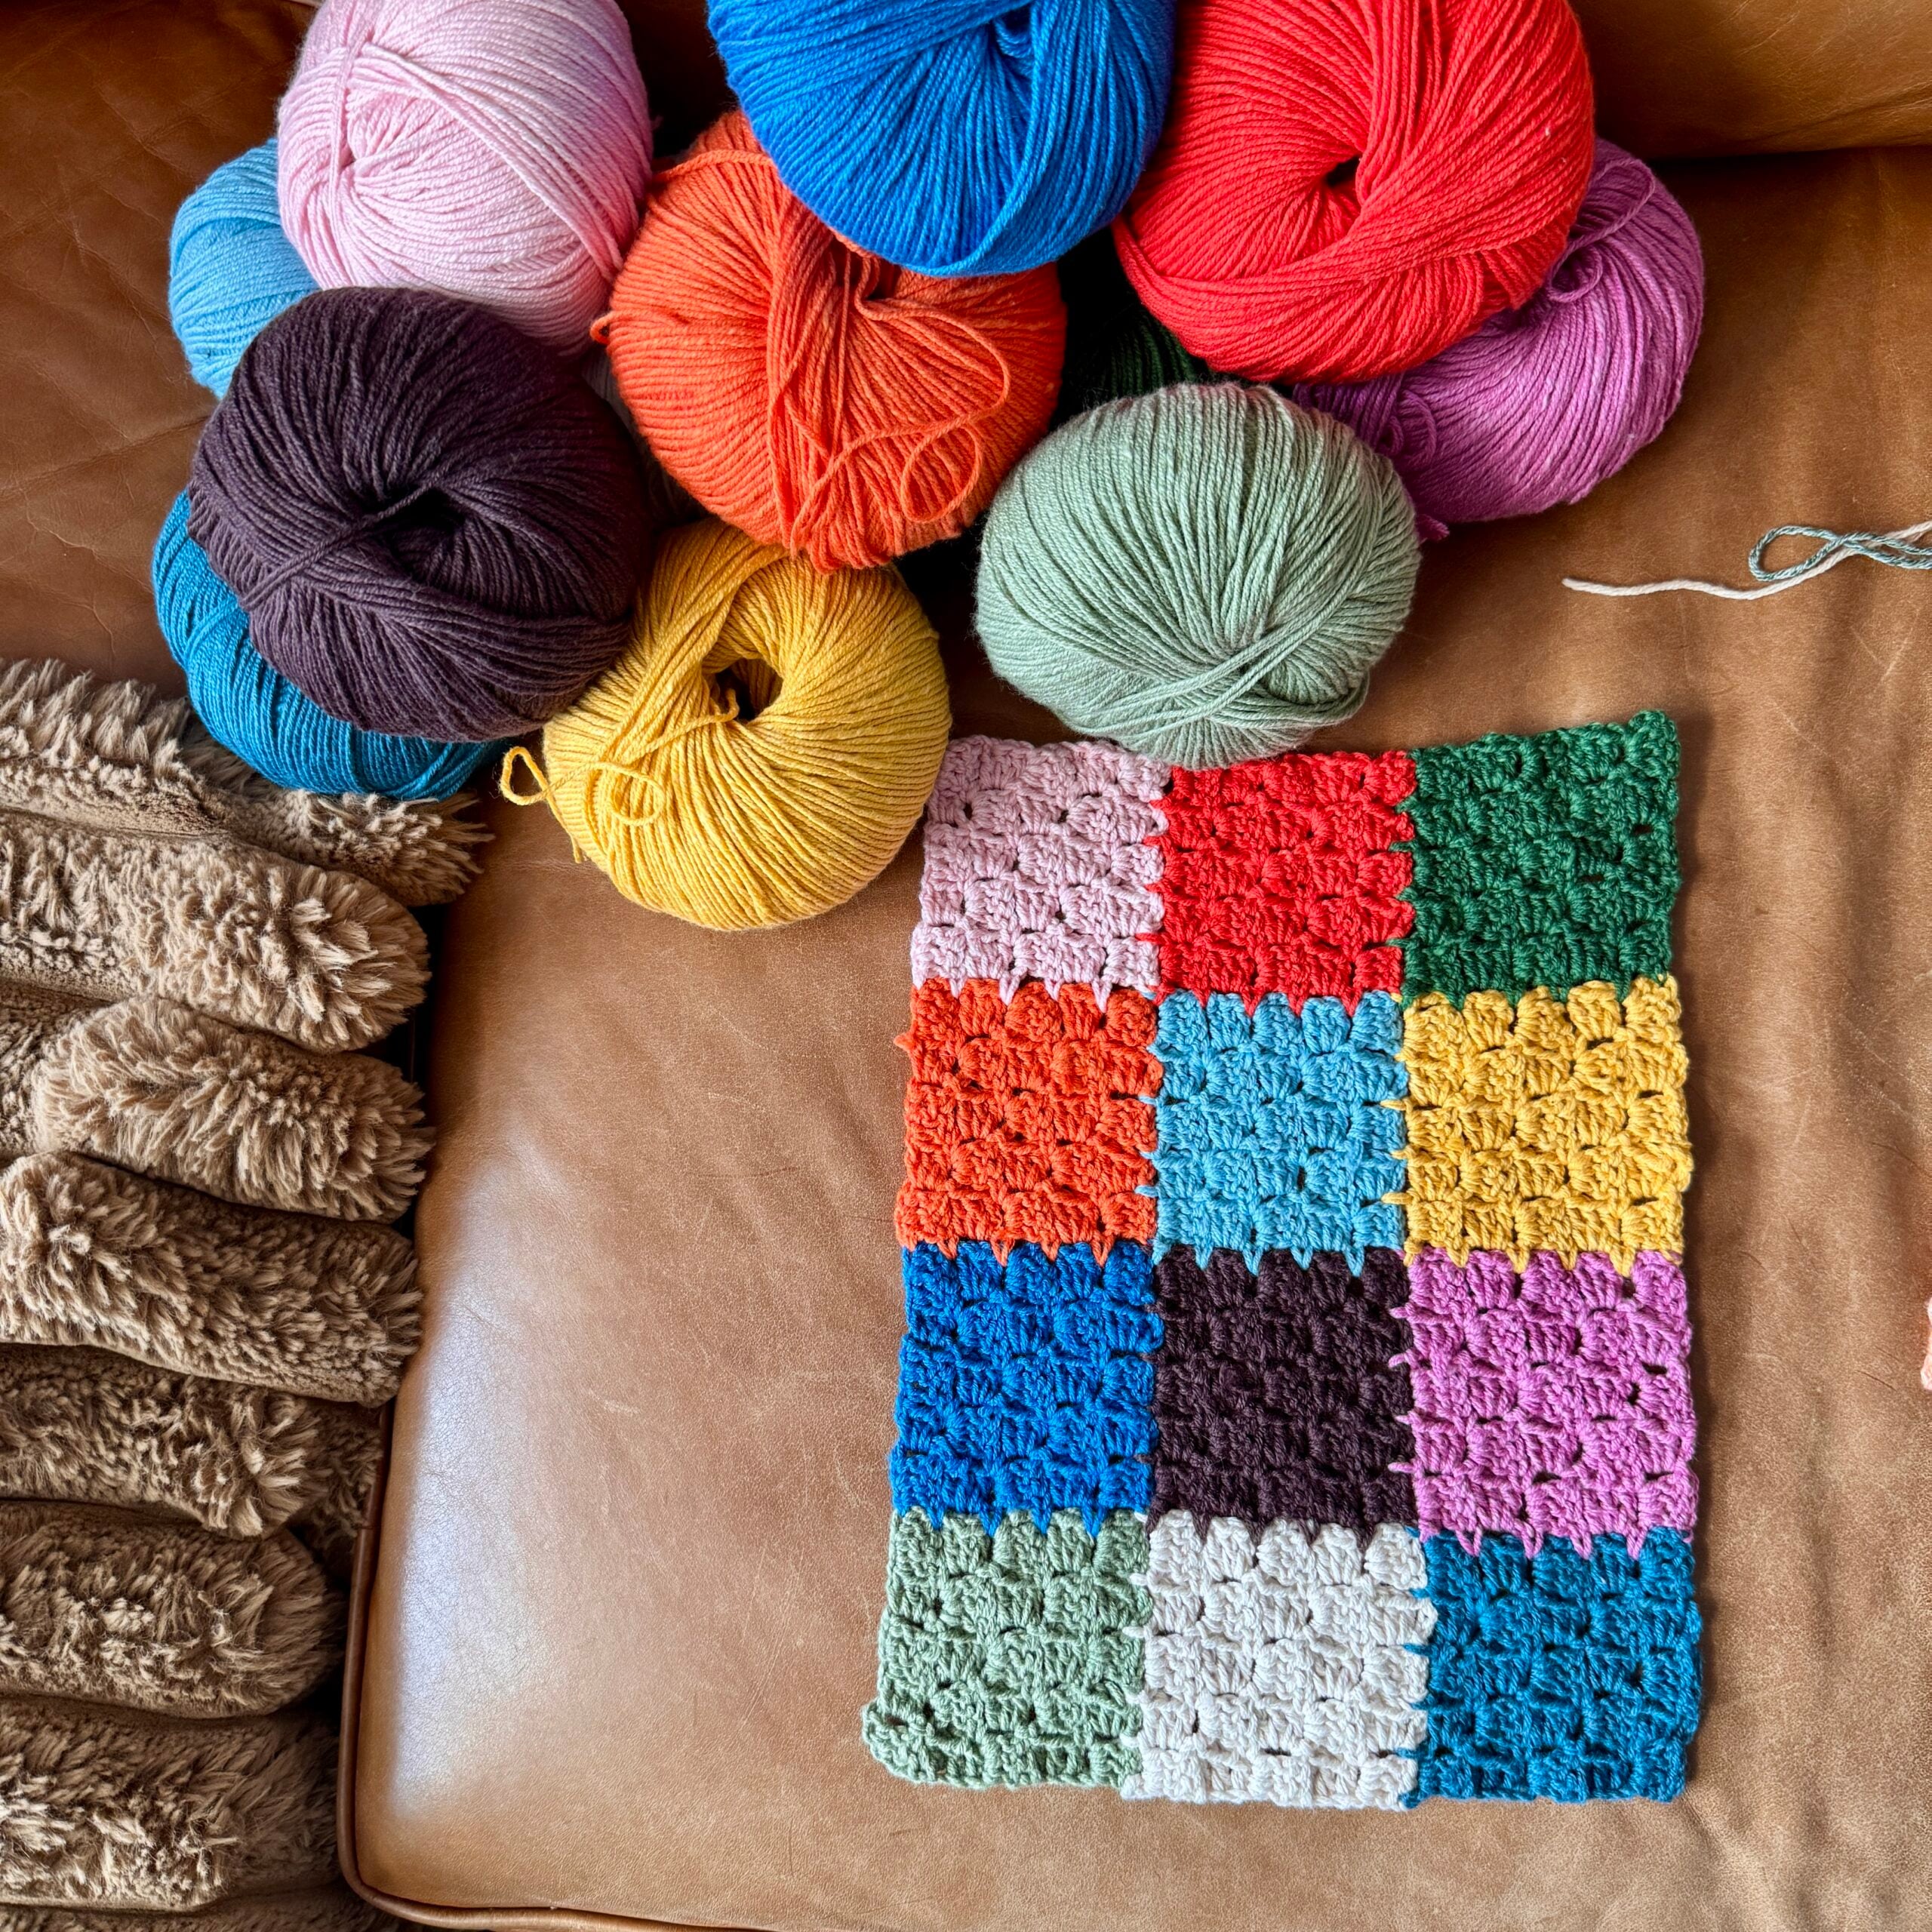
For my palette, I decide to go bold and bright, using a combination of rainbow-inspired hues and grounding neutrals for a blanket that screams sophisticated rather than second-grade classroom. To maintain that bold flavor, I went with all Solid colors.
Want my exact colors? I used Crystal, Scarlet, Eden, Tangerine, Dreamy, Ochre, Cobalt, Espresso, Orchid, Harb, Almond, and Harbor. Shop Happy Place for your Roll With It Blanket – CLICK HERE!
I like to keep a designated hook with my blanket from start to finish, and I’m pleased to use my own hooks for this project. These are the Happy Place Crochet Hooks I developed in collaboration with Hobbii. I’m using a 5mm hook, which is the size recommended for my Happy Place yarn.
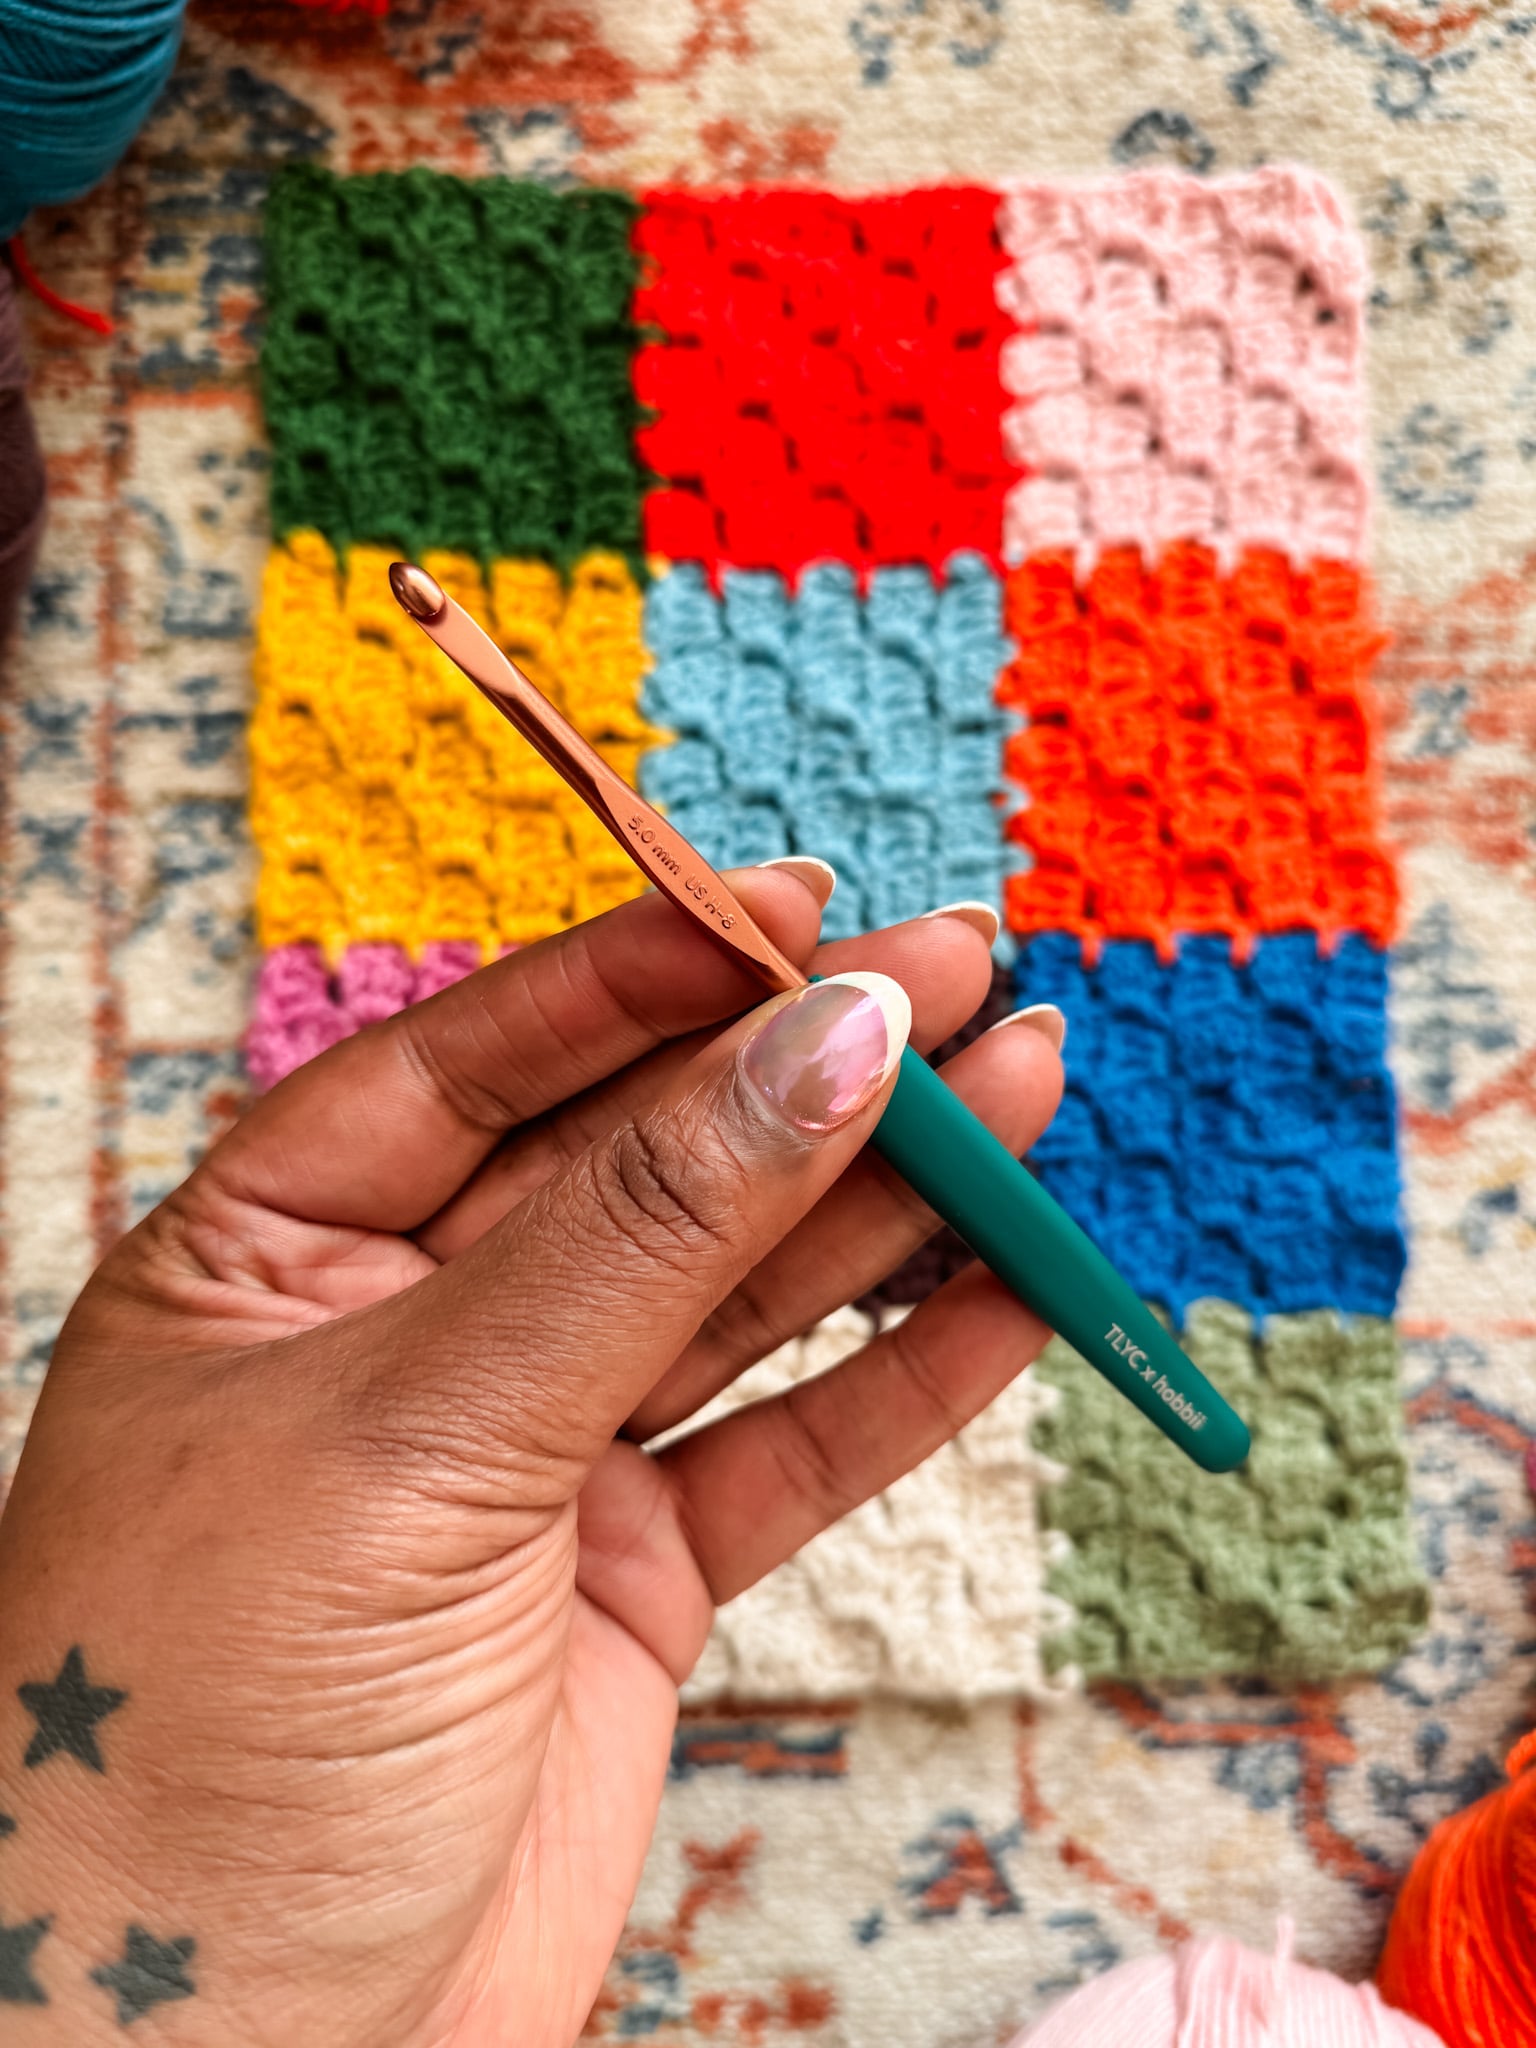
In addition to the hook, I will need a pair of scissors and a tapestry needle. I’ll keep those in the bag as well, so they’ll always be close at hand. I’ve committed to weaving in my ends at the end of each 19-day row – wish me luck!
Letting the Dice Decide
After the mental load of a Mood Blanket in 2025, I set out to build a year-long crochet blanket experience that was low-stress and high-fun. That’s where a 12-sided die comes in. I’m working with 12 colors, each assigned to a number on a D12 die (shout out to the DnD girlies who put me on!). I’ll roll all 19 colors for each row at once, allowing me to make my squares in bulk in a relaxing afternoon. My only rule – if I roll the same number in a row, I can re-roll.
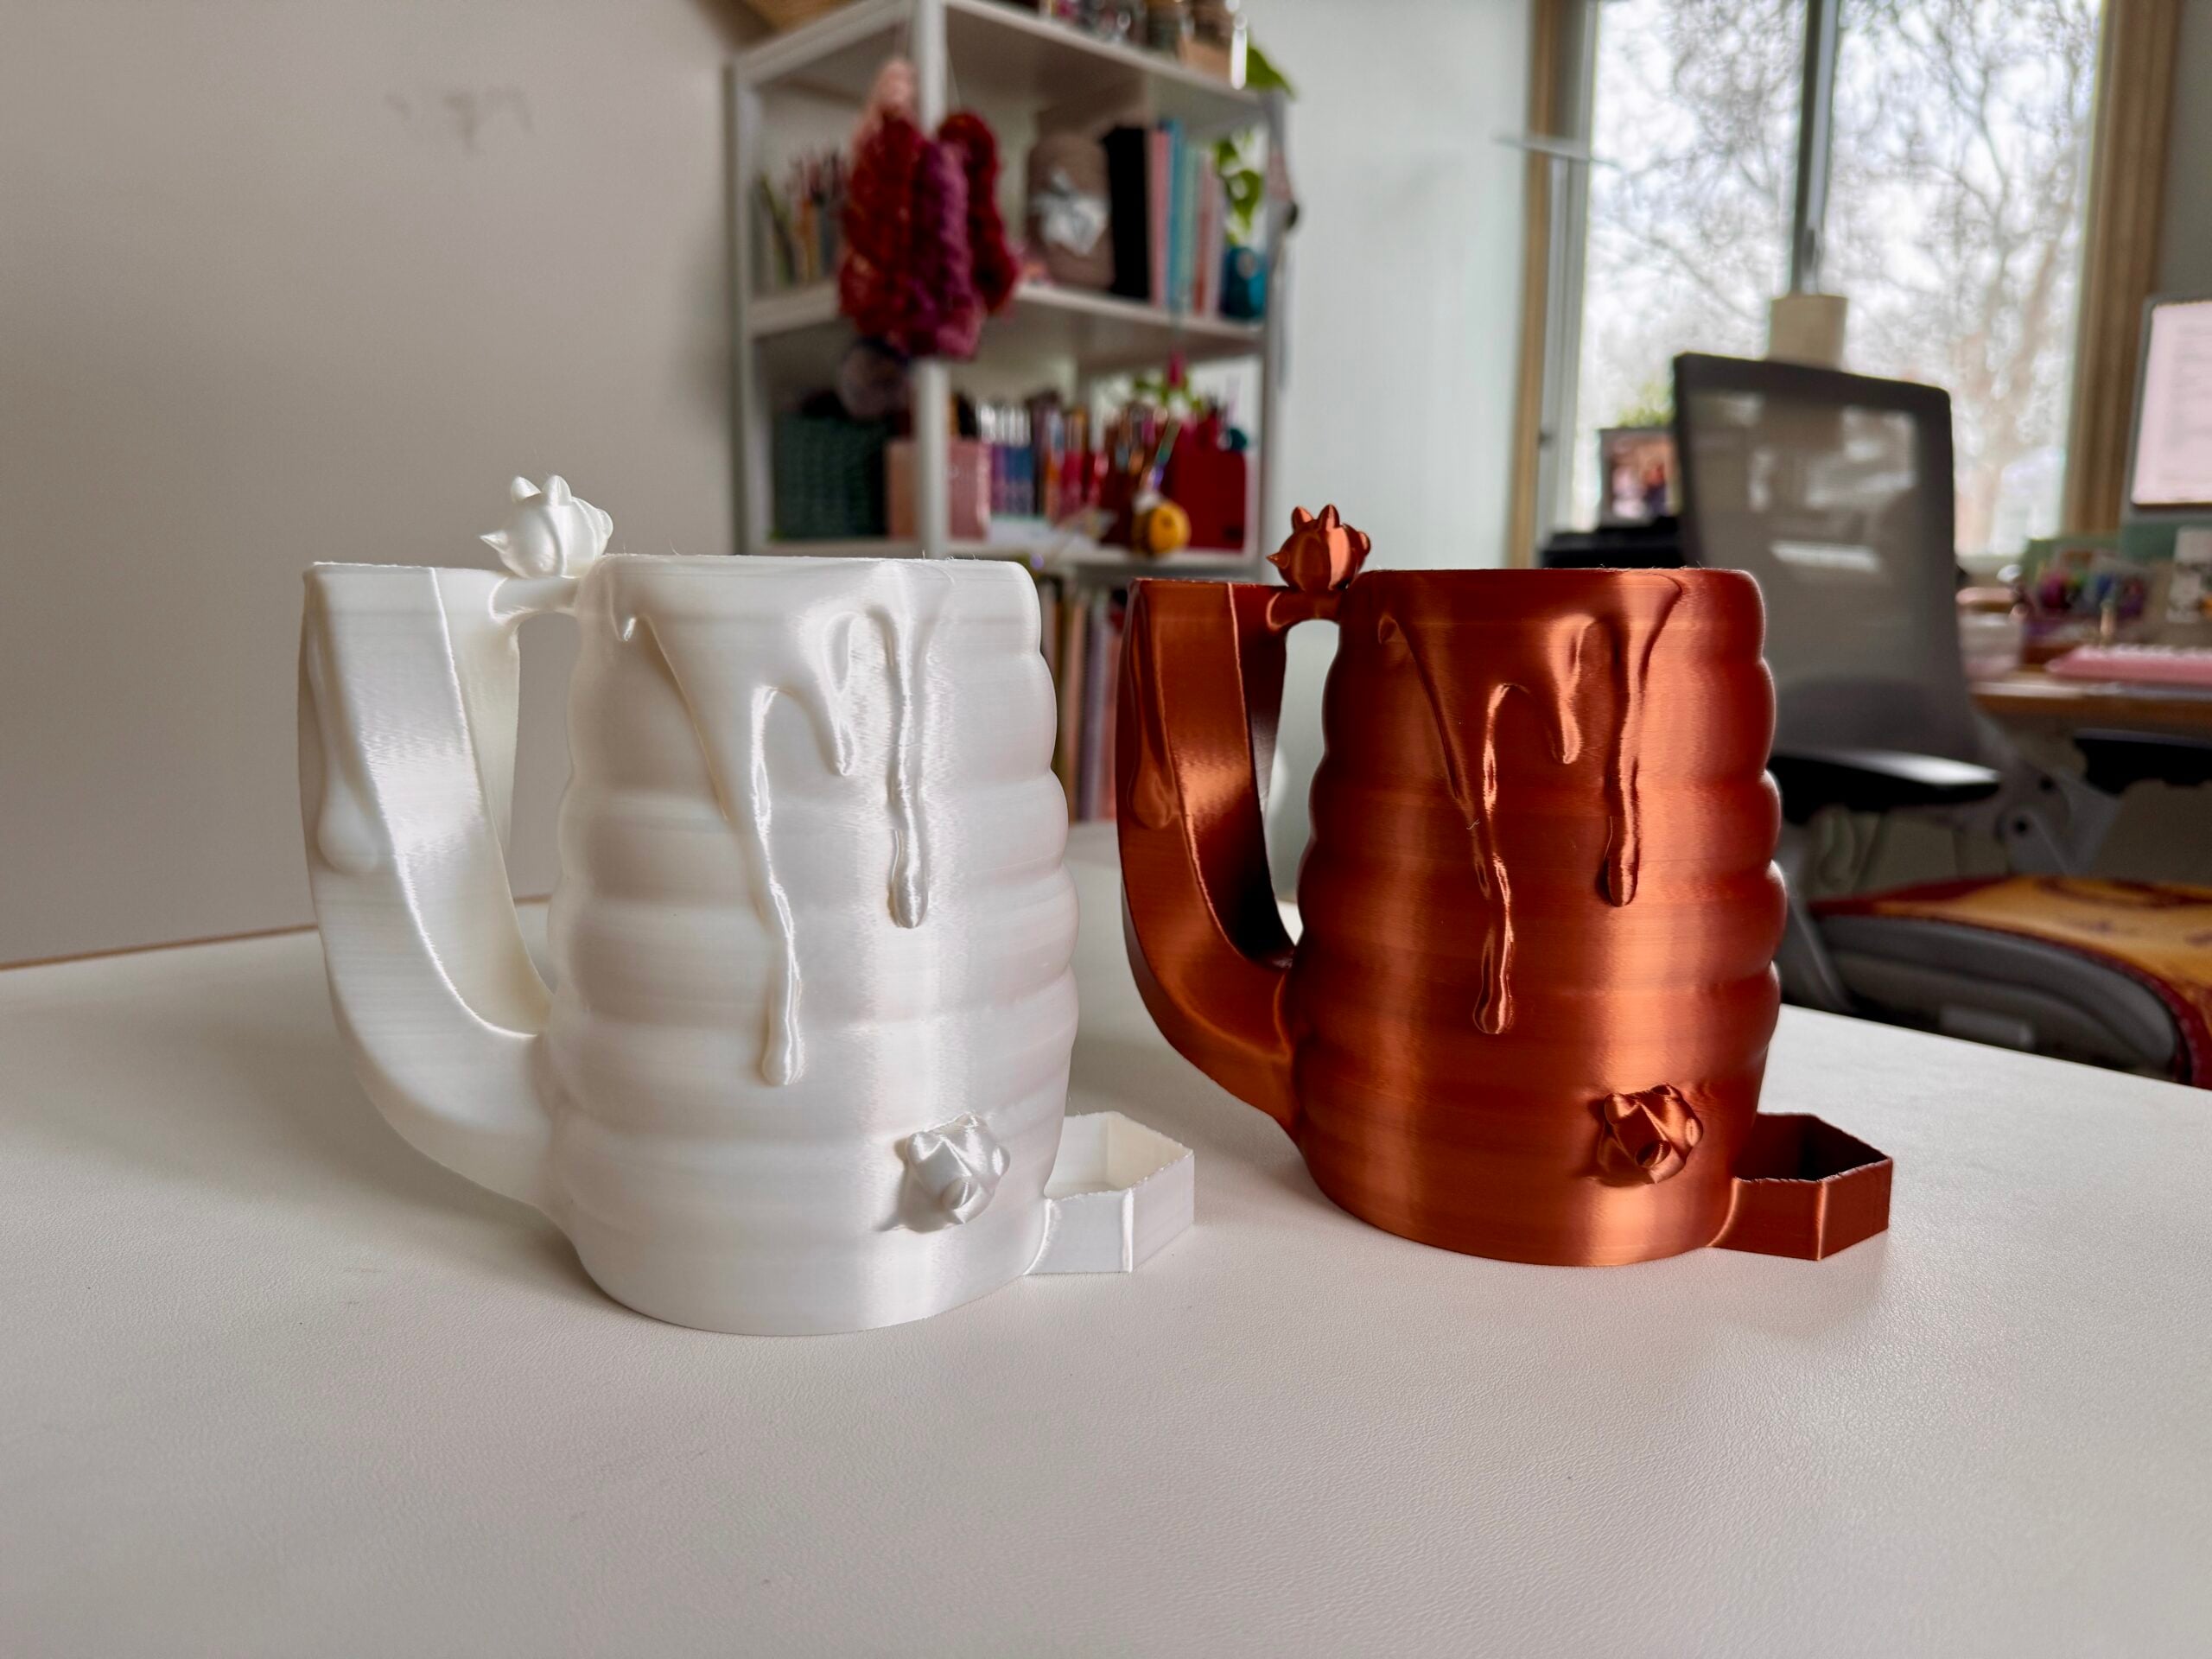
To make this experience even more fun, my kind friend Jeniece gifted me a 3D-printed beehive dice slide to help me roll the die. You insert the die in the chute, and it falls into a tray at the bottom. Each roll feels like a little game, encouraging me to keep up with my blanket through the whole year. If you’d like a beehive dice tray, check out her Etsy Shop.
The Golden Rules
After years of making year-long crochet blankets, I’ve learned a thing or two to help newbies have fun and avoid burnout. Here’s the advice I’d give any crocheter considering starting a project like this:
- Choose colors you truly love. You’ll be committing to the same palette for a full year. Take your time finding your ideal palette and make it a relationship you want to stay in.
- Don’t overcommit. Fewer rules = more joy. Work in batches, and have other small (or big!) projects to work on in between.
- Add something personal. I always find a little element to make my project personal to me. Add in a strand of mohair to designate the first of the month. Or use a hand-dyed mini skein to show off your birthday square. This year, I’m adding a small crochet heart to the first of the month. Little rituals keep a long-term project meaningful.
Stitch Along with Me!
If you’re making a year-long crochet blanket in 2026, whether it’s Roll With It, any of my other designs, or something entirely your own, I’d love to see it! Use #RollWithIt2026 so I can follow along with your progress.
And if you want a cozy, encouraging place to share updates, troubleshoot, and celebrate milestones, there’s a whole group of talented and friendly Honeybees waiting for you inside the Yarn Hive Community. The Yarn Hive is my private membership, and it includes a whole channel dedicated to folks making year-long blankets just like this one. Want to become a Honeybee? You can start your trial HERE!
Here’s to calm hands and colorful blankets in 2026. I can’t wait to stitch with you! Are you making a year-long blanket this year? If so, tell me all about it. If not, what’s holding you back?
Roll With It Blanket FAQ
// Do I have to use C2C JAYG for my year-long crochet blanket? Not at all! C2C just happens to be the plan for my blanket, but you’re welcome to switch it up. I have several previous year-long blanket patterns you can use (bias granny square, Tunisian crochet chevron, linen stitch squares, linen stitch patchwork, Tunisian crochet columns, and a four-square granny blanket). If you have another motif or concept, try it out. You can absolutely adapt the concept of a year-long blanket to a different construction.
// Is this join beginner-friendly? Yes, with a caveat. You don’t need to be an advanced crocheter to get this down, but you should feel comfortable with basic stitches, reading your fabric, and maintaining your tension. If you’ve never tried corner-to-corner before, I recommend watching my full tutorial video BEFORE gathering all your blanket supplies. Seeing the joins happen in real time makes a big difference.
// Why join as you go instead of sewing later? Two big reasons: time and momentum. Joining as you go means you won’t be staring down a mountain of sewing and more ends at the end of your year-long crochet blanket journey. Also, joining as you go encourages you to add “one more square”, helping you stay motivated from start to finish.
// Can I make my squares different sizes? Sure you can! Each of my squares is 5 blocks x 5 blocks. I did this to ensure I end up with a large throw blanket. If you want your blanket bigger, make your squares bigger, and vice versa for smaller. Just be sure to make a sizeable swatch (I’d say 5 full squares x 5 full squares) to help approximate the size of your final blanket. Adjust the hook size accordingly.
// What if my squares aren’t perfectly square? Totally normal. C2C squares often look a little wonky right when you fasten off. That comes down to tension, but it’s not a big deal here. A gentle tug here and there should put things in their correct place. And everything will even out beautifully when you steam block your blanket after it is all done.
// Do I have to follow the 19×19 layout? Nope! That layout works for my calendar math, but this technique is flexible. You can adjust the number of squares wide or tall based on your own timeline, desired size, etc. This is your blanket – feel free to flex your creative muscle and make any changes you like.
// Can I use a different yarn weight? Yes, but keep in mind that changing the yarn weight will dramatically impact your finished size and drape. If you go heavier, your blanket will grow quicker and be heavier. If you go lighter, your blanket will be more delicate. Neither is wrong. Just be sure to swatch first.
// How do I keep consistent tension all year? My biggest tip: keep the same hook with your project all year and don’t change it. Life happens, moods change, hands get tired, but a consistent hook goes a long way in maintaining your tension.
// What happens if I miss a day, a week… or a month?! Nothing bad happens. Not one thing, truly. Year-long crochet blankets are supposed to support your creativity, not stress you out. This is precisely why I’m completing my blanket in 19-day blocks rather than day-by-day. Catch up when you can and adjust the rules as you go. Crochet is a fun hobby, not a moral obligation.
// Can I make the Roll With It Blanket as a stash buster? Yes, and that’s actually a fantastic idea! Randomized color choices and join-as-you-go construction make this a great way to use up leftover yarn without too much extra planning.
// Will this technique work for blankets that aren’t year-long? Definitely. This join is just as useful for scrap blankets, baby blankets, lapghans, or any project made from multiple C2C squares. Once you learn it, you’ll find yourself reaching for it again and again.


Hi Toni, so excited to hear about the new project! If we wanted to make this project as well, how much yarn would you suggest we grab?
Hi there! Glad you’re as excited about it as I am 🙂 I always recommend starting with 200g of each color before you begin. BUT! This blanket only uses about 4g per square, so starting with just 100g per color would be more cost effective. Then, when you get to 20g or less of a color, get another skein.
I’m looking for this tutorial technique written out in text… not just video. Do you have that?
Hi Valerie! Toni doesn’t have written instructions for this, and the video will likely be your best resource. Given all the directional changes, it’s a little tricky to write it up. But, a bit of practice and the pattern should feel intuitive. Happy stitching!!
Thank you for creating this video for us. Are there written instructions to go along with it.
Thank you
Hi Carol! Toni doesn’t have written instructions for this, and the video will likely be your best resource. Given all the directional changes, it’s a little tricky to write it up. But, a bit of practice and the pattern should feel intuitive. Happy stitching!!
is there a written pattern for this roll with it blanket, there are some of us that do better with written than video
thanks.
Hi Pat! Toni doesn’t have written instructions for this, and the video will likely be your best resource. Given all the directional changes, it’s a little tricky to write it up. But, a bit of practice and the pattern should feel intuitive. Happy stitching!!
I’ve never done a year long blanket but this is the first one that I’ve seen that looks like fun. I love doing c2c squares and since it a throw I like that even better. Thanks for the great idea, I’m excited to get started. I enjoy all your info and you make it so easy to understand. I’ve been crocheting off and on for 70 years but raising 6 kids put a stop to expanding my knowledge and you present such good ideas. I’m semi retired so I have more time to learn more ways to crochet. Thanks and God Bless all your efforts to teach the crochet community more exciting ideas. I love your bubbly personality .
Hi Marilyn – life can get so busy, and I’m excited to hear that you’re making your way back to crochet. It’s a wonderful time to experiment and see all the new yarns and tools out there. I’m really glad that this concept resonates with you, and I hope it makes it’s way to your WIP basket soon. Thanks so much for the support, and I feel honored to be part of your crochet journey. xoxo
Hi Toni, I’m a newbie to your patterns and so far I LOVE what I see! I want to join in on this year long project. I’m excited to start. 🥰. I’m just wondering if you have the written pattern for the 4 main squares or do I need to just watch the videos to remind me ? Thank you so much and I look forward to joining in with everyone.
Hi Dorothy – welcome to the Roll With It Blanket! I’m so glad you’re planning to join us. I don’t have written instructions for this, and the video will be your best resource. Given all the directional changes, it’s a little tricky to write it up. But a bit of practice and the pattern should feel intuitive. Happy stitching!!
Now THIS is a year long make I can get behind. I have never done a temperature blanket before. Always wanted to. But this project feels much more manageable and less time consuming. Love this idea. Thank you for sharing!
My absolute pleasure! This will be the project I’m reaching for all year long. I’m enjoying it so much, I started another WIP using the same concept!! Hope this makes it to your WIP basket at well. Happy stitching!!
How much yarn is needed, ideally, if we don’t have stash to pull from (I know, shock right?!! I tend to buy for projects, not stash. Thank you. I love watching your videos, and actually have been binge watching them since discovering your YouTube channel. 🙂
That’s a great question! I weighted my squares and they come to about 4 grams each. That will vary based on the yarn you use, so keep that in mind. I recommend starting with 100g of each color, and add more throughout the year. Thanks so much for the support, and happy stitching!!
Yes! Love the concept. Gonna do some personal adjustments. You’re right this technique could have so many uses. Always need another project to insert in the WIP process lol
So glad you like the concept, and I can’t wait to hear how you put your own spin on it. Happy stitching!!
When does this CAL start
Hi! I’ll be working on this blanket all year and you’re welcome to start whenever you like 🙂
Any chance that you will supply a written pattern?
Hi Helene! As of now, there is not a written pattern for the blanket. There may be eventually, but the video is given as supplemental material in the meantime of how to achieve the C2C design. In terms of the actual C2C written instructions, Toni doesn’t currently have written instructions for this, and the video will likely be your best resource. Given all the directional changes, it’s a little tricky to write it up. But, a bit of practice and the pattern should feel intuitive. Happy stitching!!
I would love to do this in Tunisian crochet (which you taught me!). Can you do Tunisian crochet in a C2C blanket and if so do you have a tutorial for it?
Hey there, Chris! Toni does have a video on how to do Tunisian C2C 🙂 It is obviously not exactly the same in design as this pattern, but it is worked on the bias! That video can be found here. Happy stitching!
Hi I was wondering do you have a written pattern for the C2C jayg
Afghan? I dug through my stash yesterday and I can’t wait to do this afghan.
Hi Jennifer! We are so happy you are joining in to make a Roll With It Blanket 🙂 As of now, there is not a written pattern for the blanket. There may be eventually, but the video is given as supplemental material in the meantime of how to achieve the C2C design. In terms of the actual C2C written instructions, Toni doesn’t currently have written instructions for this, and the video will likely be your best resource. Given all the directional changes, it’s a little tricky to write it up. But, a bit of practice and the pattern should feel intuitive. Happy stitching!!
Loving this concept! I did 2 First Year Temp blankets for my two youngest grandbabies for their 1st birthday. It was fun, and I wanted to do another this year, but need a break from tracking temps or books or moods or whatever! This is the perfect solution! Thank you!!
Hey there, Kathy – Yay for your previous finished temp blankets! They sound lovely, and what a precious gift for your grandbabies 🙂 We can’t wait for you to join us on the Roll With It Blanket. Happy stitching!
Hi Toni, this is the first year long crochet project I have ever considered doing. I just started today and I wanted to make sure I have the layout correct. I’m thinking I’m supposed to start with block #1 then work across the bottom row with block #2 until I get to the 19th block in the row. Do I do a block #2 or #3 for the last block on the row? Then on the 2nd row I start with block #3 then work across with block #4. Not sure which number the 19th block should be on this row also. Is there a diagram with all the blocks numbered somewhere that can be used as a guide. I apologize if I’m making this more complicated than it needs to be. Thanks for any help you can provide.
Hi sweetheart. Totally understandable question. Let me clarify. The first installment is Days 1-19. This will involve making a Square 1, then 18 Square 2s. The 19th square will just be another Square 2 on the first row. Then for the second installment, you’ll make a Square 3, then fill in the rest of that row with Square 4. The final square on that second installment will just be another Square 4. Does that help? I’ll be dropping a video soon with an update on my blanket, which might further clarify the plan 🙂
Thank you, Toni, for making this a beginner friendly fun project! I am a brand knew crocheter but have the basic stitches needed for this project. Your C2C video is very clear so I will watch it frequently as I go along, in order to keep track of pattern and technique. I am recently retired so loving new creative hobbies and TIME. Have you posted the dice number that you got for each day’s colour somewhere? Again my thanks to you and your joy filled videos.
Hi darling, and welcome to crochet! You couldn’t have joined at a better time. There are so many great resources and projects out there to try. I’m really glad you enjoyed the video, and you can look forward to a photo tutorial going up soon. I’m keeping track of the numbers in my blanket, but I haven’t posted them publically. I’ve been sharing about my project on Instagram, and invite you to check me out there.
Hi Toni,
Love the blanket. I have some random skeins in my stash that are the same weight. Time to work them up. My question is, I noticed the bee mugs with dripping honey. Are they available somewhere for purchase?
They sure are! I linked them in the post, but you can also find them directly from the Etsy seller HERE
I have my Happy Place yarns and I’m ready to roll on this project but…I’m a crochet newbie and not understanding if we are to make a single square tall row of 19 squares, different colors, or a block of 19 squares to start? I’m having trouble getting started.
Great question – allow me to clarify 🙂 For the first installment, you’ll make one strip of 19 squares. Then for the second installment, you’ll add a row of 19 squares onto the previous row. There will be 19 rows of 19 squares each. Does that clear things up?
I just finished January. I’m loving it. I wish I could post a picture
Yes! That clears it up for me – thank you so much Toni 🥰 – I also just saw a little instagram post where you unroll your strip of 19 – woohoo! I have some catching up to do!
Hi Toni,
I love the idea of this blanket! But I want to make it into a baby blanket size. I don’t really have a sense of what that size would be or what size each individual square should be. I’ve only ever crocheted two blankets, and that was years ago. Is there a resource to know how to make that adjustment?
Hi! Yes, there are several crochet blanket size guides out there. Search “crochet blanket sizes” on Google or Pinterest and something will come up. Then, make a square and measure it to see how many squares you need to make a custom blanket. I love this idea – would be great to hear how it turns out 🙂
Is there a written pattern for the C2C Jaygo?
Hey there, Val 🙂 Yes there is! You can access the tutorial here. The blogpost includes written instructions as well as a video tutorial!
I have “come on board” as I just need a project that has “no pressure”. I have decided to catch up and have done two edges ie 19 squares joined with 18 squares. Now filling in the middle. Not sure how to share a photo but I am taking them 🙂
Thanks Toni for the inspiration.
Oooo I love this strategy!! Keep it up and let me know how it goes 🙂
This is something that is right up my alley, meaning it will be easier for me to manage one square a day. Whew. I even bought a twelve sided die. I’m starting late so I may have to play a little catch up once I get the hang of things. I love your yarn – so pretty. But I have so much yarn stash that I want to use some of it. I bought quite a bit of Lion Brand Heartland in various colors with the intention of making a blanket at some point. Would this yarn work as long as I check gauge? Also, I wanted to know if you block each square as you go or just attach each one and then block when you are finished. Thank you.
Hey there, Susan! Yay for using some stash in your Roll With It Blanket 🙂 yes, Heartland would be great, as long as it meets gauge! However, if it doesn’t, it may just turn out to be a larger blanket, which could be nice. Toni does not block any of the squares as she works them directly into the previous square. Though, she usually gives her blankets a good steam once the entire blanket is finished and ends are woven in. Happy stitching!